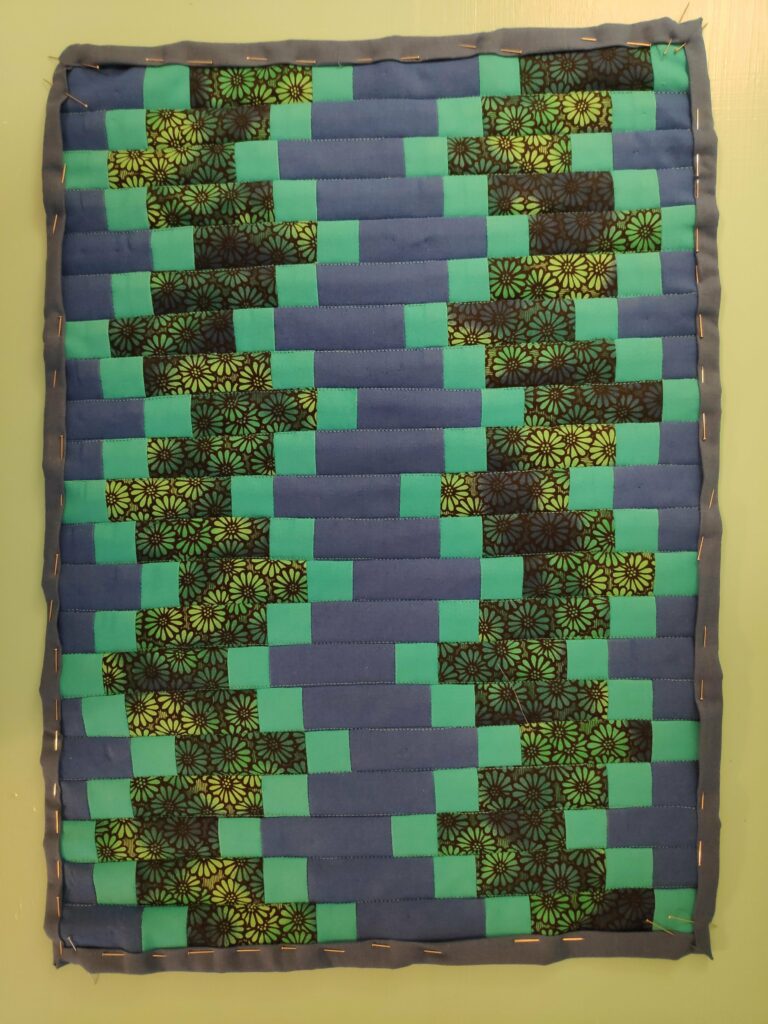
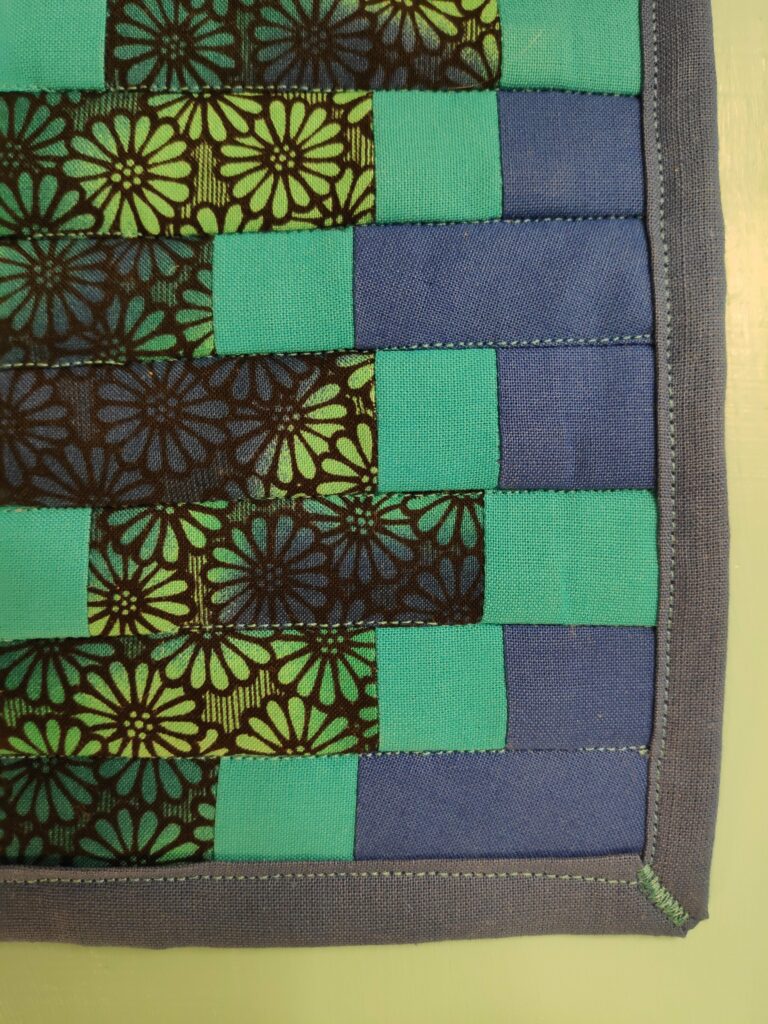
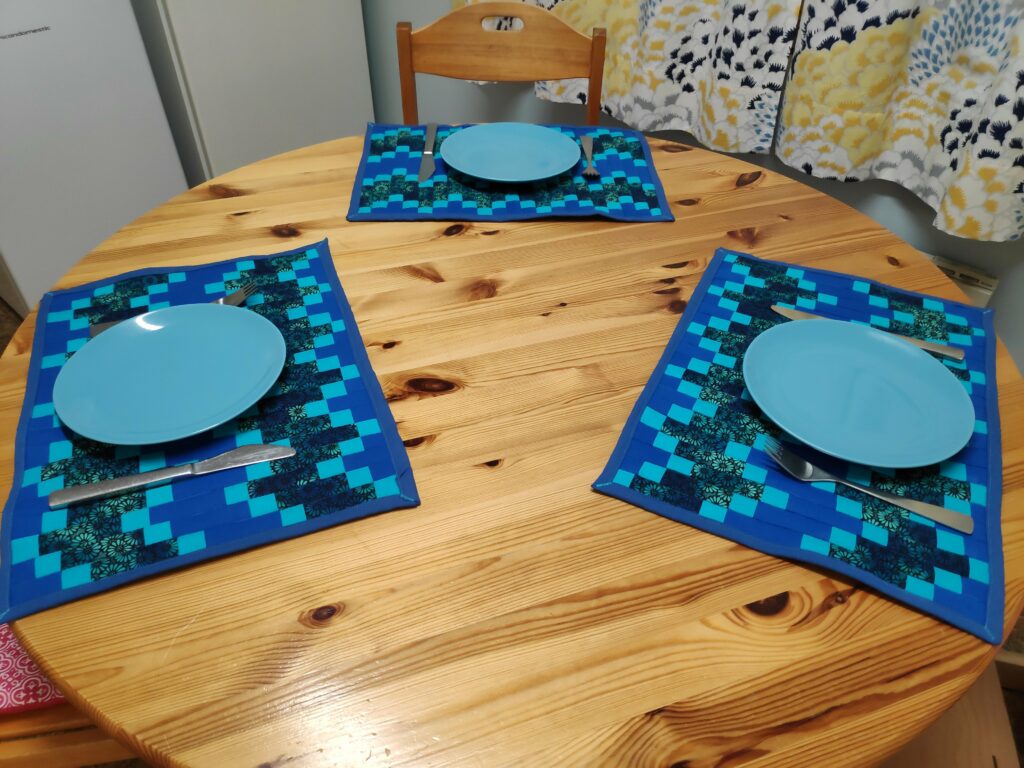
Quilting is the process of sewing several layers of fabric together. Finishing includes making the edges and corners neat.
Layers
Having now sewn the top layer of my place mat, the layer that shows, I need to make my place mats thick enough for their purpose. My place mats will be used a lot and need to soak up spills, deaden sounds on a wooden table, and tolerate a lot of washing. Making them with several layers, help them deaden sounds.
Before the backing material is attached, it is important to trim the edges of the place mat and make sure it is the size you want it.
I cut an old flannel sheet into the right size rectangles and used two layers of the sheeting to make a thicker place mat. This filling layer will not be visible in the finished place mat. The backing is made of a solid blue that goes well with the top. The edges will be folded over to the front to make good edges.
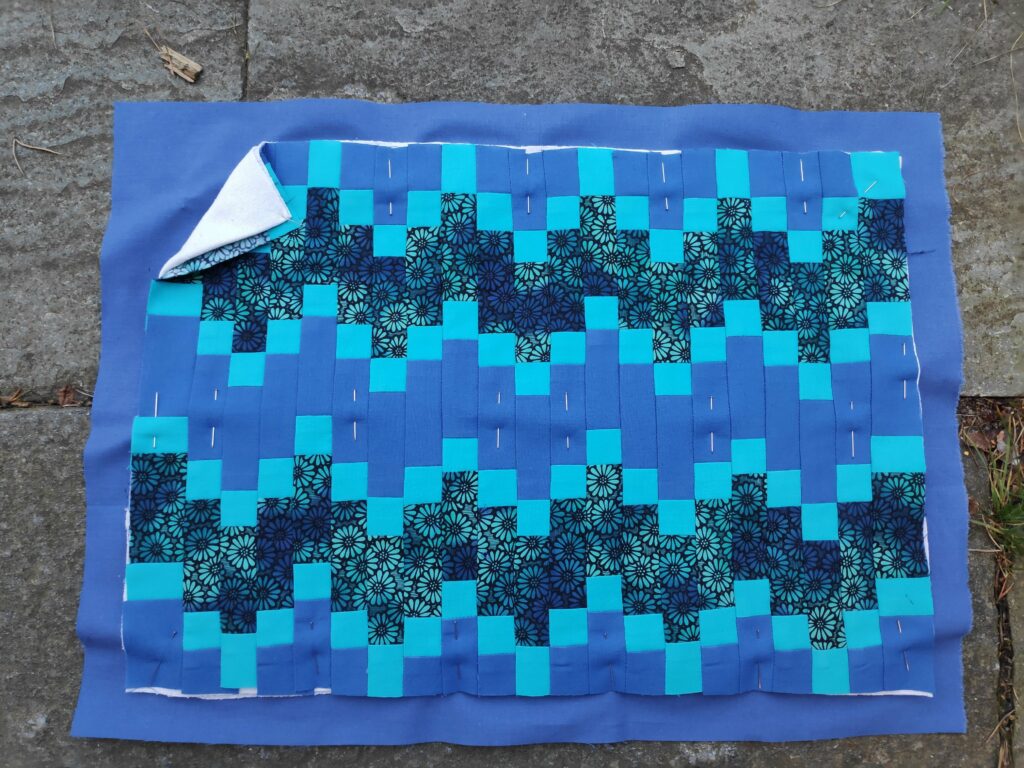
(Note: I am doing my sewing in November when there is very little daylight. I am mostly doing my sewing while it is dark outside. This means that most of the pictures were taken inside under various inadequate lighting conditions. Please excuse the poor quality of the colour in the photos. A few were taken outdoors and they will reflect the real colours much better.)
Quilting
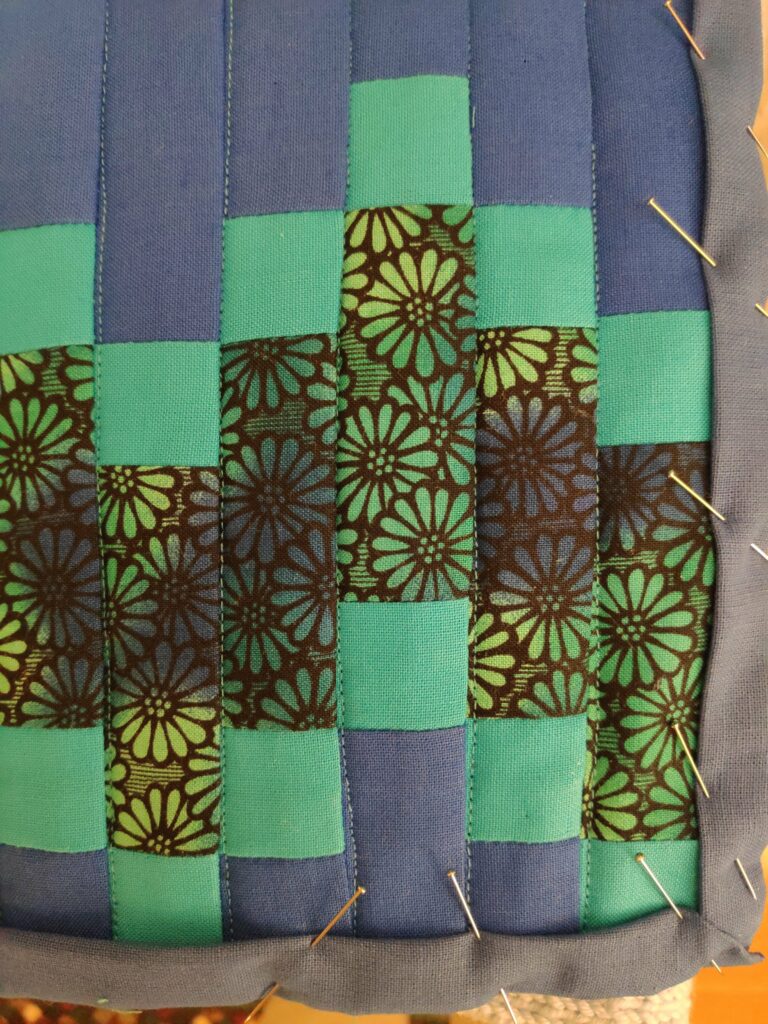
Quilting is the process of sewing all the layers together so that they tolerate washing. There are many ways of doing the quilting, but with a geometric pattern like I have, I like best to follow the lines of the pattern. In this case I decided to sew only in one direction, and in the trough between two strips. I have chosen a contrasting colour so that it shows. When sewing in the trough, the stitching may not show up, if you use a colour of thread that easily disappears into the fabric’s own colour.
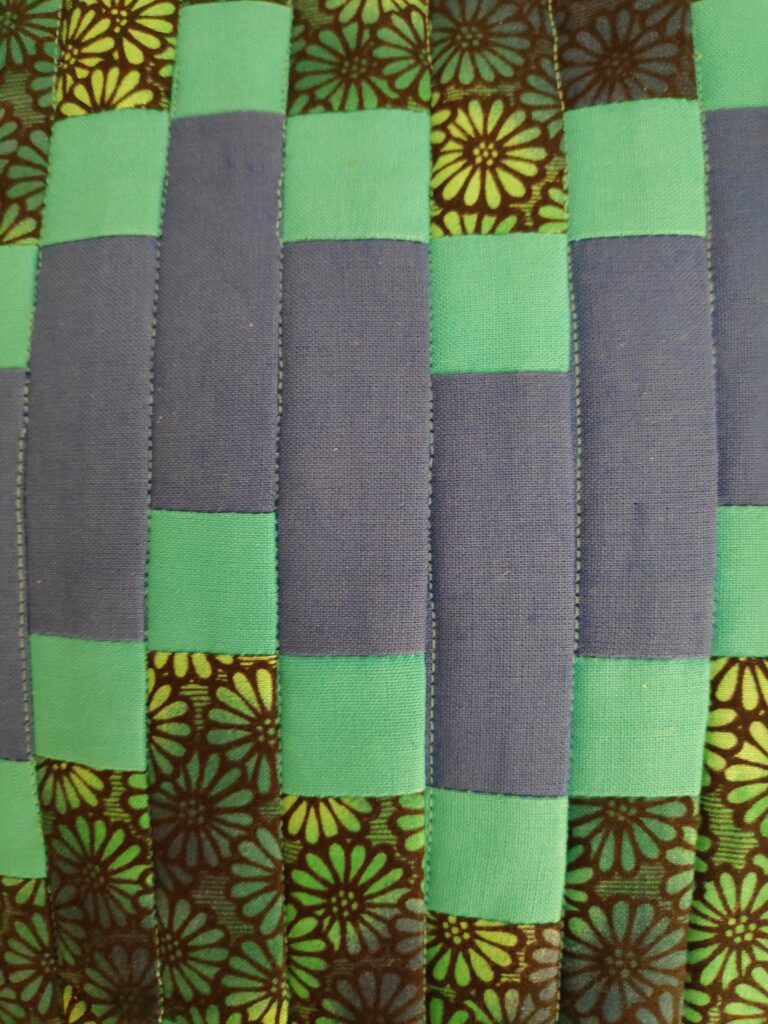
When doing the sewing, start in the middle of the place mat and work your way to the outside edges. As you sew the different layers may stretch a bit and by starting in the middle you can reduce unwanted tucks as you sew.
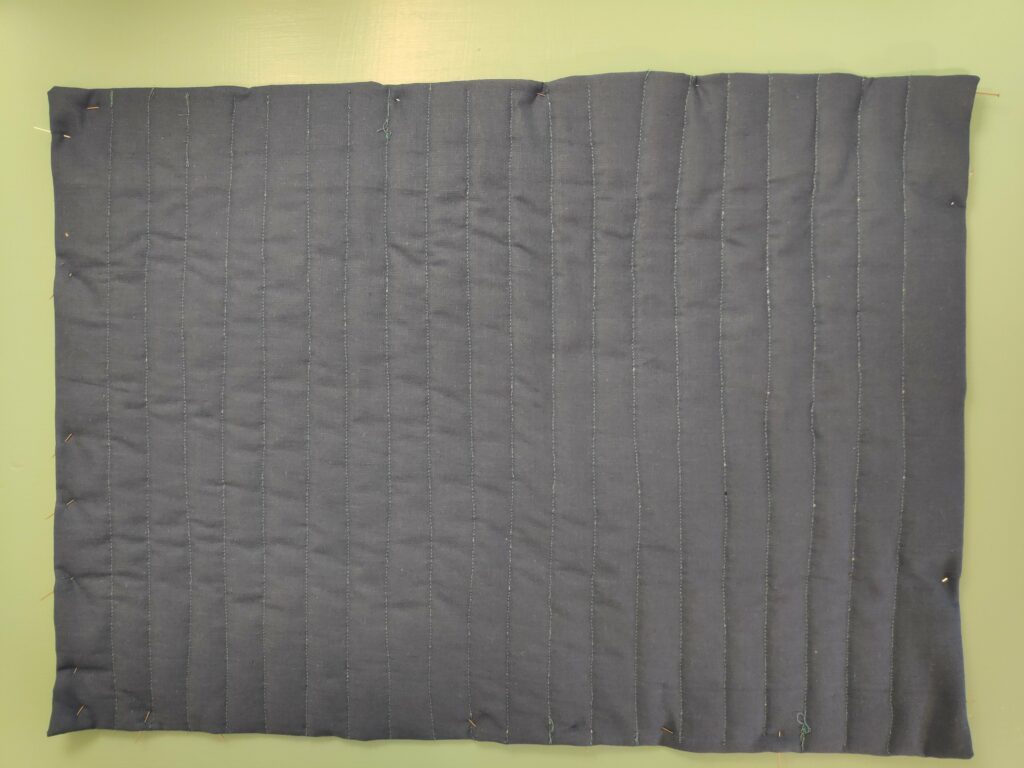
Many of the old-fashioned quilts were quilted with various flowery patterns in the sewing. This, of course, is a personal preference. With other place mats where I have appliquéd patterns, there is often more pattern on the back. This place mat has a very plain pattern. It is adequate to hold all the four layers together solidly enough to tolerate a lot of washing.
Finishing
Once I had finished the quilting, I worked on making neat edges. The backing was folded twice and pinned in place. I always have difficulties with the corners and I spent quite a bit of time trying to get them all the same and easy to sew so that they didn’t come apart.
