
Once the design has been decided on and the calculations made, it is time to get down to the practical work of cutting and sewing pieces together. My design at the moment is geometrical, using squares and rectangles in three colours of fabric.
Tools
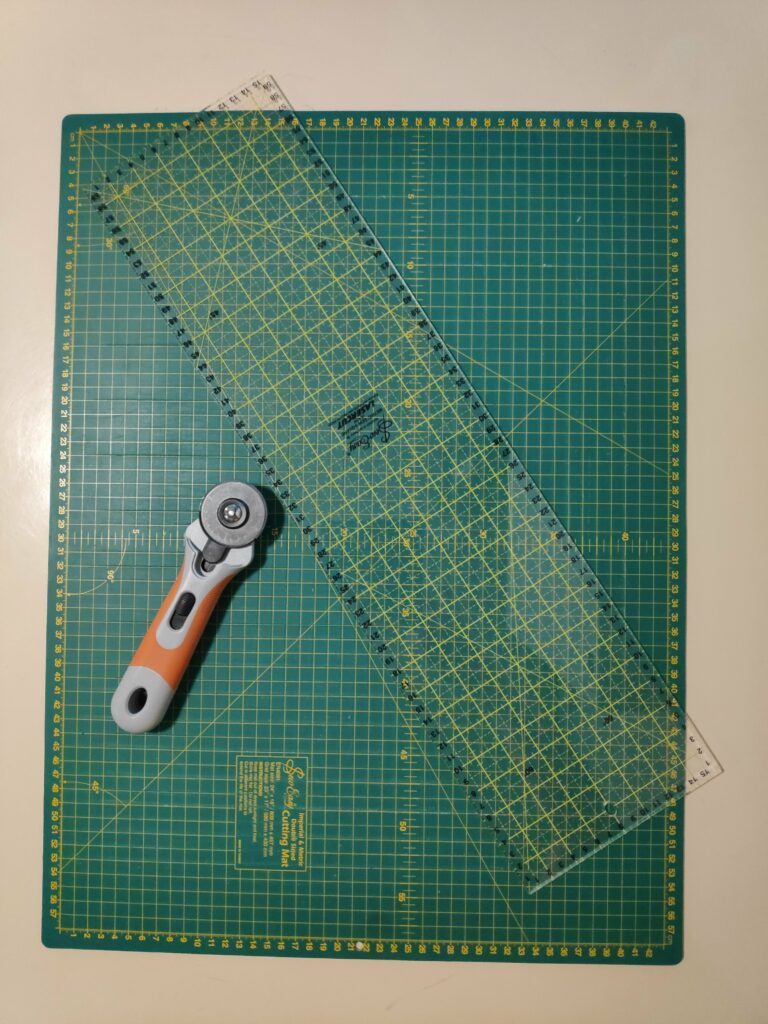
If you are going to do much of this type of creative work, it is important to invest in the tools that are needed. Cutting a lot of small pieces with scissors is both time consuming and inaccurate. A roller knife along a flat edge will give a much straighter cut and cut down on the wear and tear on your fingers. Use a self-healing cutting mat. The one I have has metric measurements on one side, and inches on the other side. You can choose the measurement system that suits you best. I have been metric since before I moved to Norway in 1980.
Using a roller knife, you can cut through several thicknesses of fabric at the same time. Make sure you have extra blades for the roller knife as they can get dull quickly if you are cutting a lot.
Cutting
I was using leftover pieces of material that were often odd shaped, but I was able to use up quite a few of these pieces. The challenge can be to get the squares and rectangles matched up with the grain of the fabric.
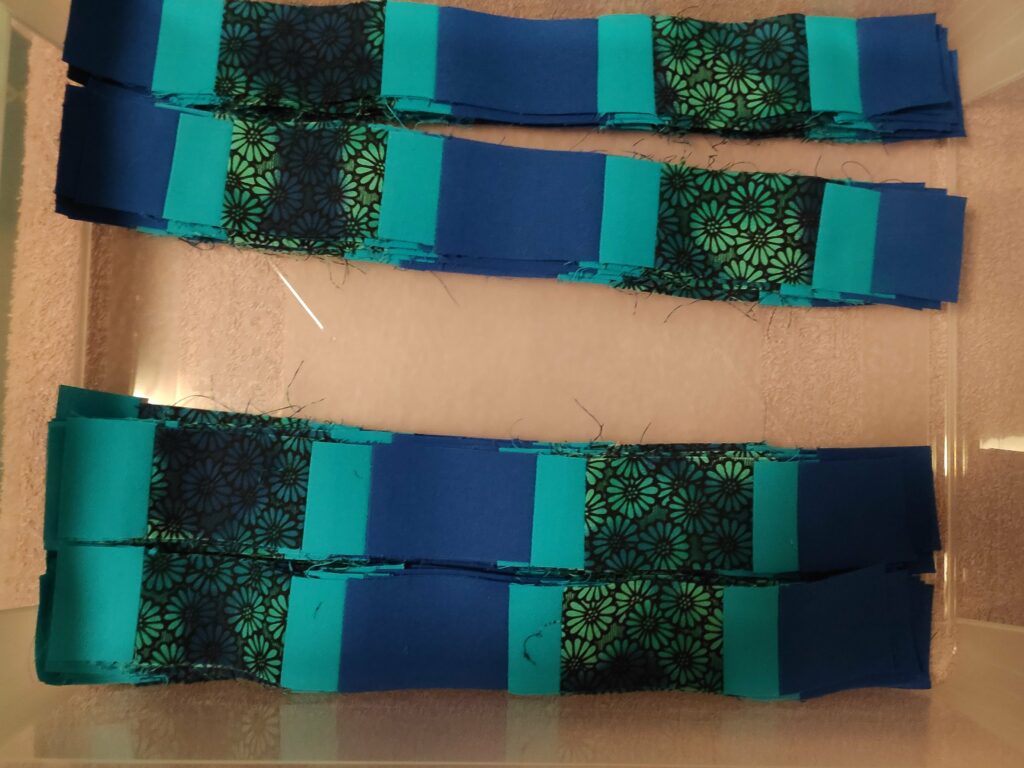
First I cut long strips 4 cm wide, then I cut the strips into the correct lengths.
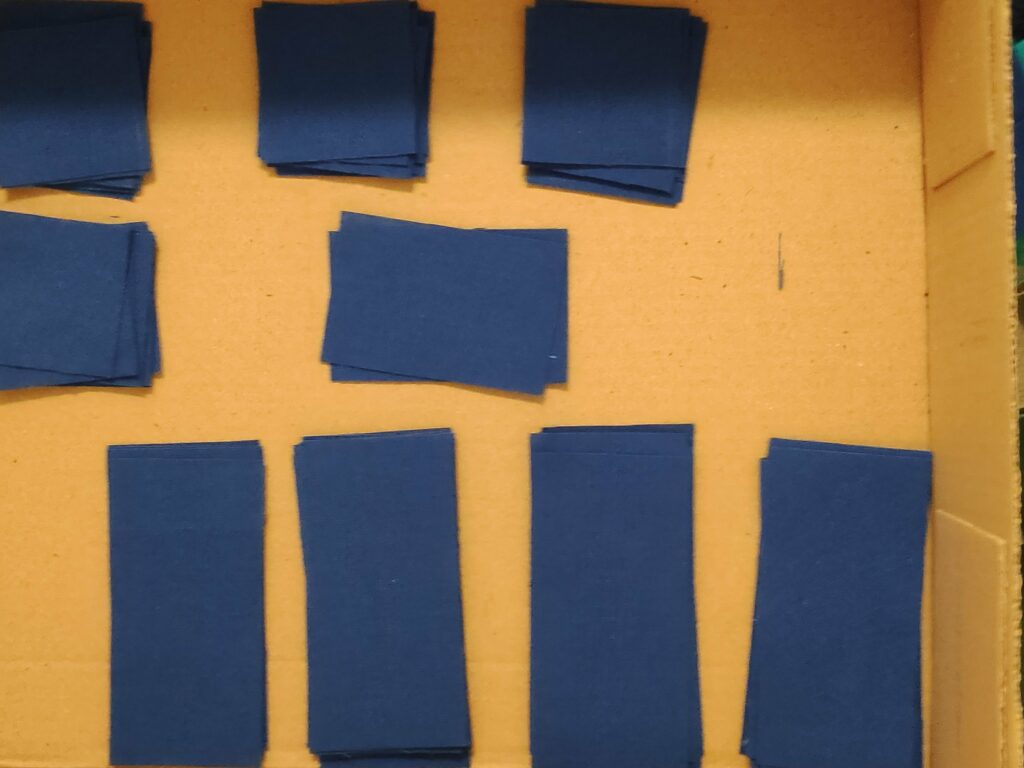
I ended up with over a thousand pieces. I made a few extra of each colour and size in case any turned out uneven or unusable. It was a bit of a challenge to count how many were cut, but I did them in groups of 10 and that helped. With persistence the job gets done.
Remember that accuracy when cutting is very critical to the look of the final piece of work. I use a 1 cm sewing allowance on all sides. So if a finished block is to be 2 cm by 2 cm, I cut it 4 cm by 4 cm. This is all done when doing your calculations during the design of the project. Using a roller knife and a long ruler helps make the edges very straight. By using the lines on the cutting mat, you can make sure that corners are at 90 degrees and that lengths are as accurate as humanly possible.
Sewing
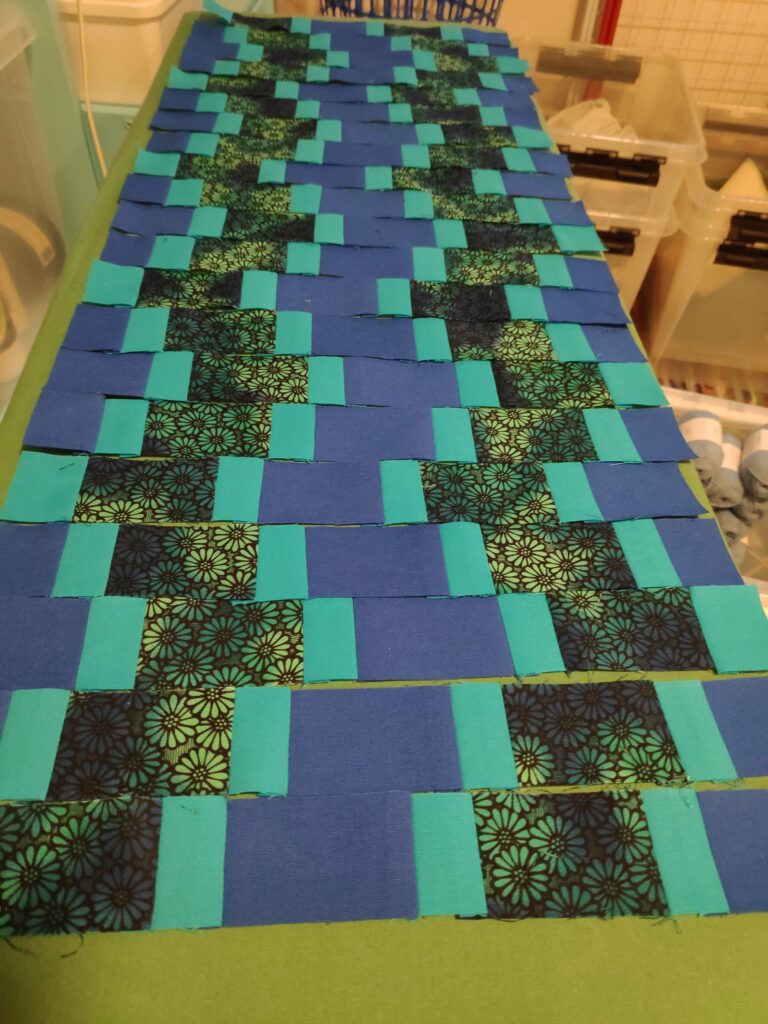
The best procedure when making geometrical patterns is first to sew the small pieces into strips, then to sew the strips together to make a larger piece. You want to think carefully how you do your sewing so that you don’t get a lot of material bunched up to the right of the sewing needle.
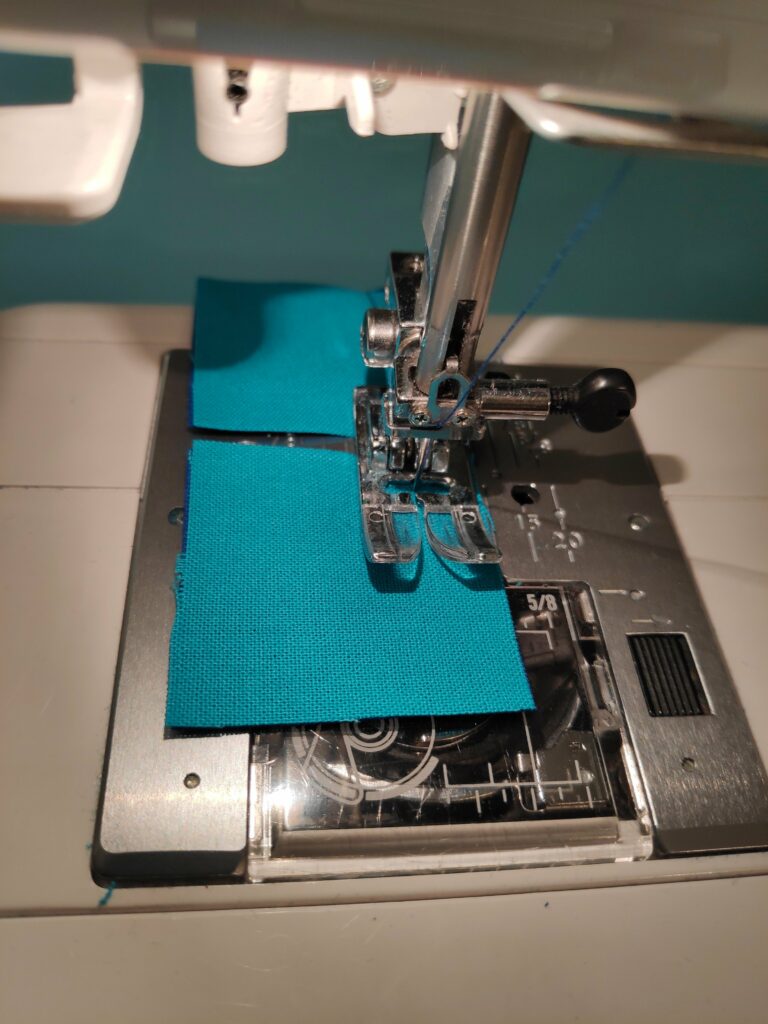
To reduce the amount of cutting of thread that you do, I suggest that you feed the small pieces into the sewing machine with a couple of millimeters between them. This saves both thread and time. I cut the pieces apart when I ironed each piece. I worked on making 30 strips at a time. I find it easiest to work with the strips if I press the seam allowance to one side before I add the next piece. It means a lot of moving from the sewing machine to the ironing board, but I find the moving around is good for me.
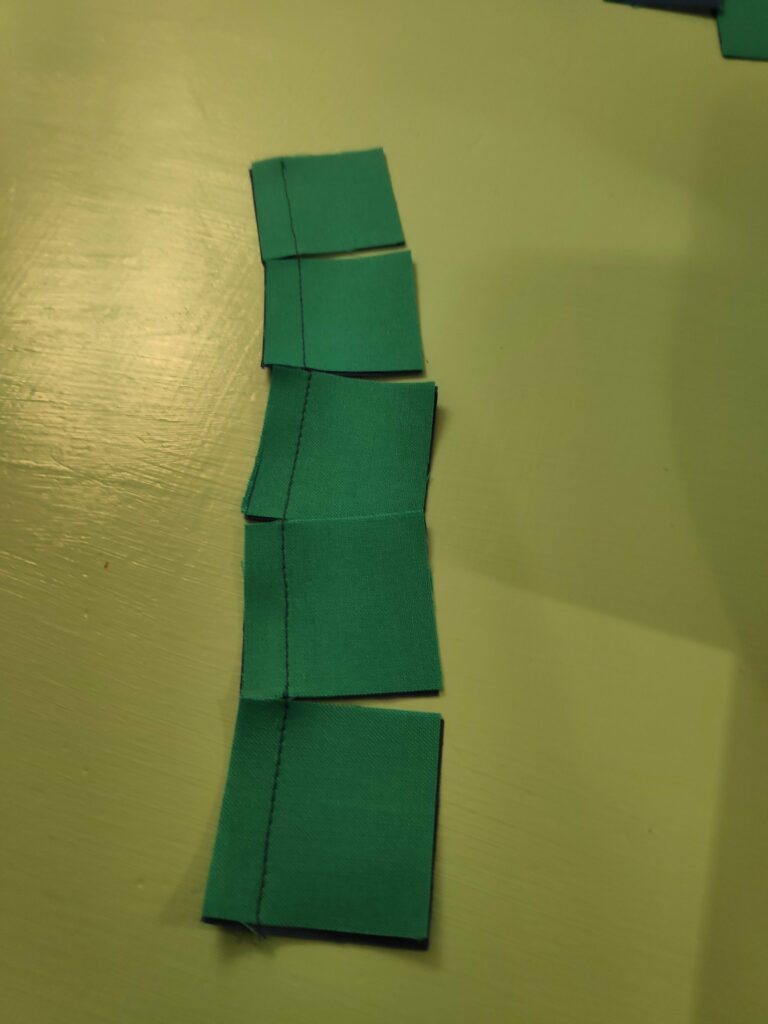

Accuracy is very important when both cutting and sewing pieces together. When making a strip with 8 pieces, if each piece is out just 1 mm, you can be out 8 mm by the end of the strip. I had one strip that ended up being much too short and I had to pull it out and replace it.
Once I made all the strips that I needed, I arranged them in the correct order for the place mats. This can be a good time to check that the lengths have all come out close enough to use.
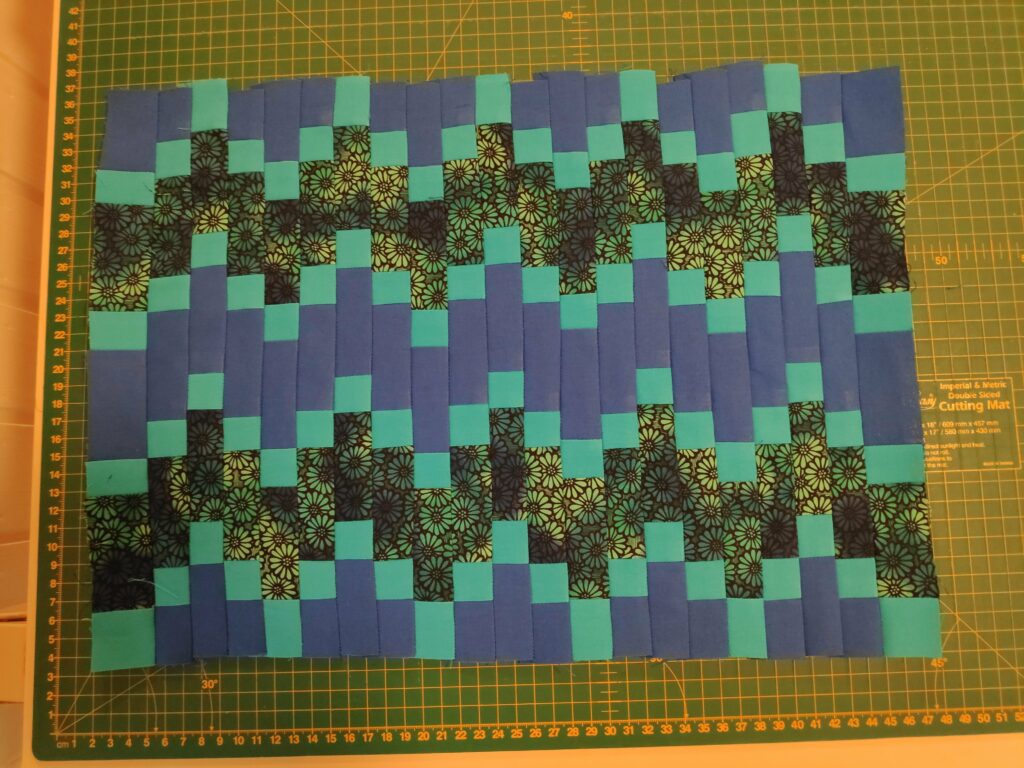
In the next blog I will explain how I have made the backing and done the quilting.