2021 – A Summary

The second year of the Covid-19 pandemic is coming to a close and I would like to make a short summary of how the year 2021 has been for me. I always have a problem with the dark time of the year and thinking about the summer and the bright time of the year helps me get through the winter months.

Pandemic

The Covid-19 pandemic has influenced a lot of the year 2021, putting restrictions on out-of-the-country travel as well as how much contact we have with others. My husband and I got our first two vaccines in April and May, and a booster vaccine in December. My son has also received his two vaccines. My husband and I have also received the regular flu vaccine, which we get every year in the fall. As a result, we have not been sick in 2021.

My son started a new job in January 2021, but as home office was required at the beginning of the year, he has had his home office at our house most of the year. From August to November he commuted to his job in Oslo but also had some business trips to other cities in Norway. At the end of 2021, there is again a requirement of home office where possible so he will be staying with us into 2022.

With both my husband and I in a high-risk group (over 65 years of age), we have reduced the amount of contact we have with others and have been avoiding large gatherings. We have social contact outdoors (in the summer months), restrict the number of people we meet regularly, and enjoy our own company. My husband, who is a lot more social than me, will also join online meetings and has contact by phone with those living in other parts of the world.

Crafts

I always have more than one project on the go and I have been good at finishing the projects that get started. Though I may have a few projects in my head that never get off the designing paper, most projects get carried through to completion.

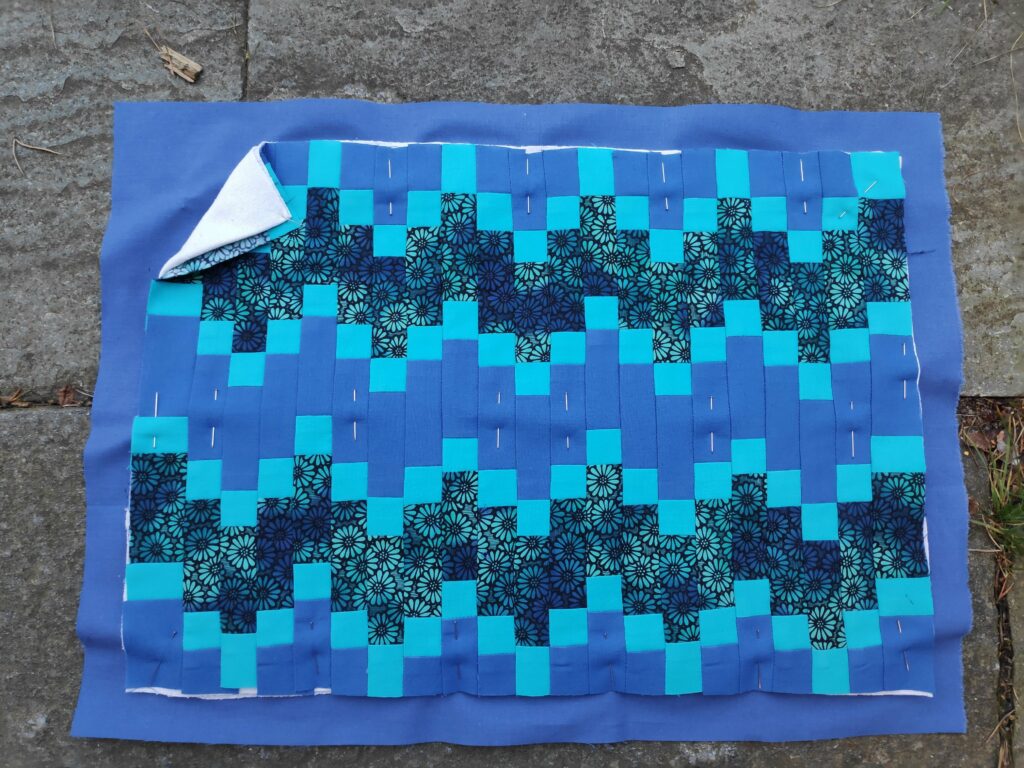
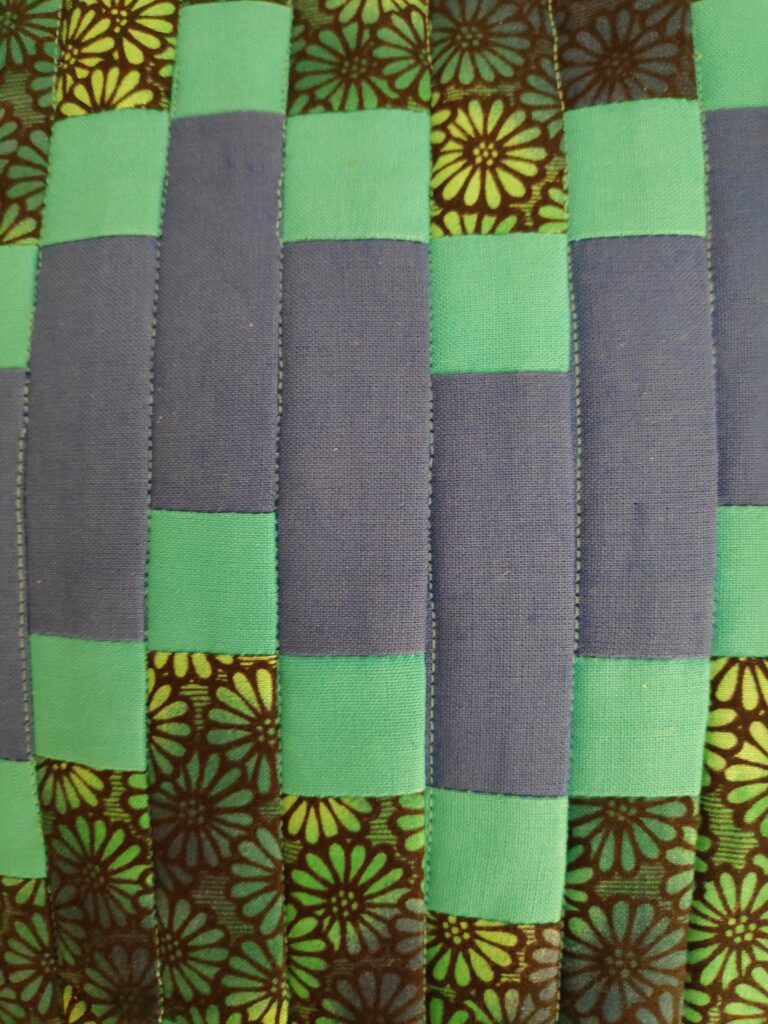
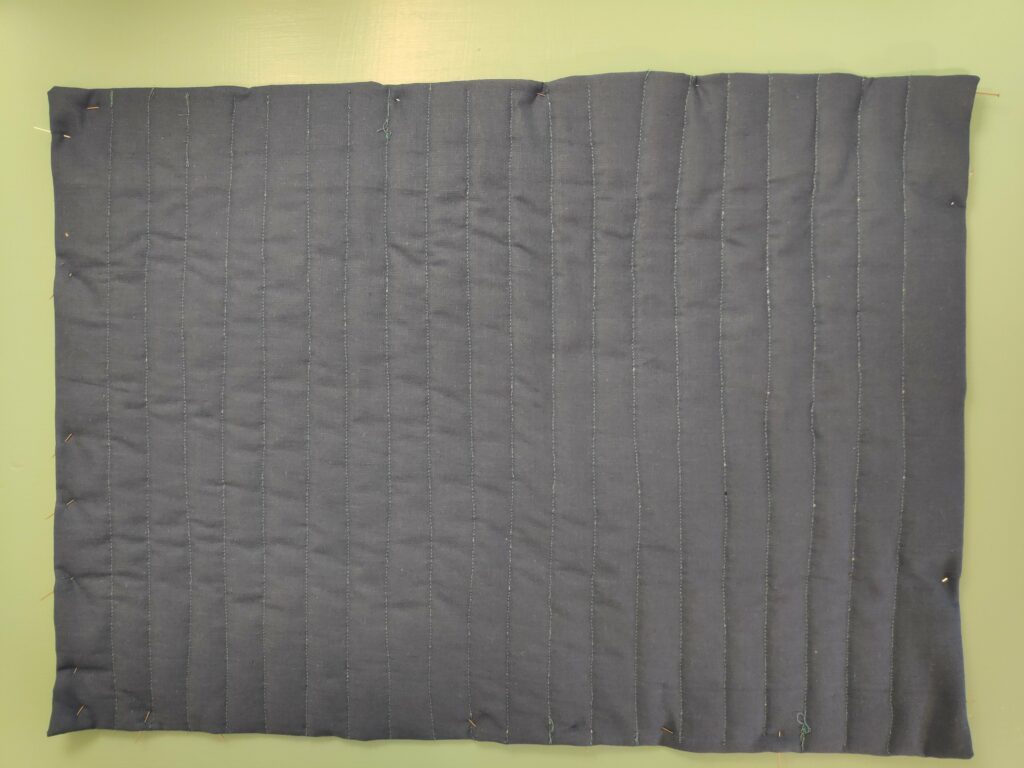
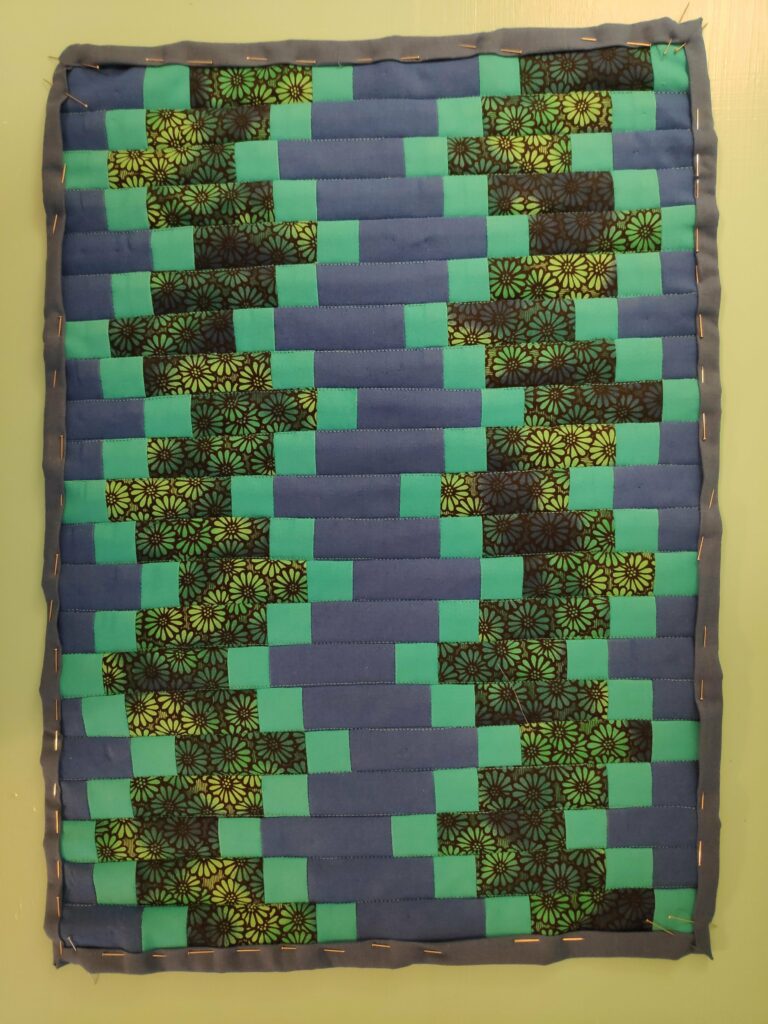
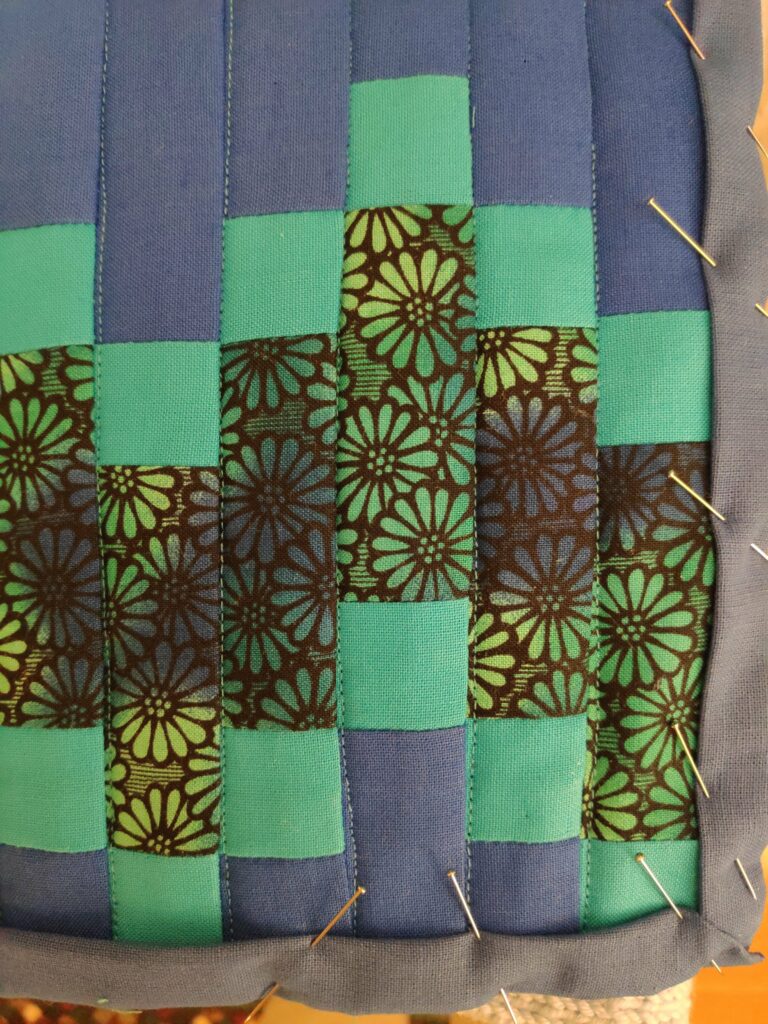
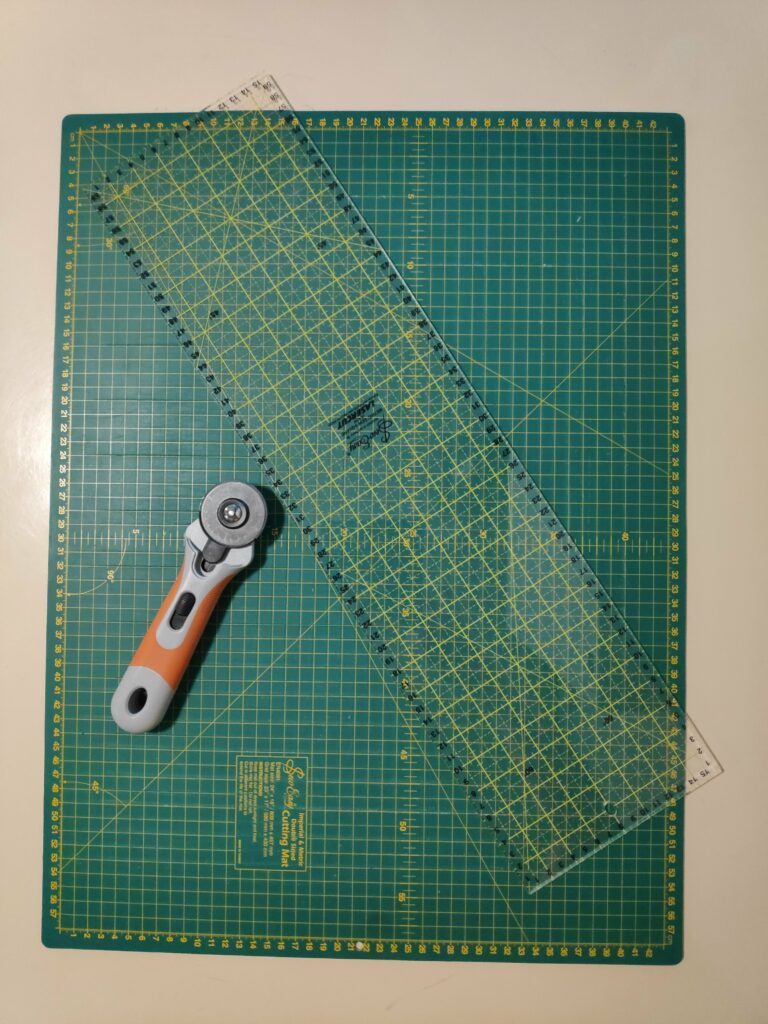
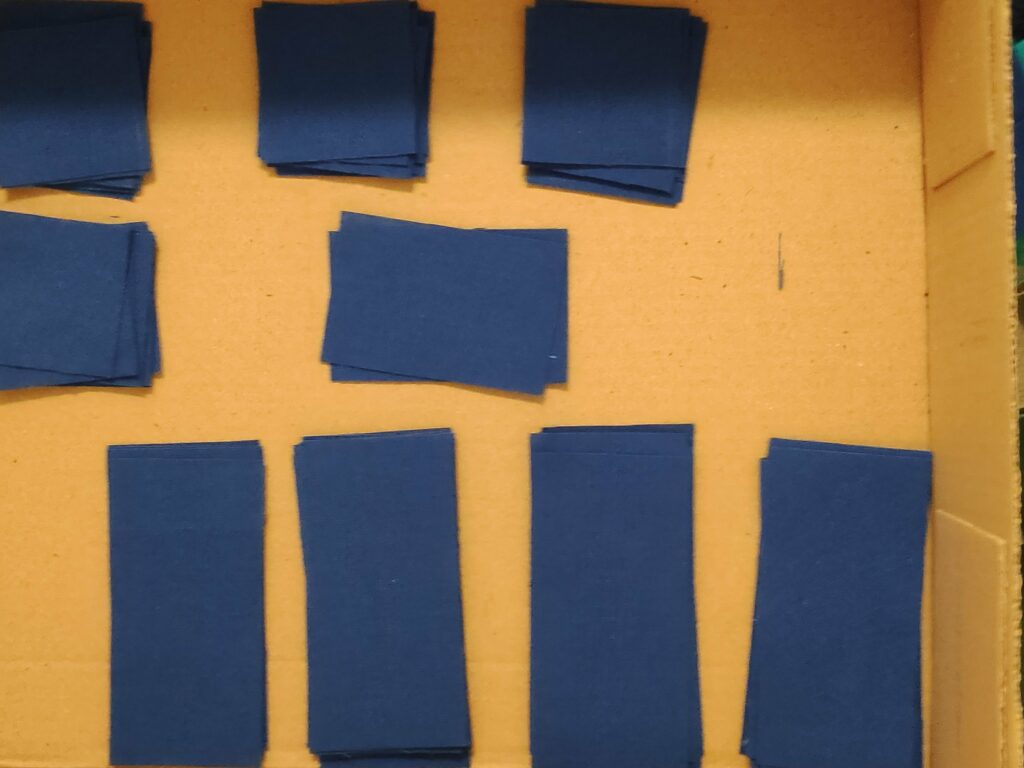
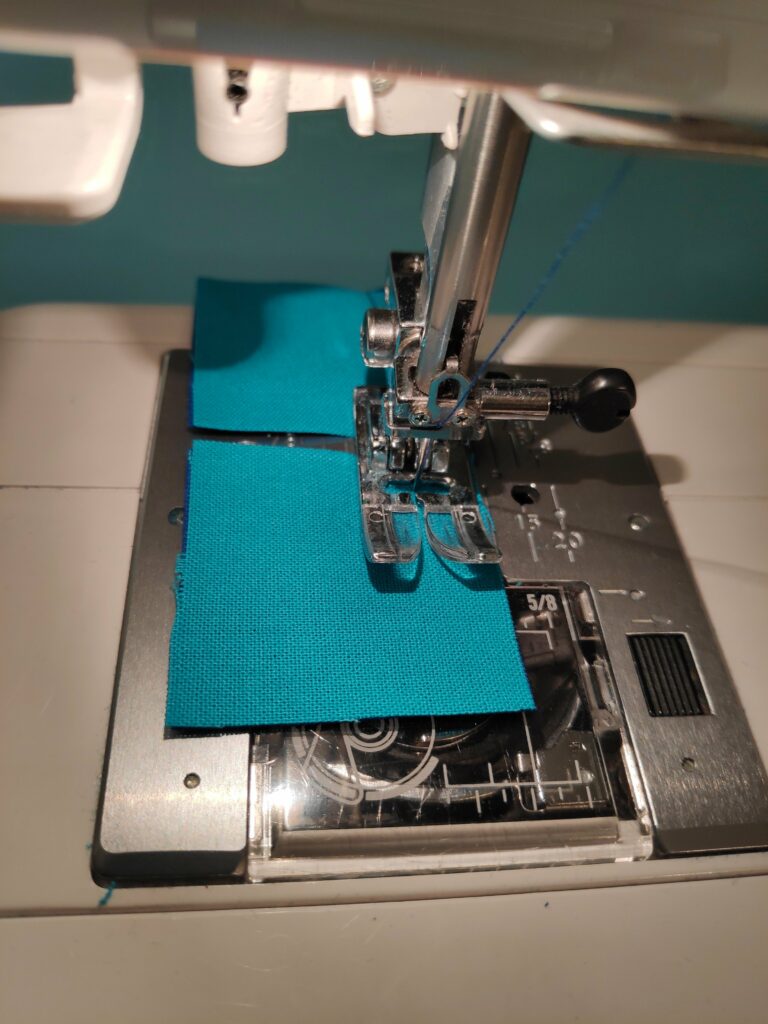
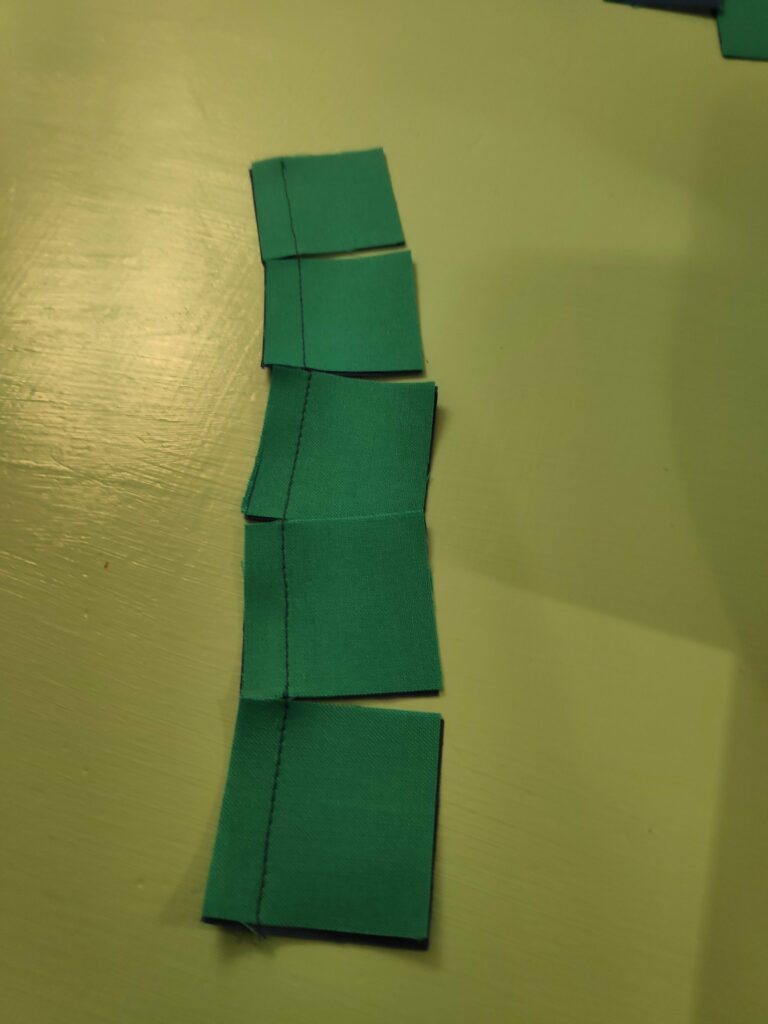
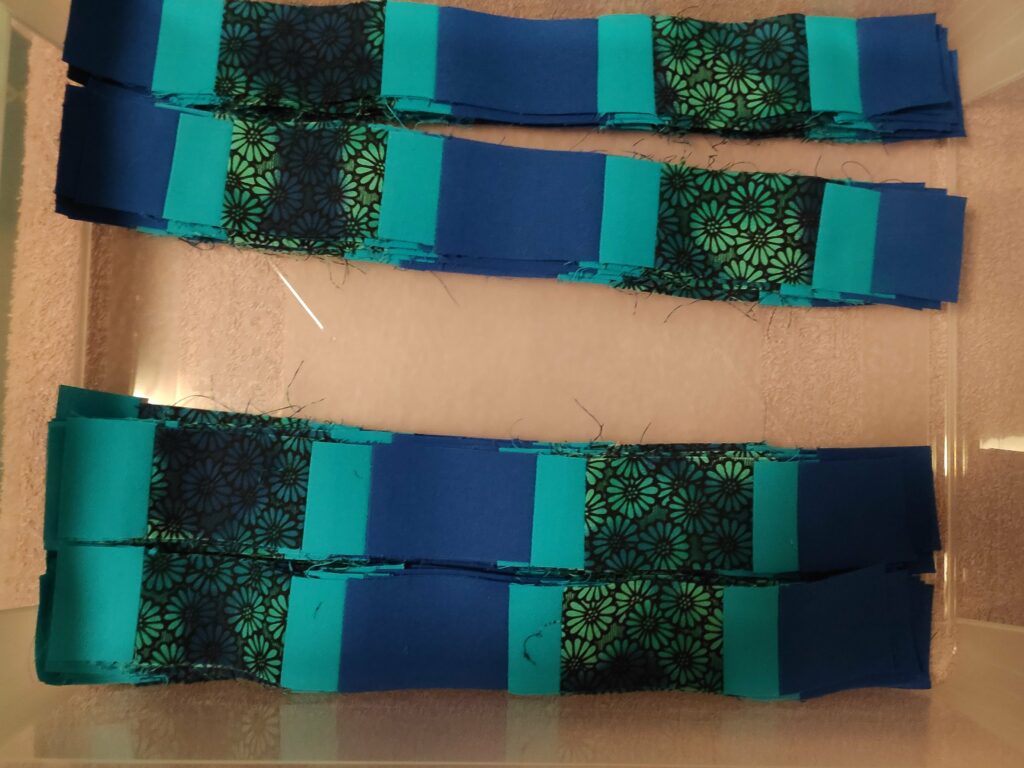
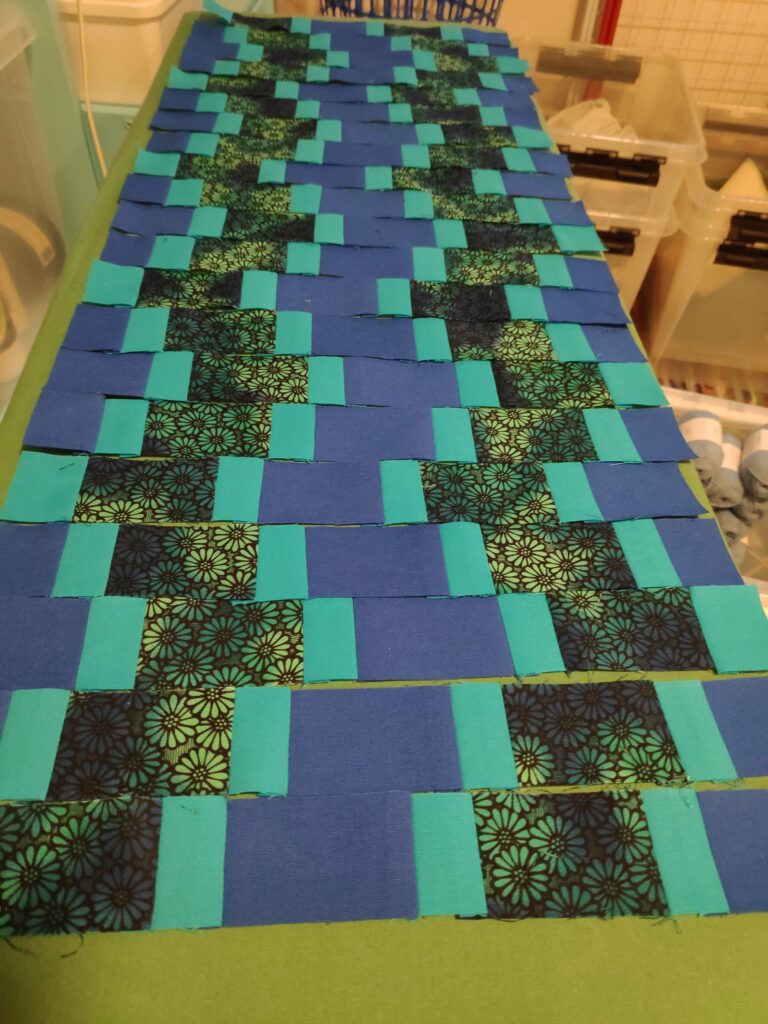
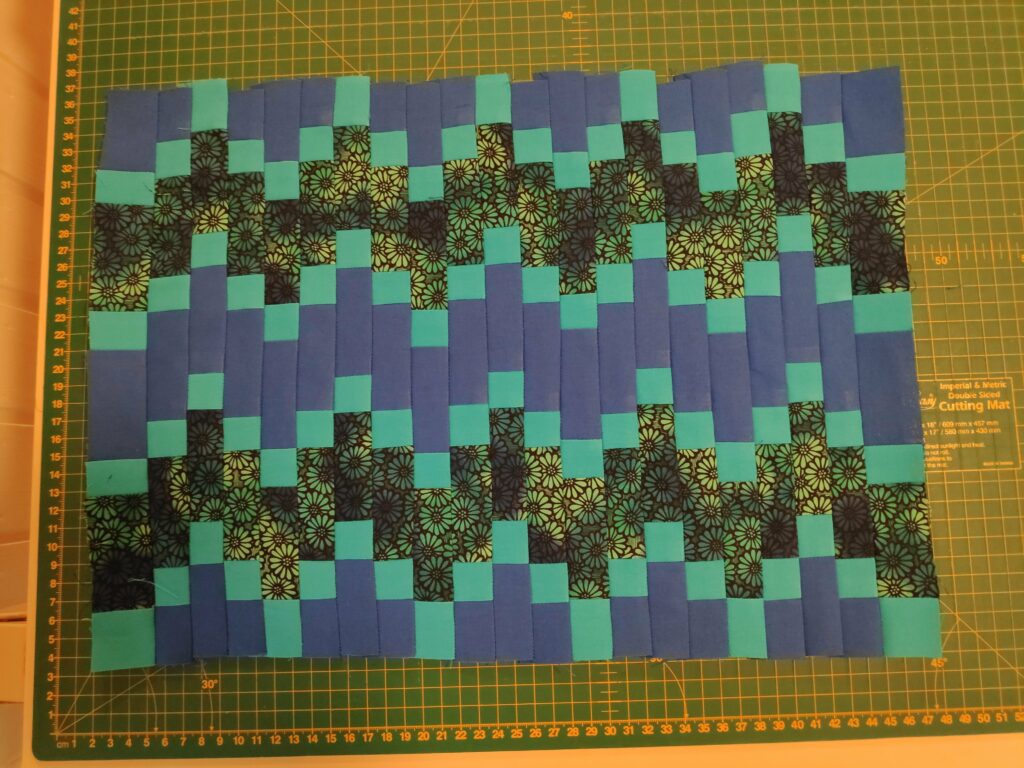
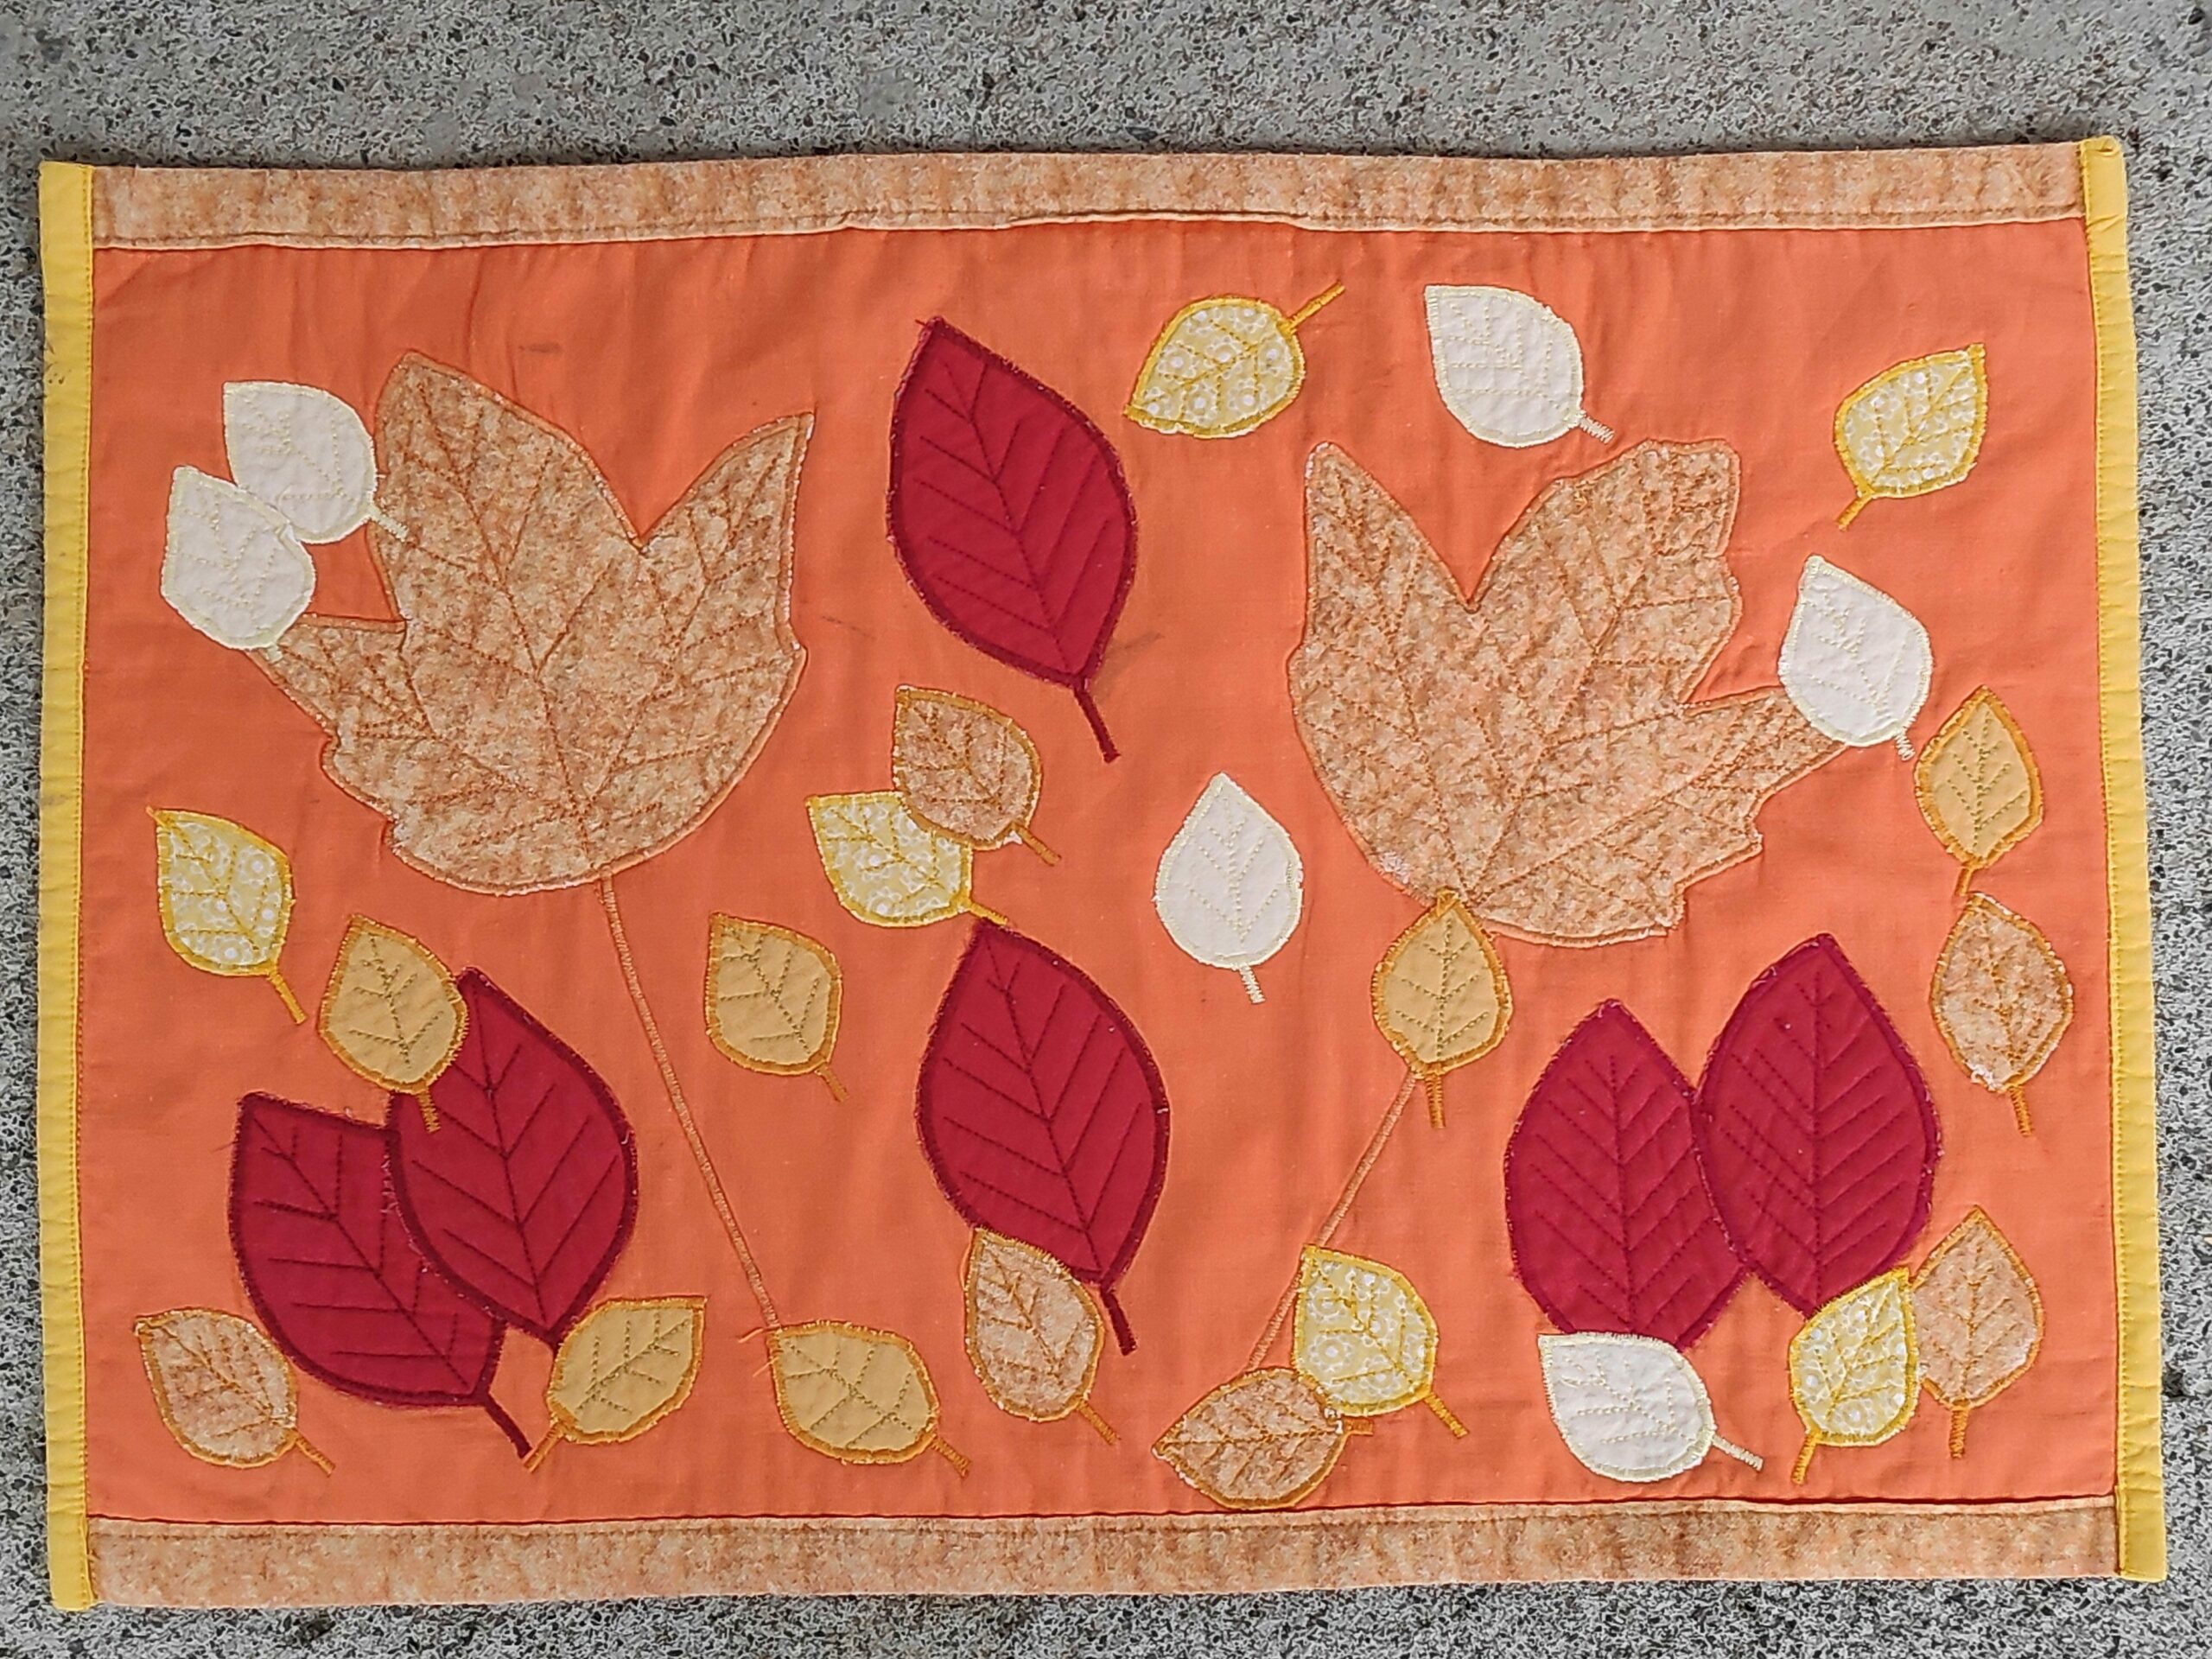
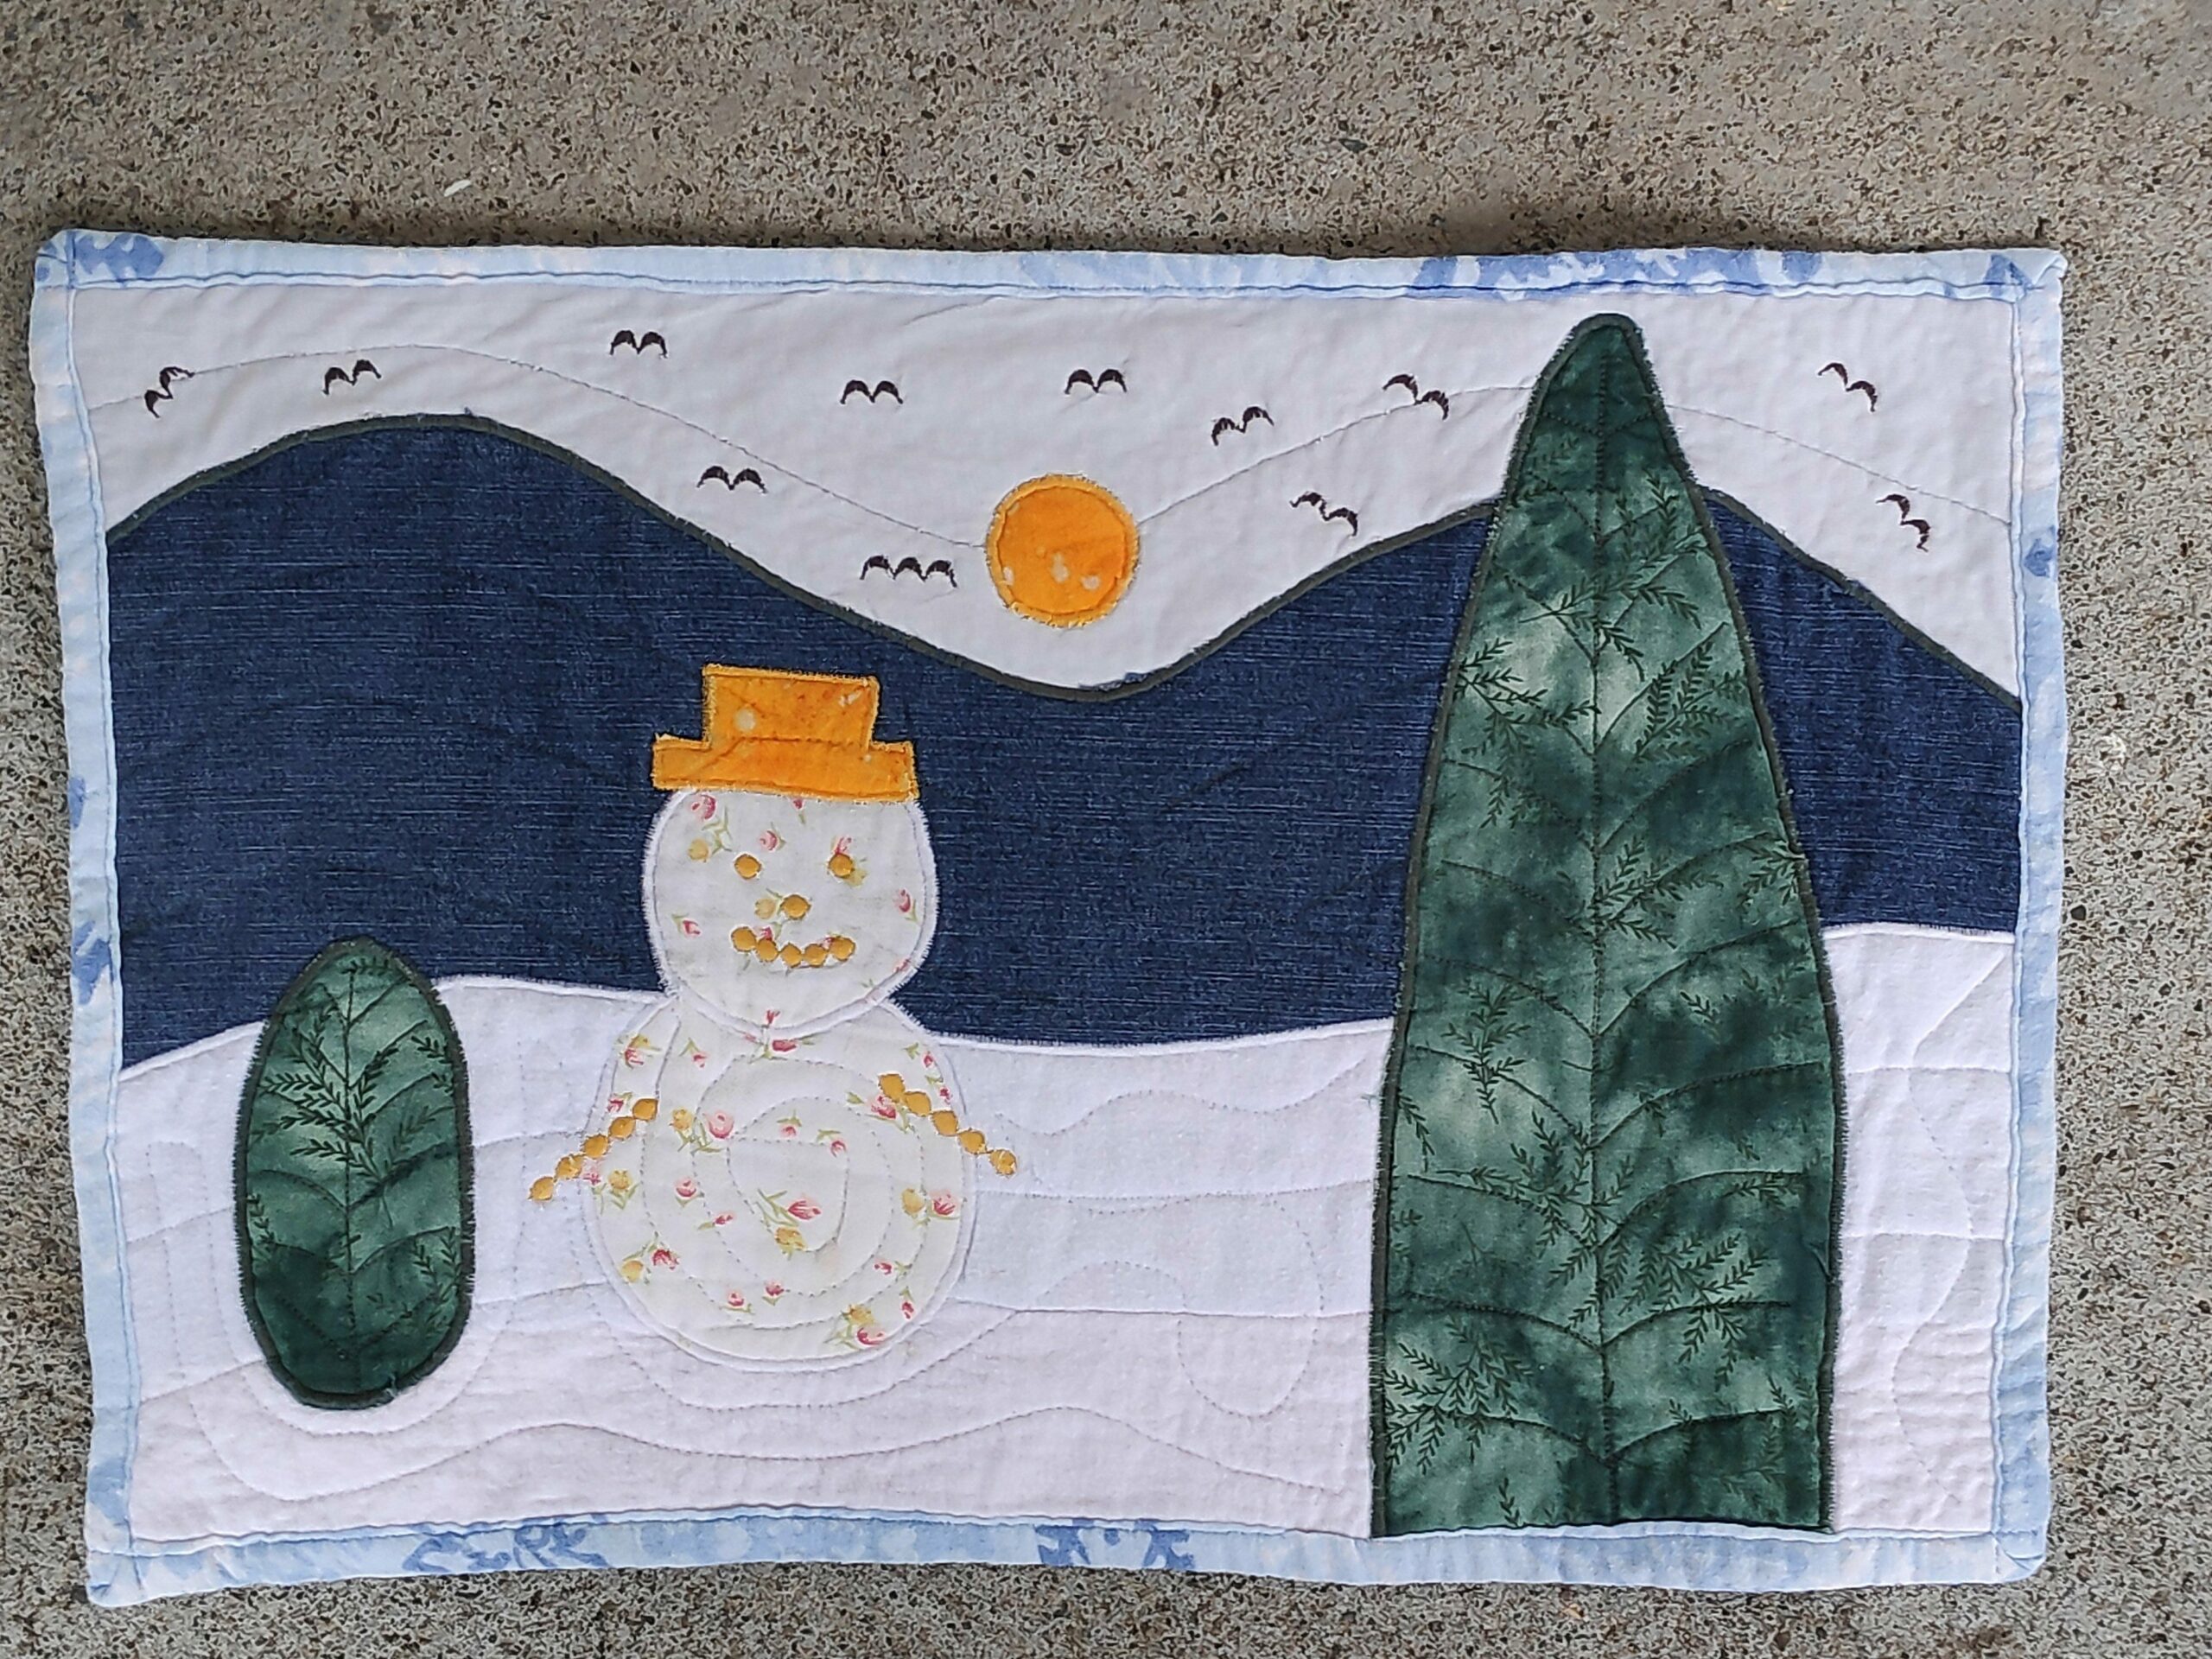
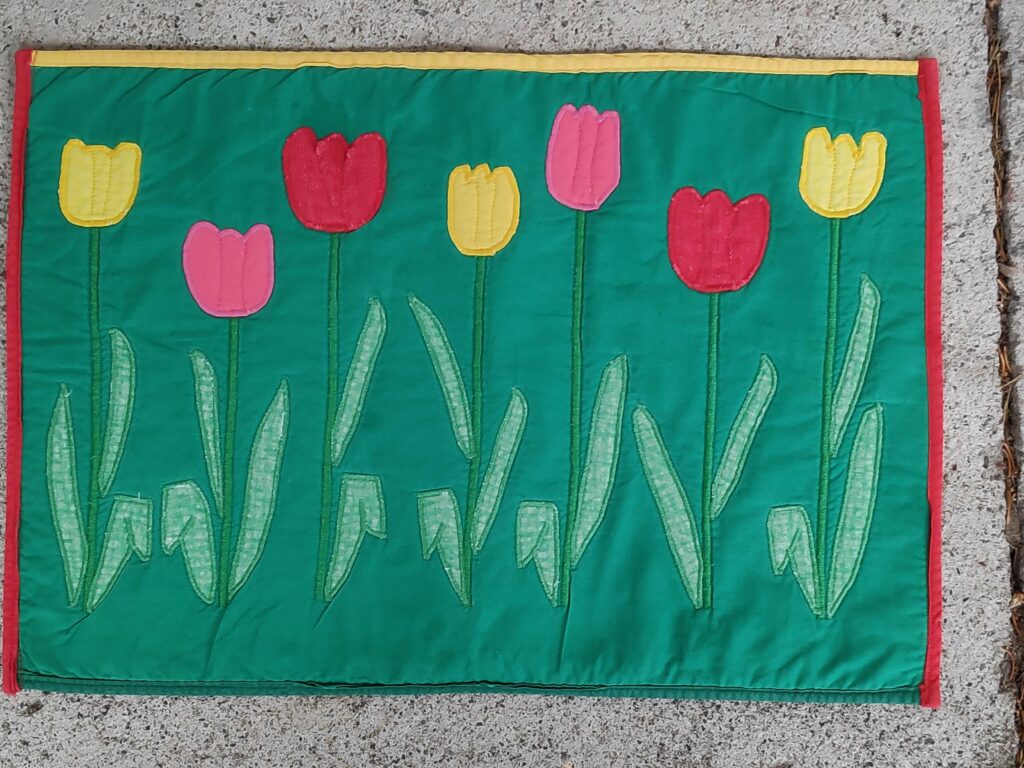
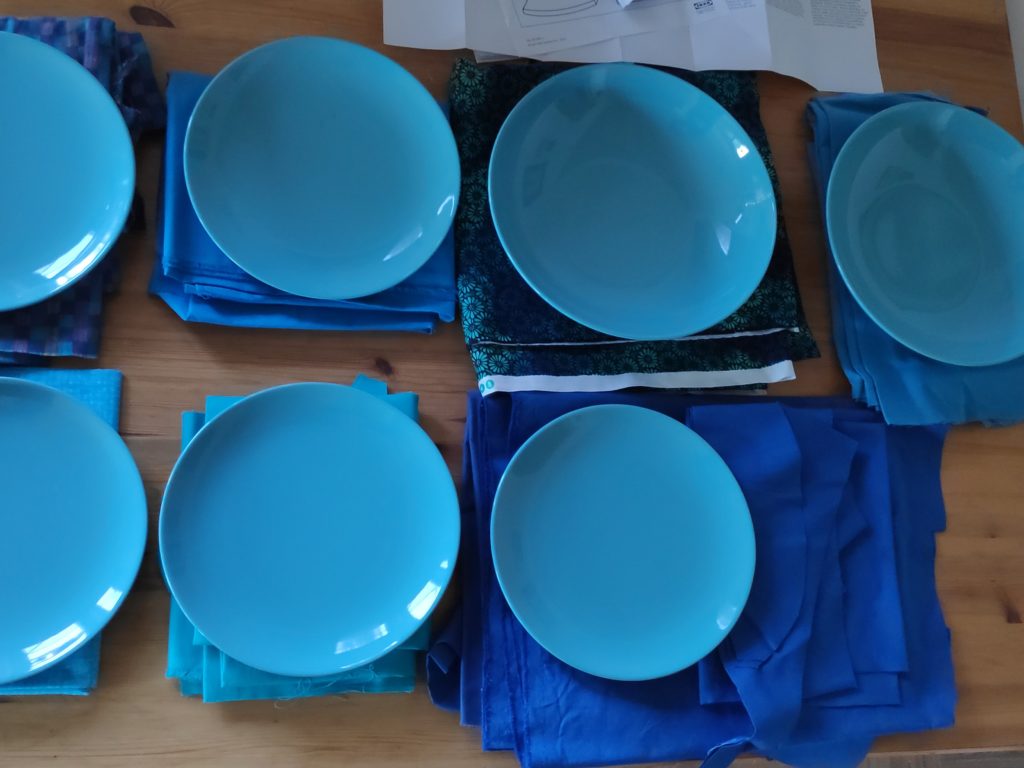
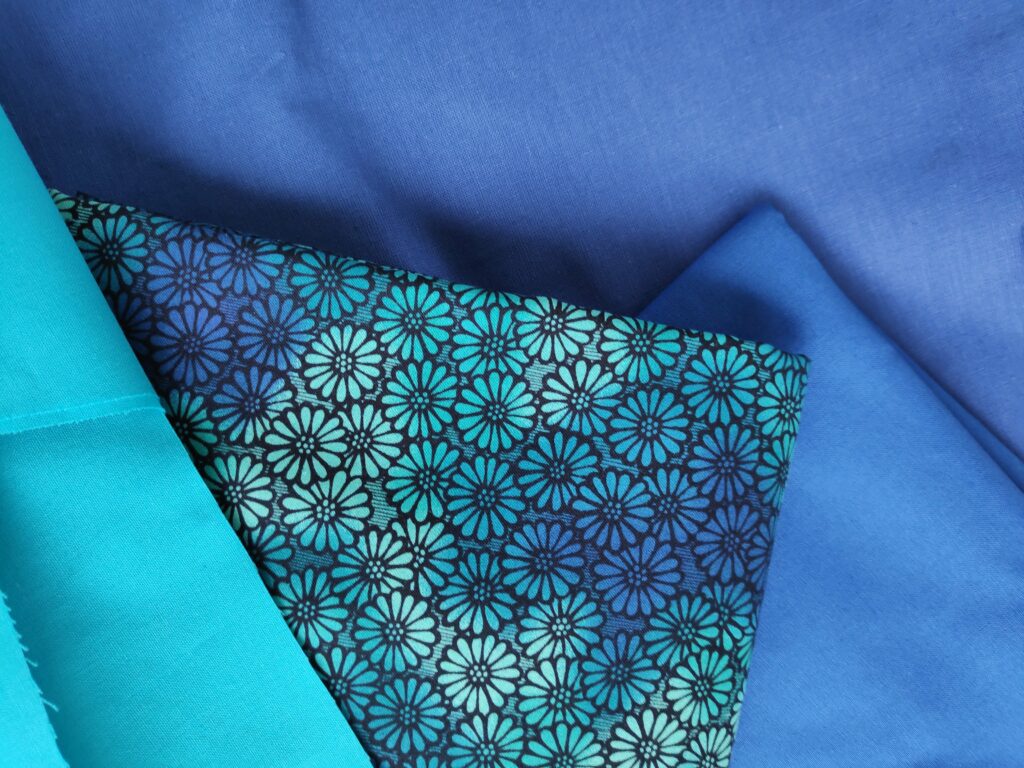
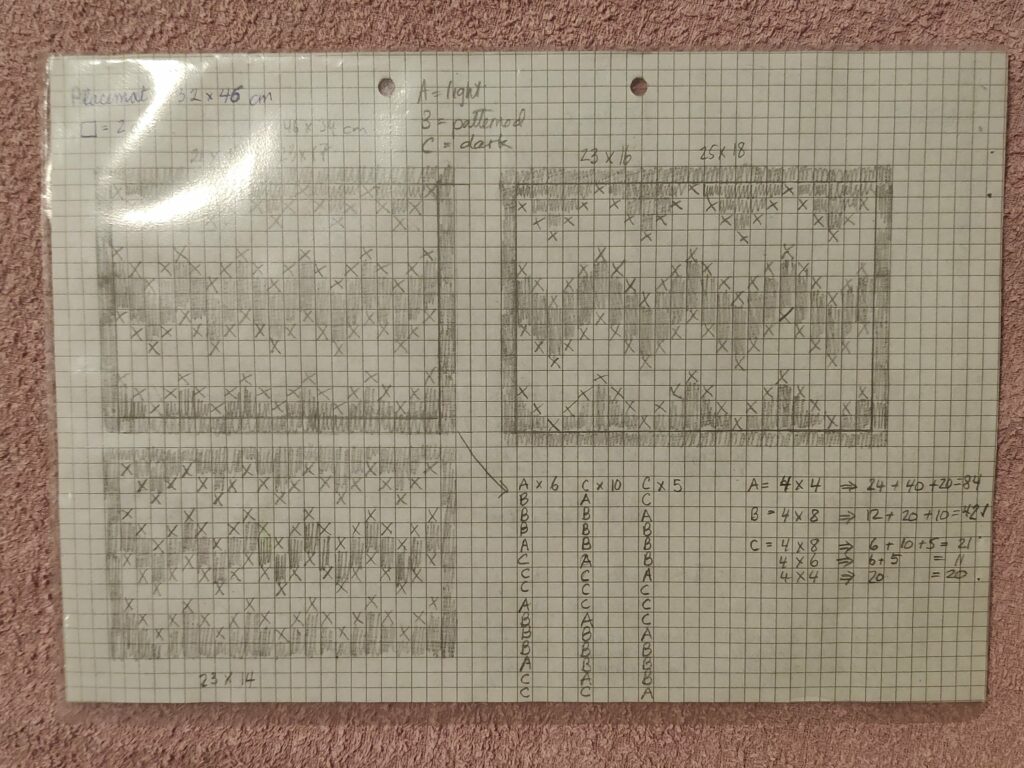
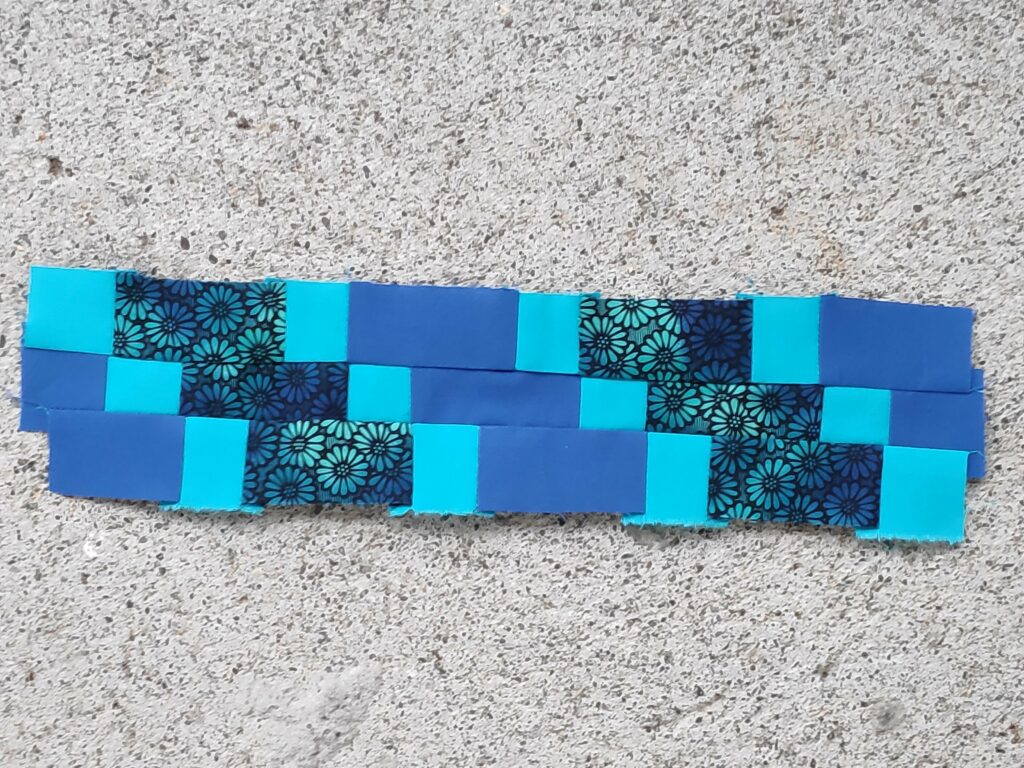
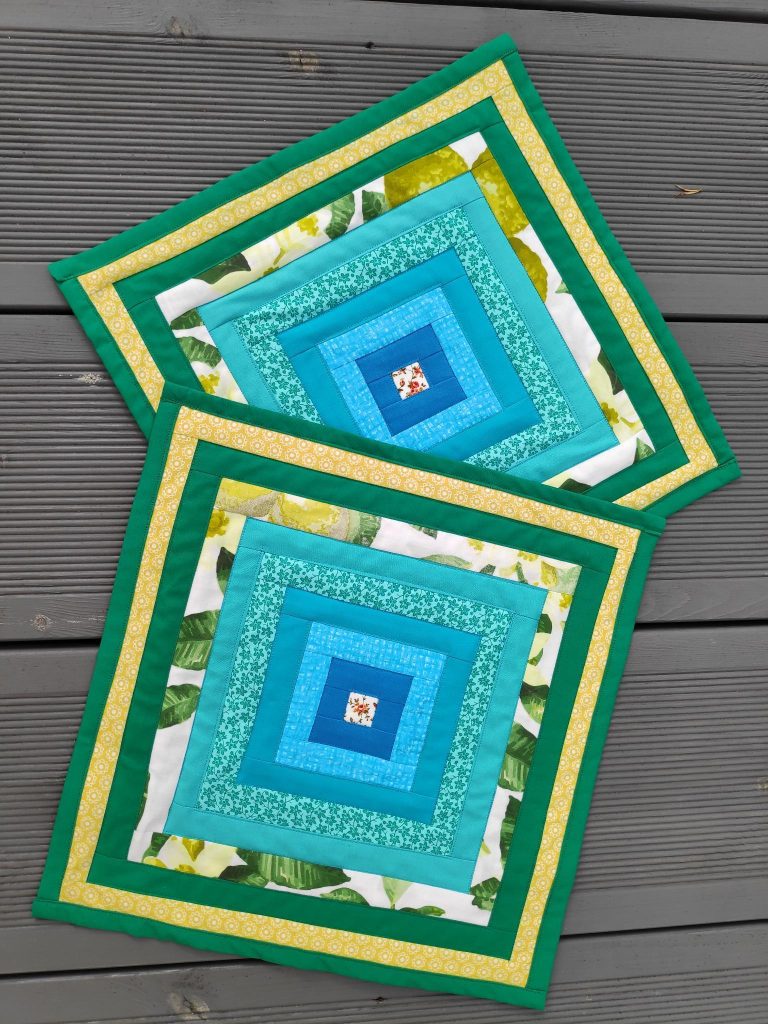
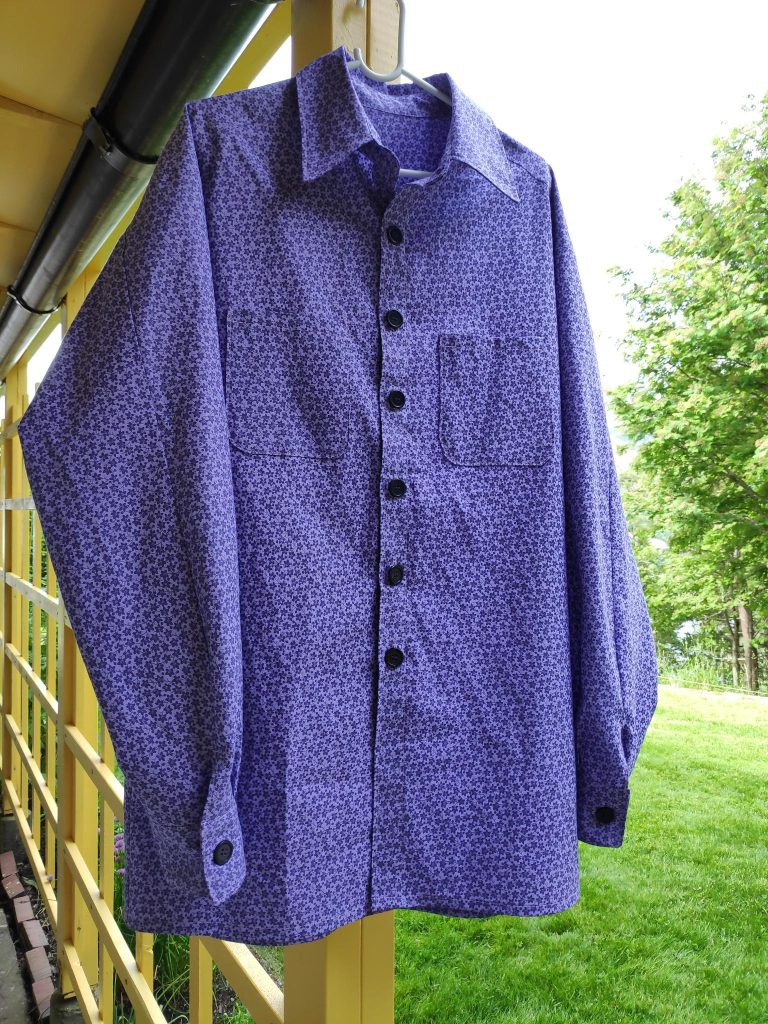
Sewing projects include 2 shirts for my son, 4 shirts for my husband, 2 nightdresses for myself, 5 tops for myself, curtains for the house, pillow cases and a long patchwork runner for the bedroom.

Two covers for bedside tables. There was also a long runner, with the same basic pattern made to protect the tops of the dressers. Project was completed in October 2021.
A shirt made for my husband who likes bright colours and patterns in his clothing. I originally started making shirts for him as the sleeves were never long enough. I have now been making him all his shirts for many years.

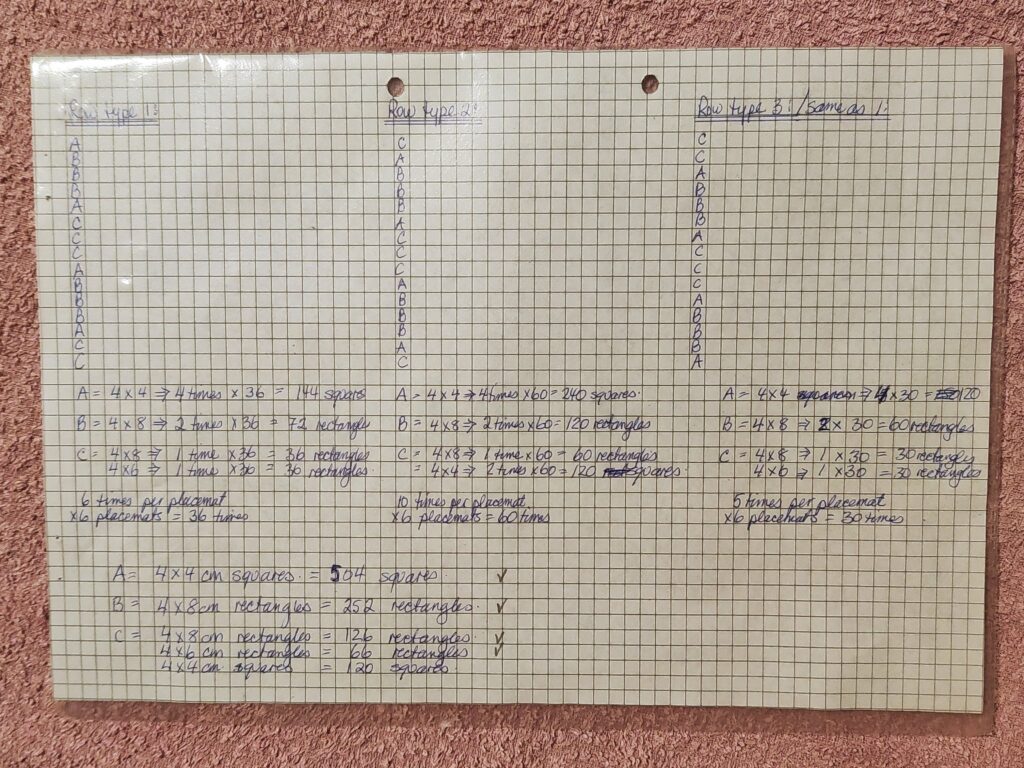
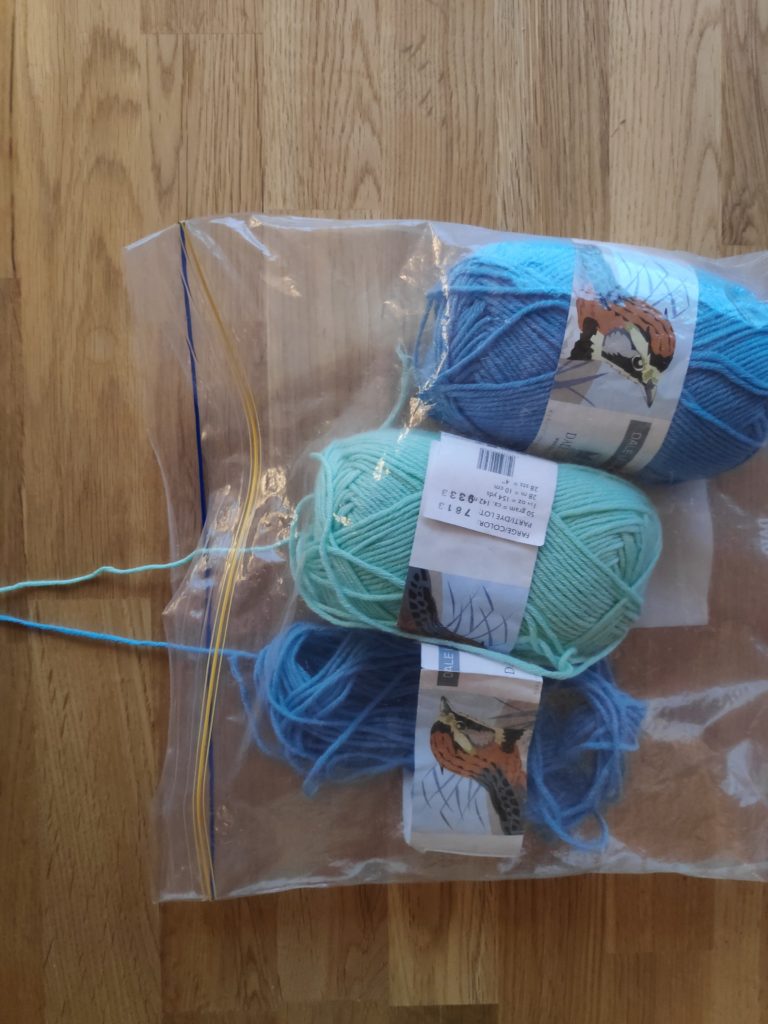
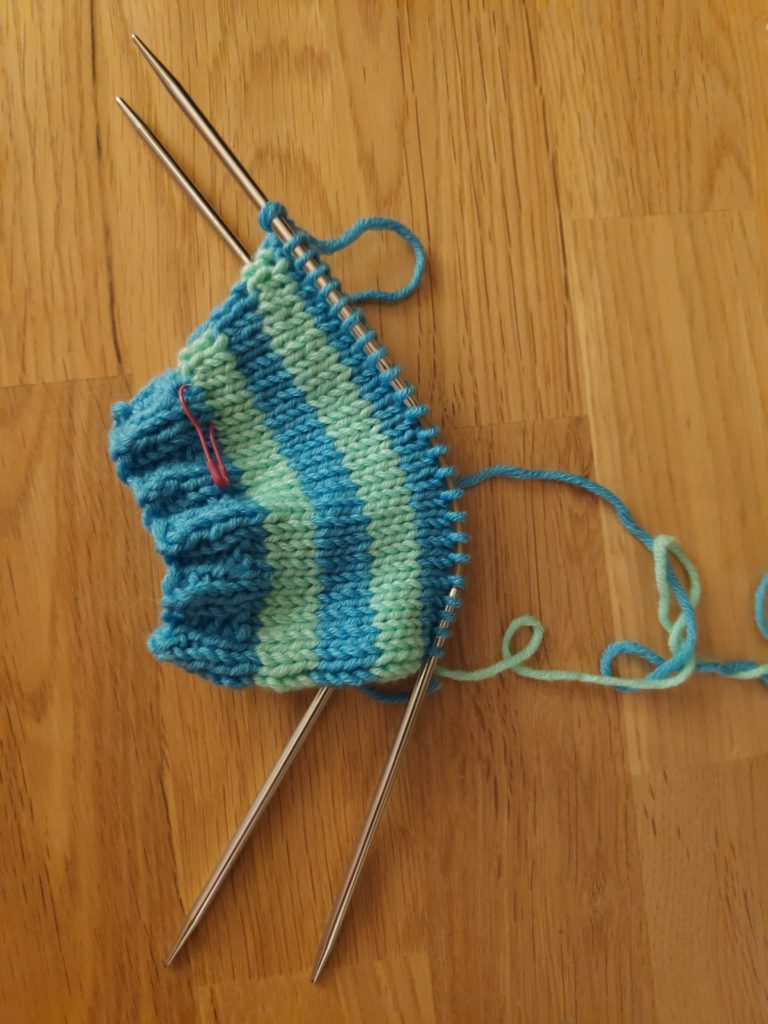
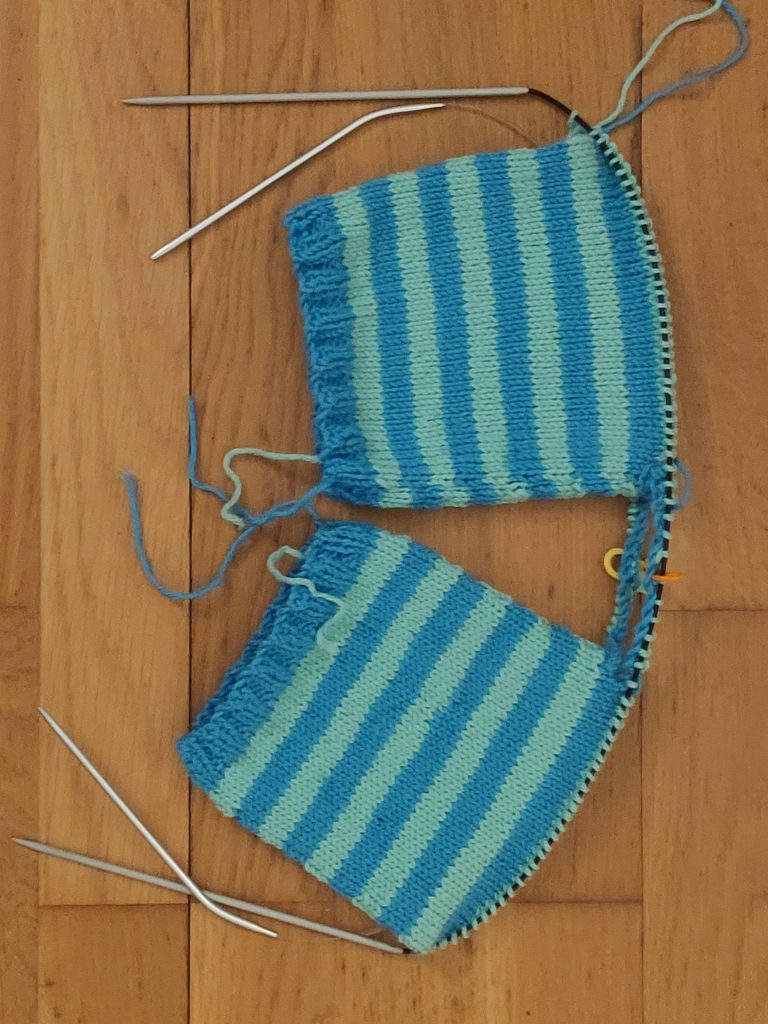
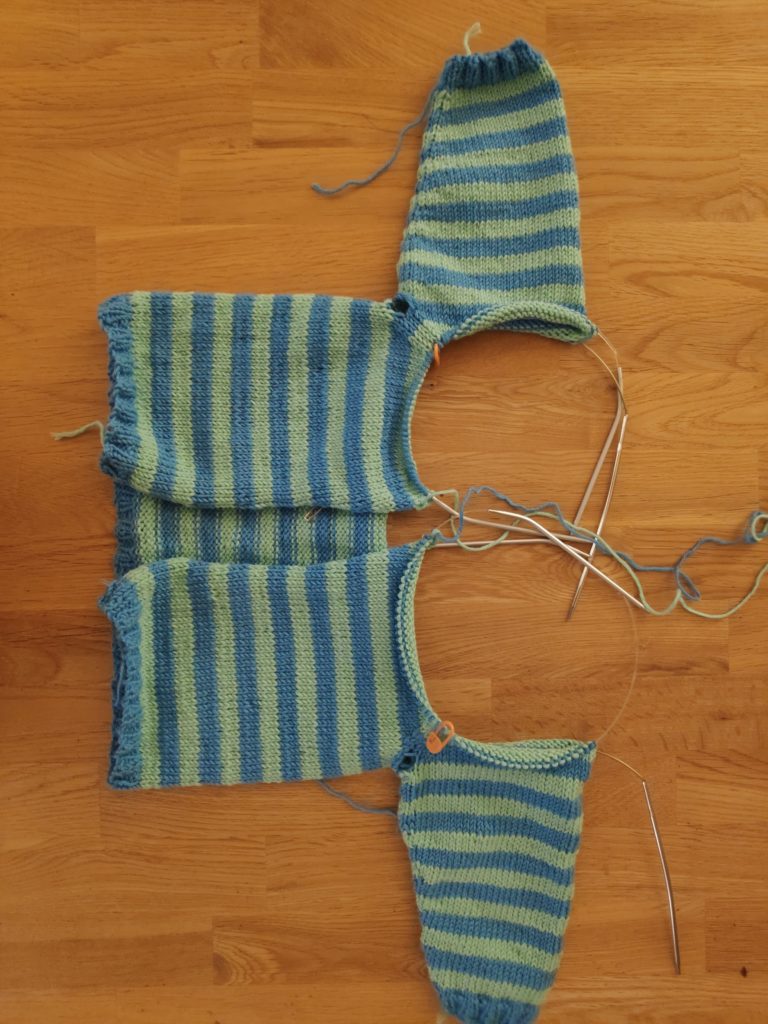
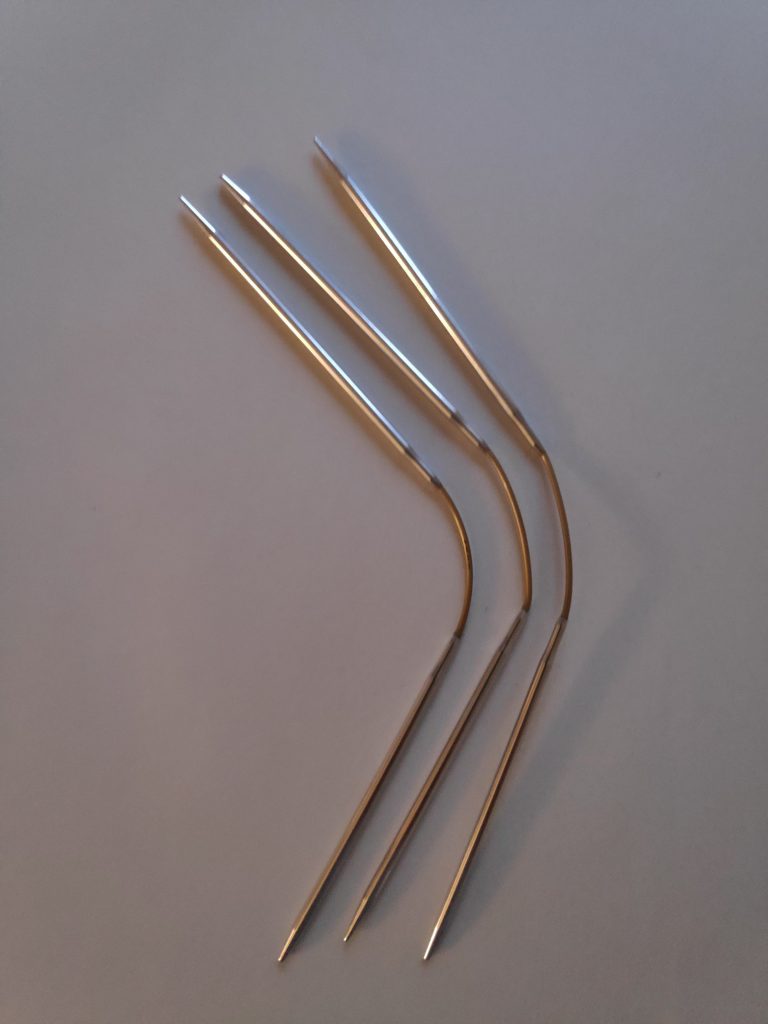
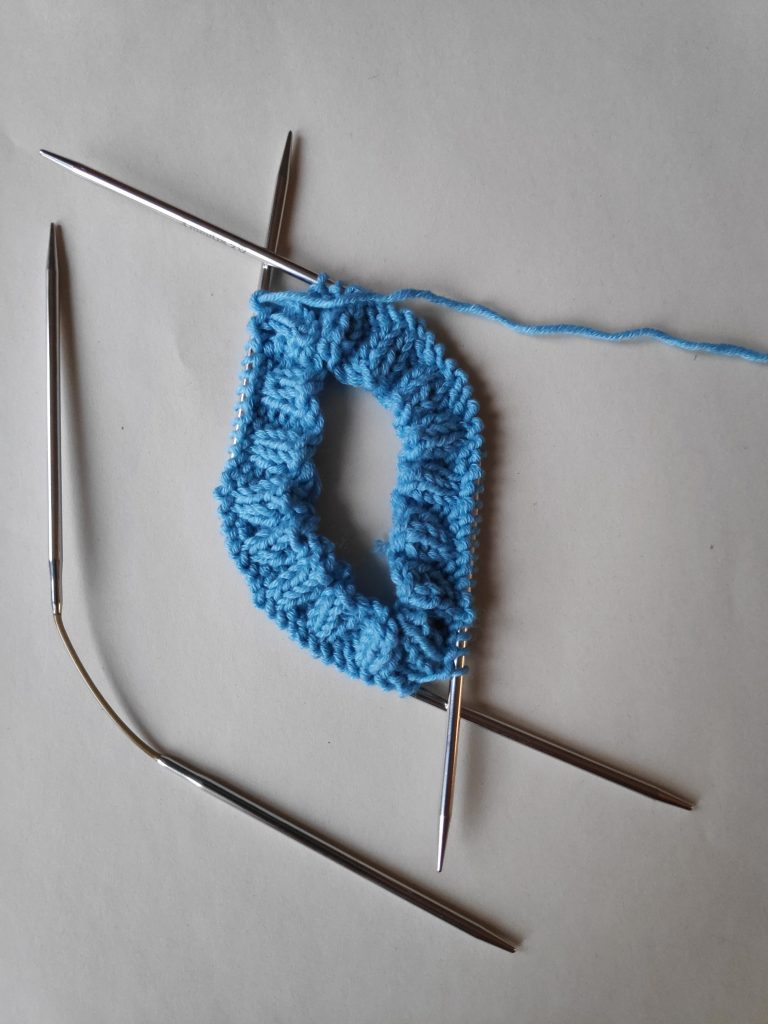
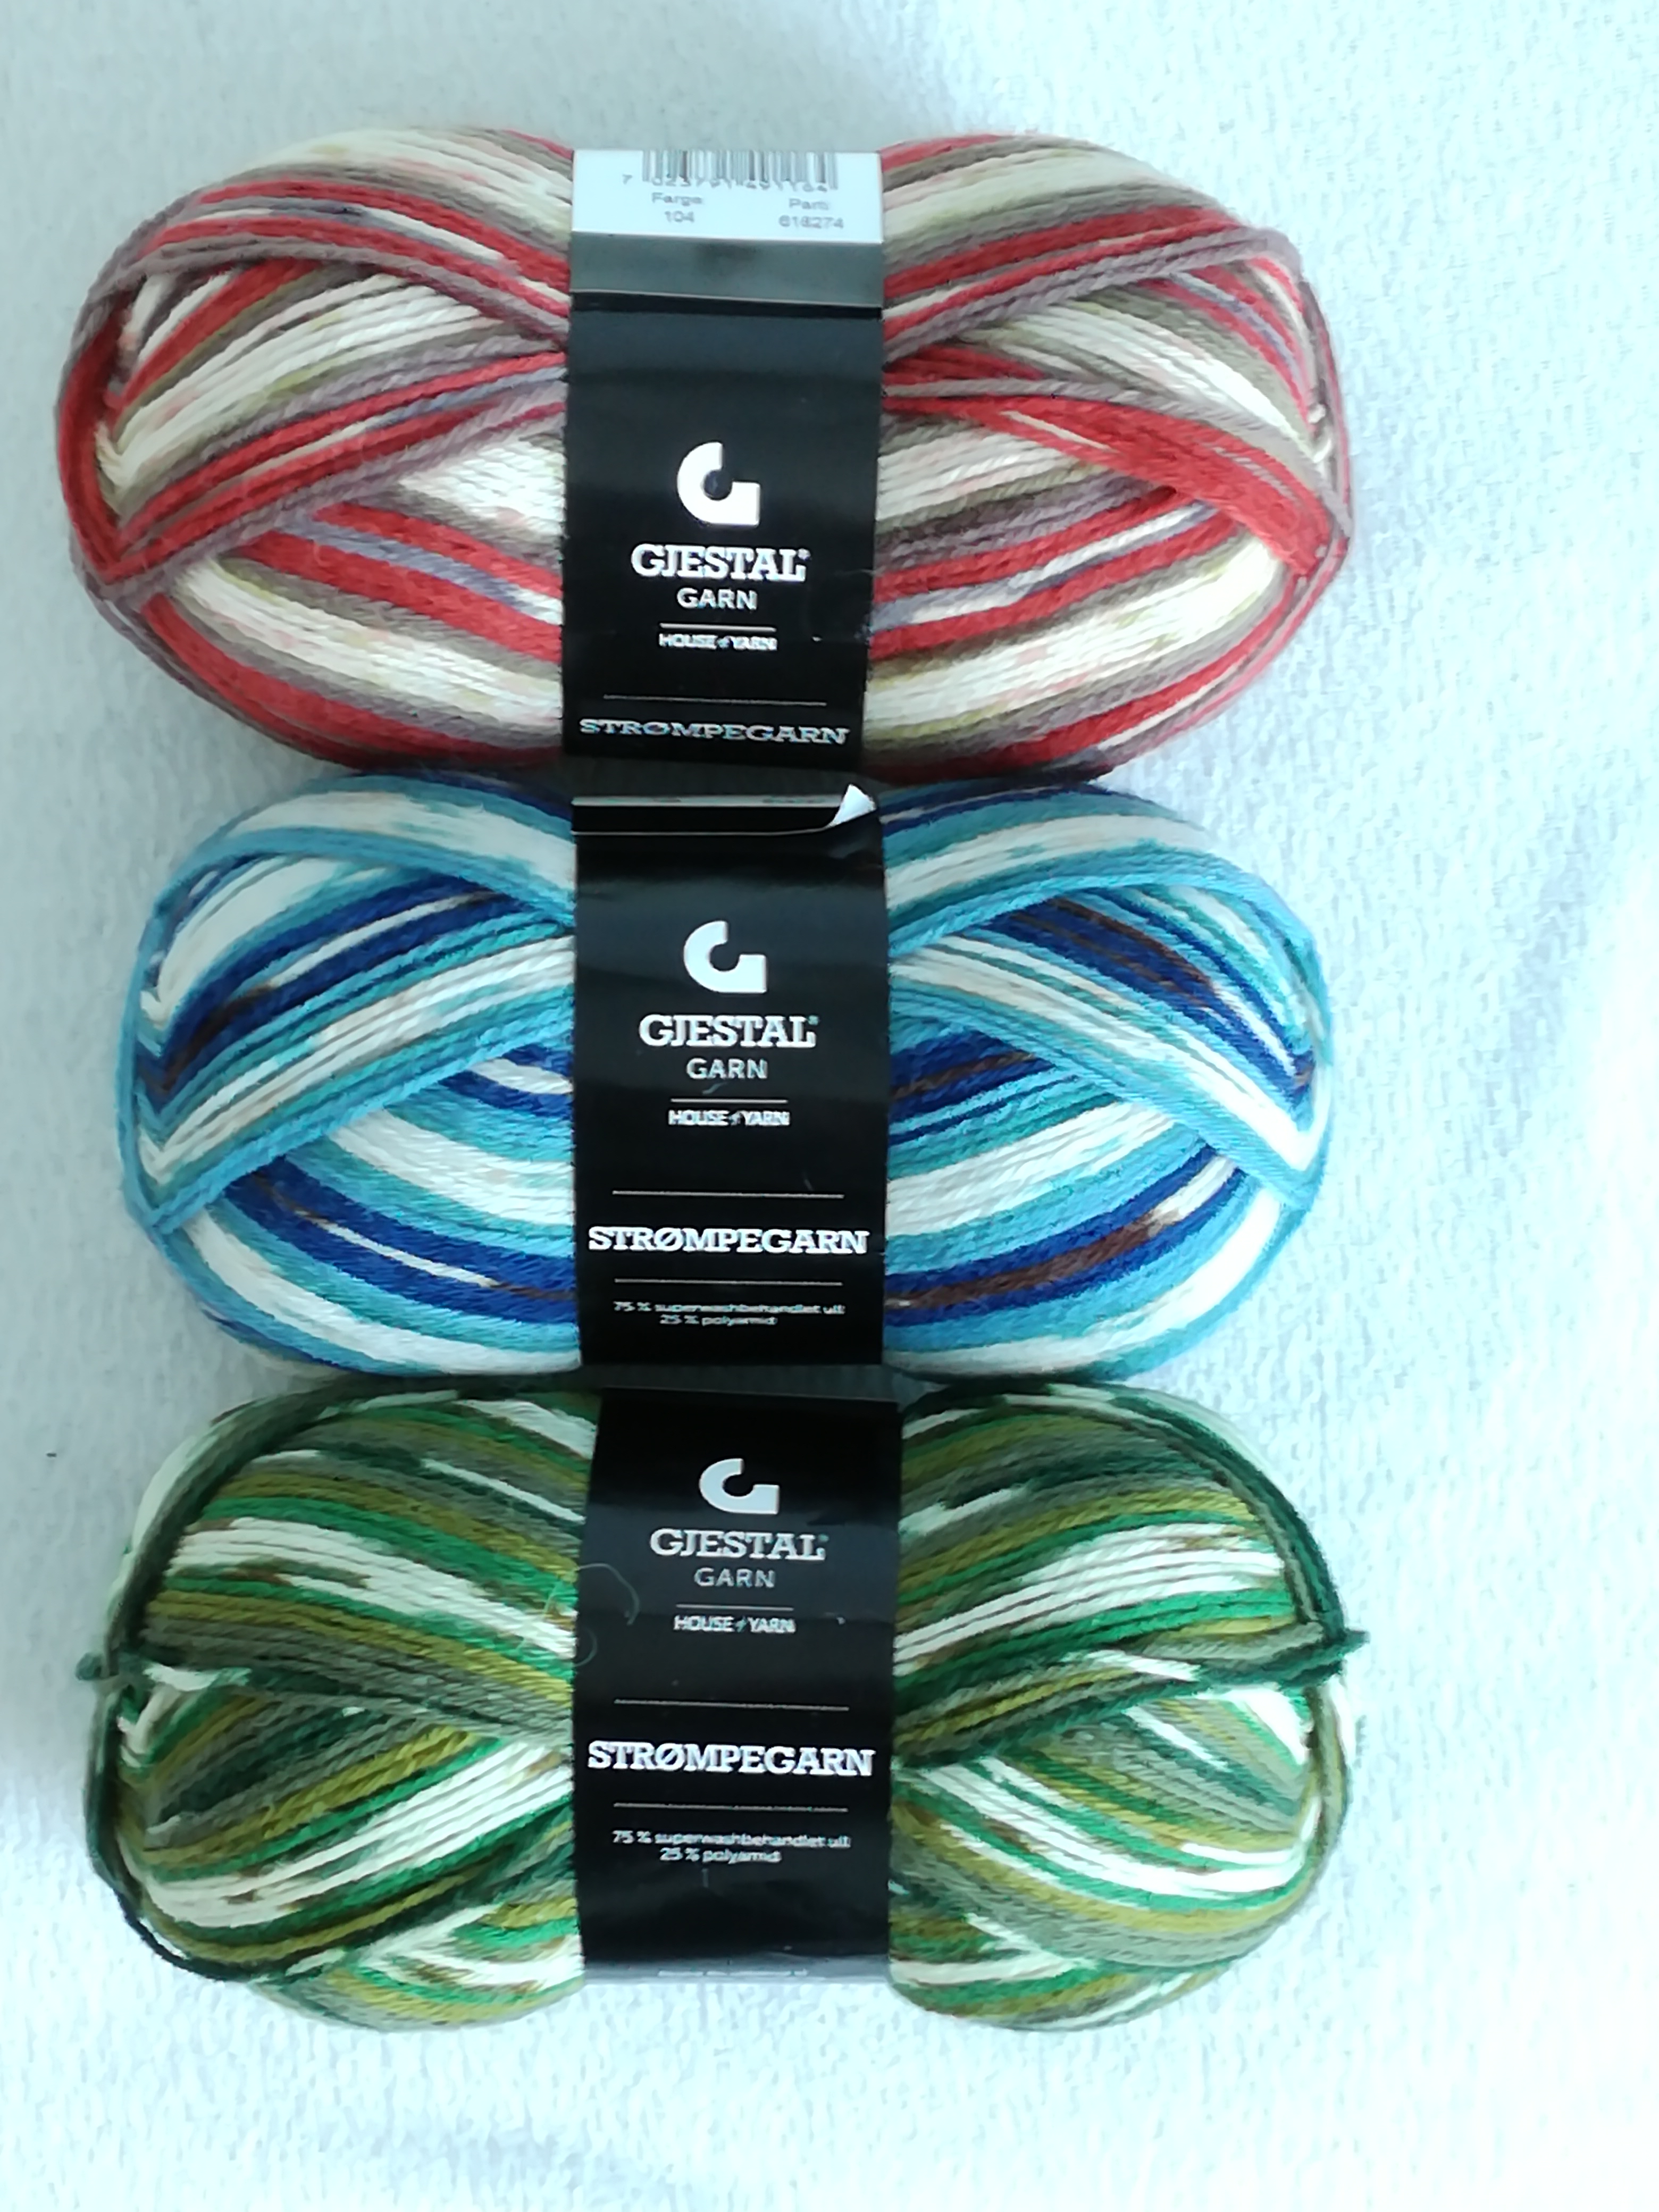
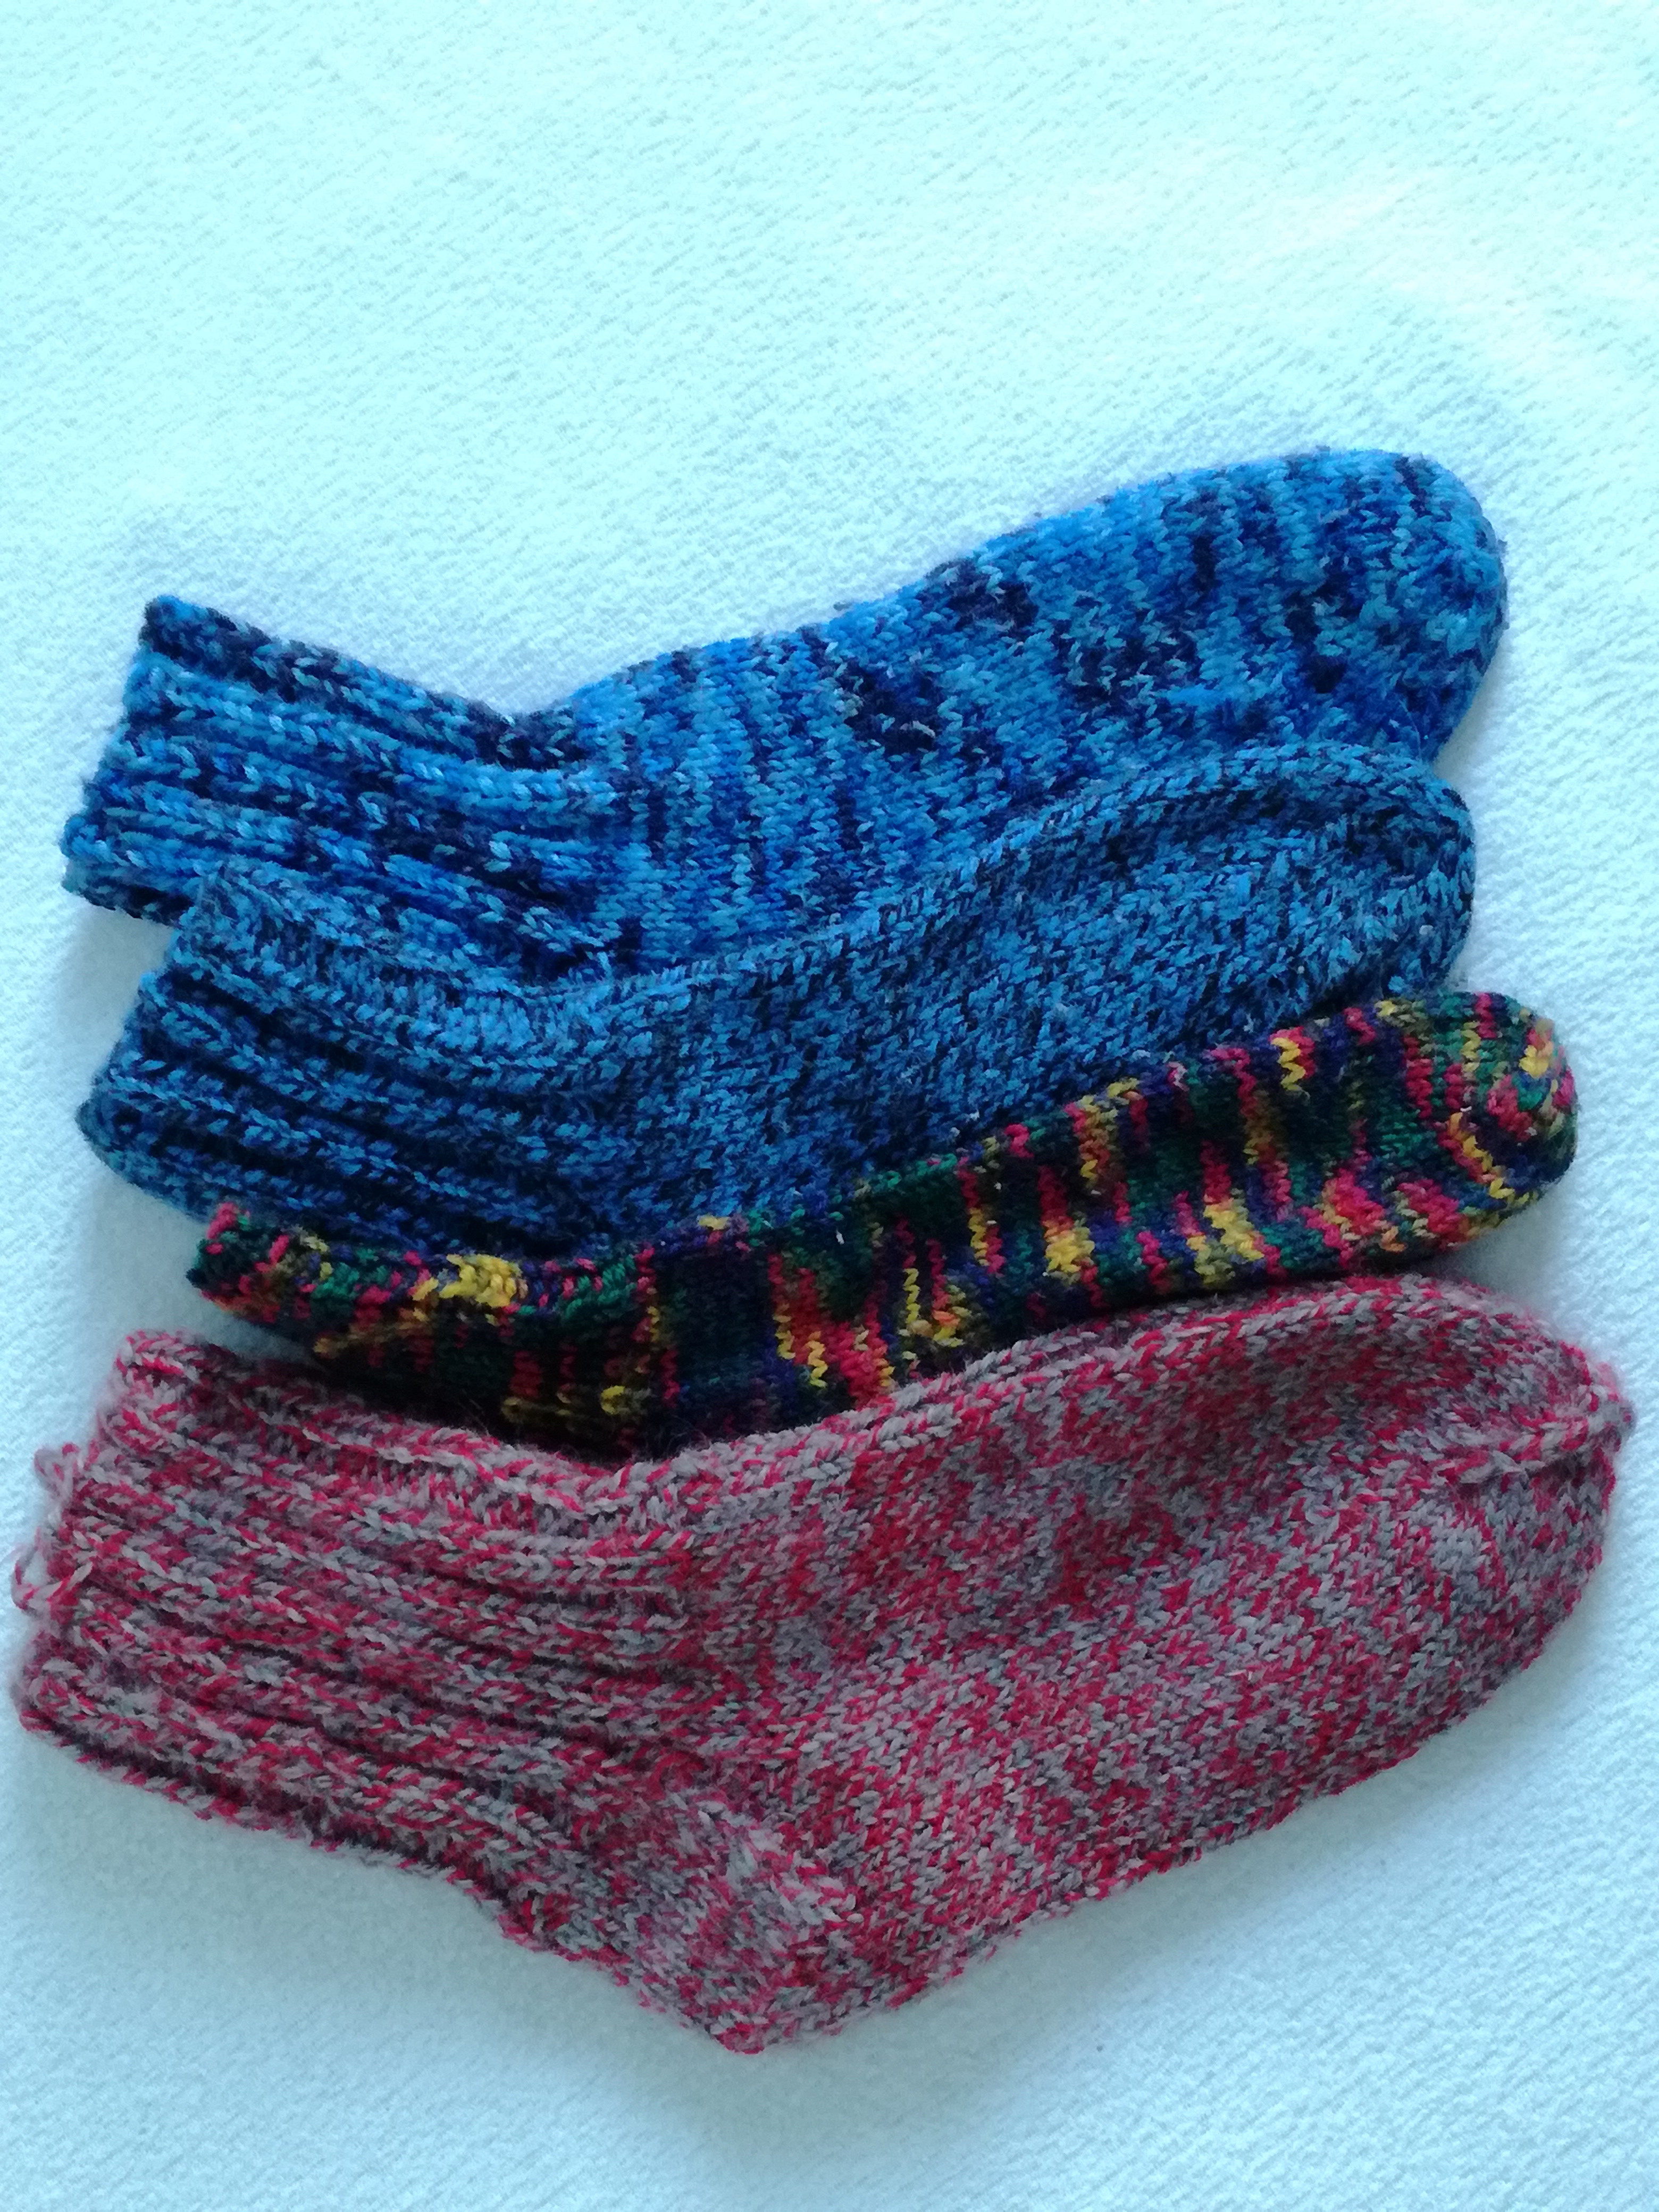
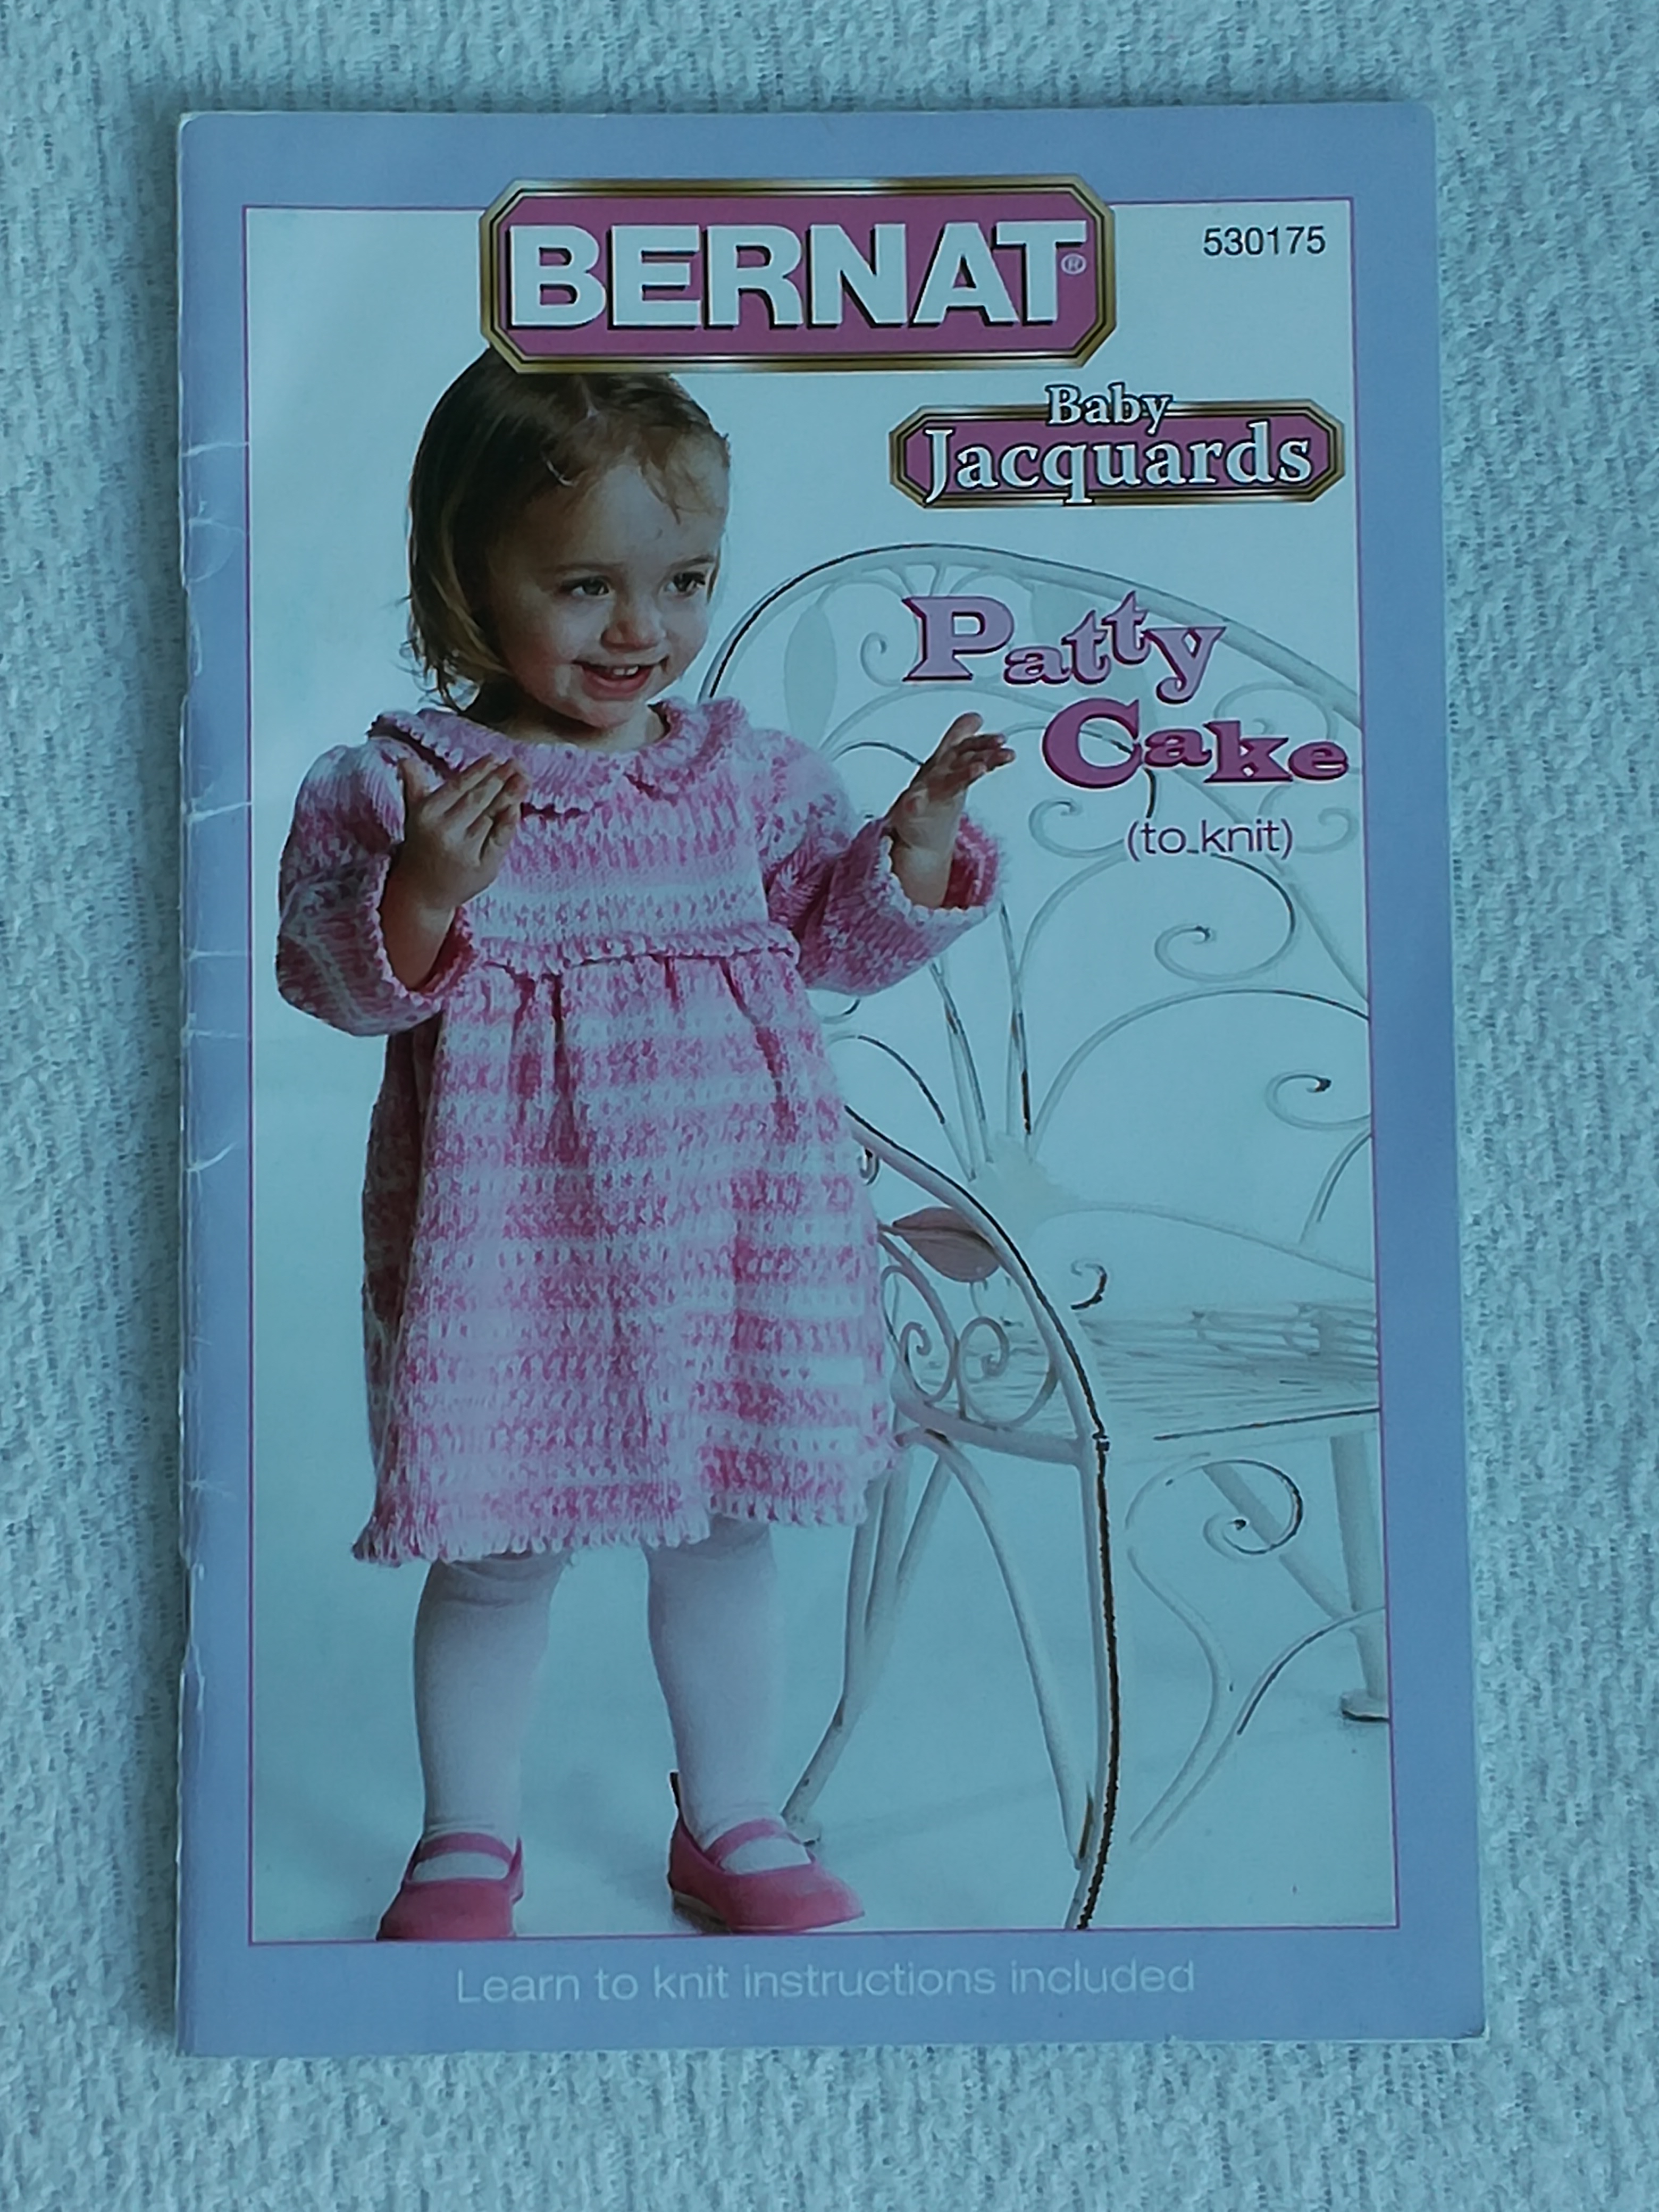
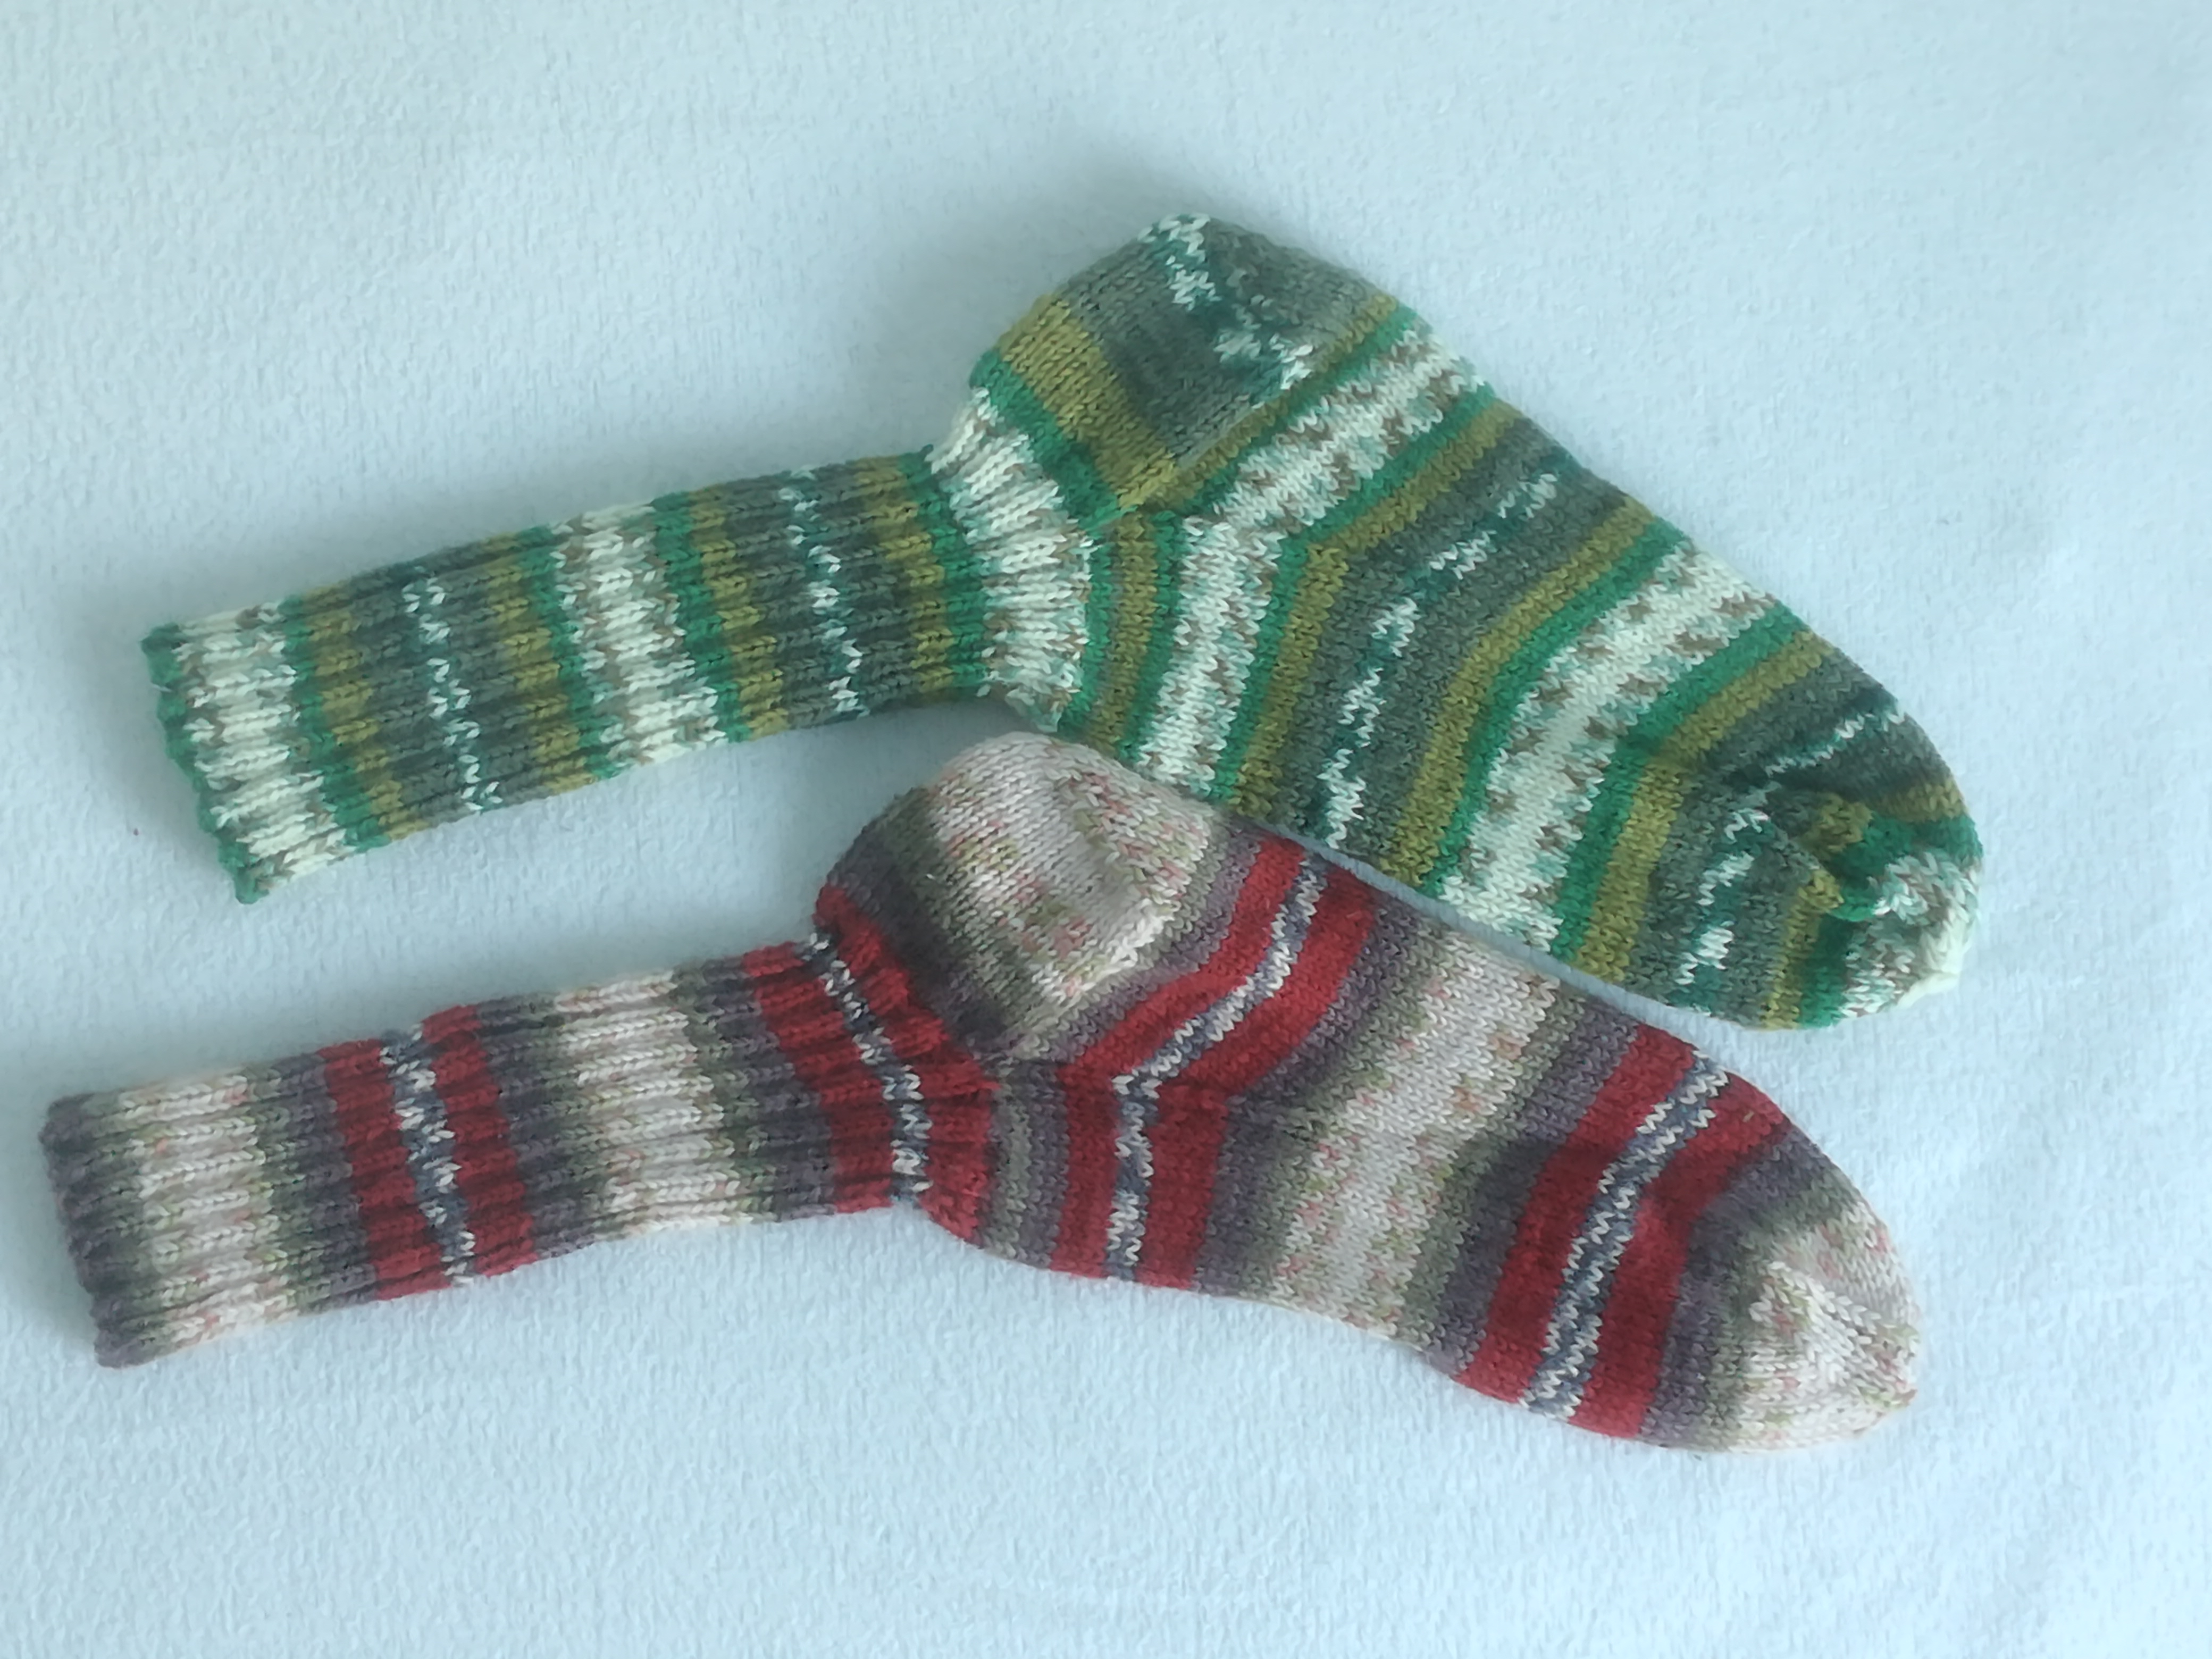
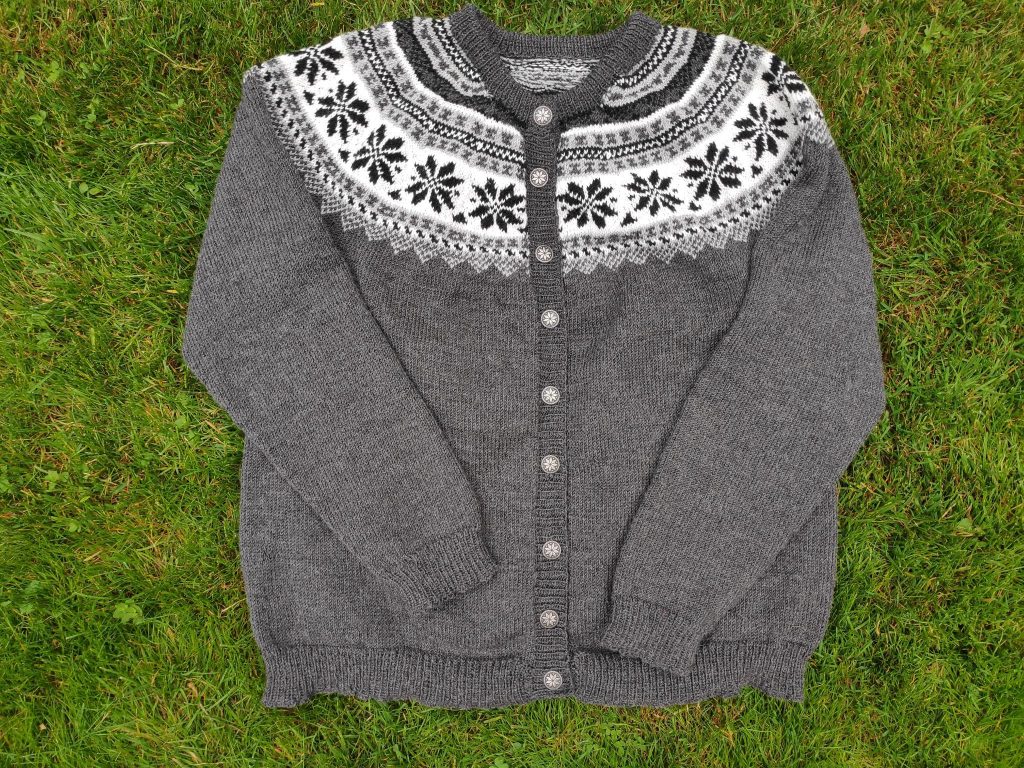
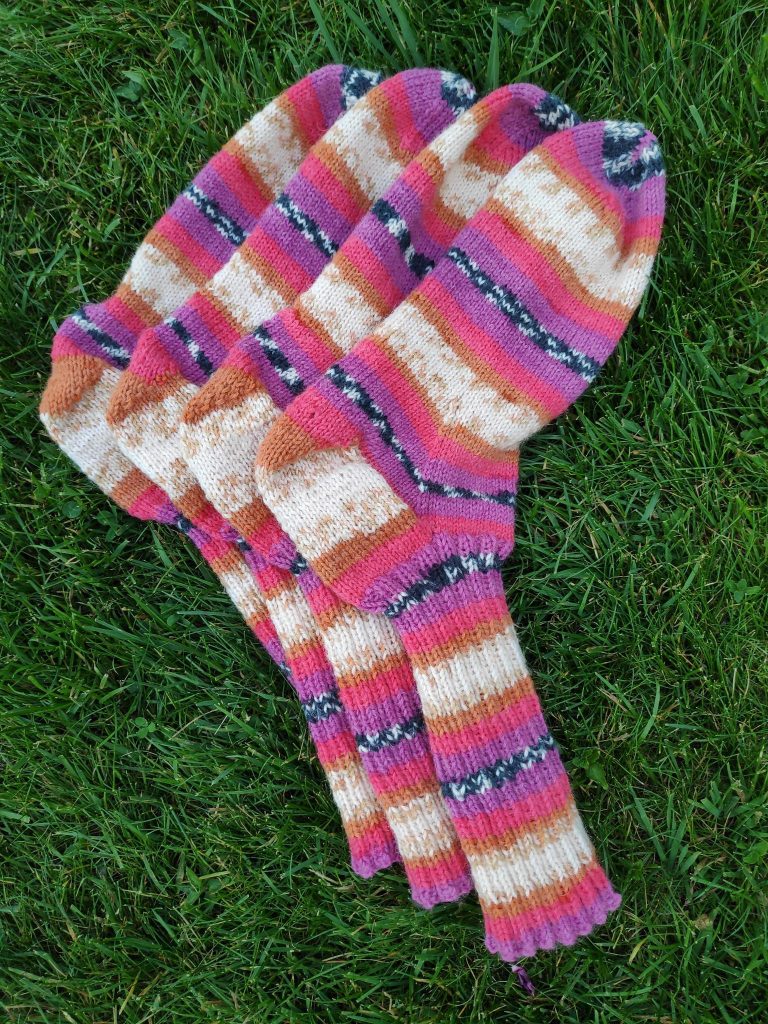
Knitting projects include two sweaters for my son, a toque, scarf and mitts set for my son, at least 6 pairs of socks for my husband, 2 pairs of socks for a friend, several children’s sized socks to be given away, one sweater and trousers outfit for a three-year old, a sweater for a five-year old, a sweater for myself and a baby blanket that was given away. Some of these projects were designed to use up yarn that had been sitting around for quite a while.

I like making sweaters and this one is a typical Norwegian pattern. This was made for someone turning 70 years old and given away as a birthday present.
Knitting socks are easy and don’t take nearly as long as a sweater. These ones were for my husband. This yarn comes with the stripes in it, so it is just knitting round in circles and measuring to get the right length. Once the first one is knit, I make sure that the second (or third or fourth) one has the stripes in the same place.

Walks

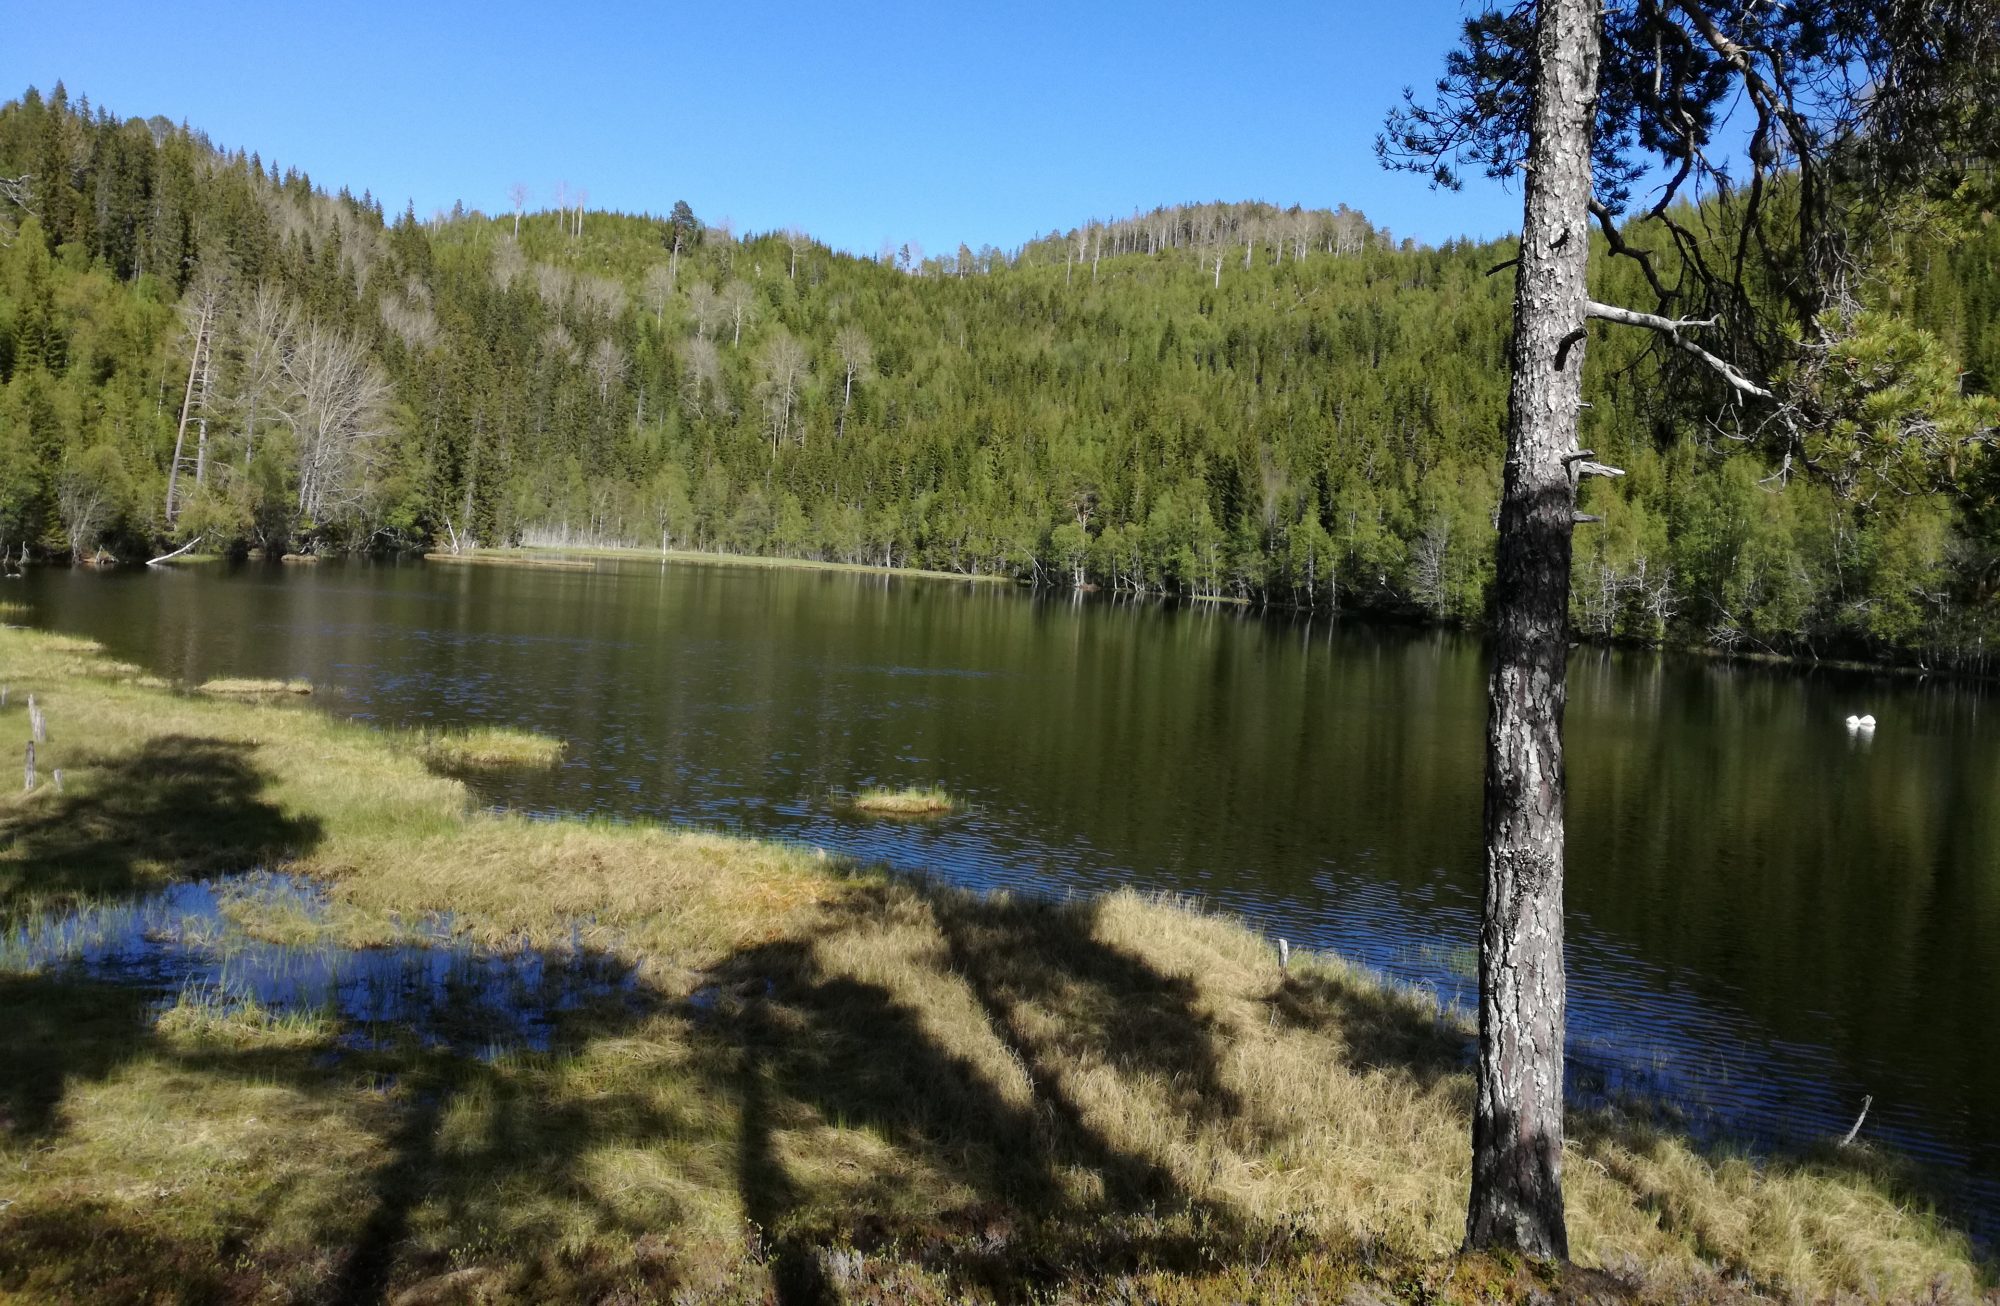
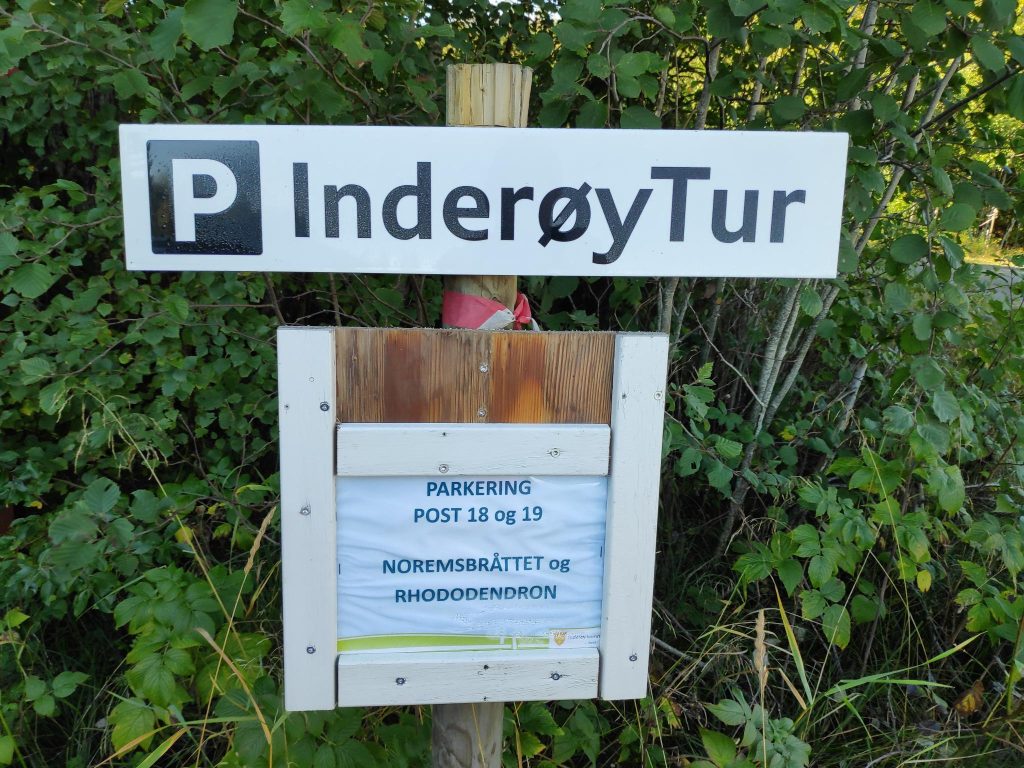
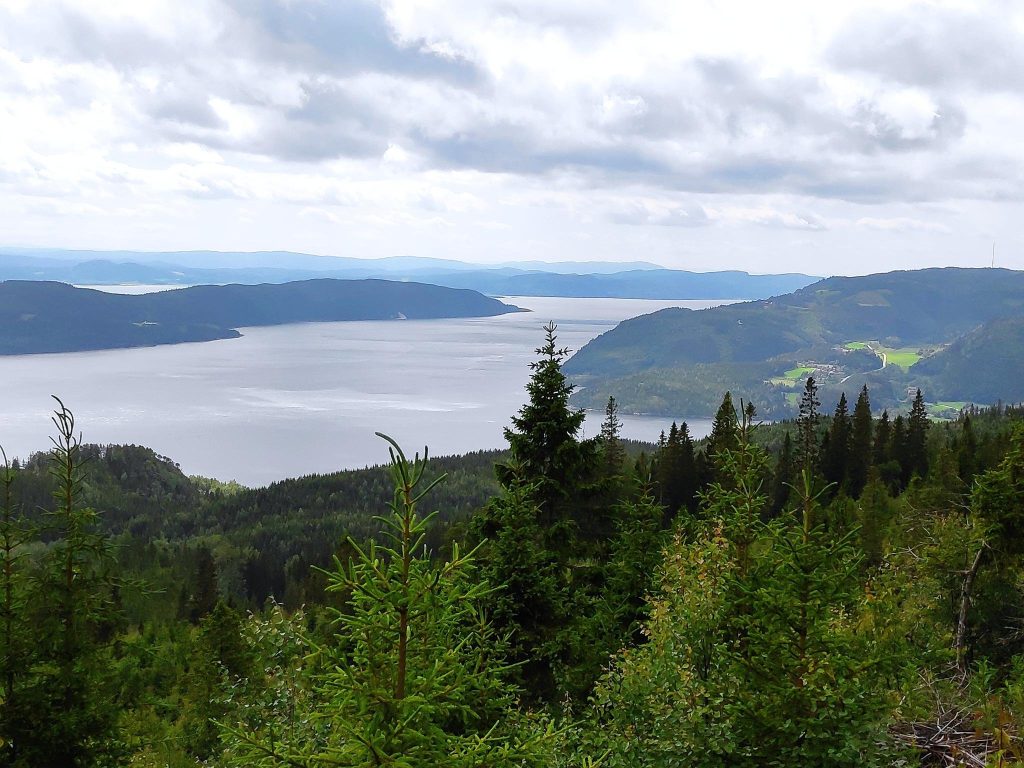
Walking is the type of exercise that I enjoy best. I no longer spend a lot of time walking in shopping centres as my need to buy things is reduced. I have a house full of things that are not used and try to restrict my purchases to things that are going to be used. So the walking that I prefer is out in nature. Thankfully, the municipality of Inderøy has many well-marked trails. Each year new ones are marketed through the program “Inderøytur”. I go on walks that I have enjoyed before, and find new ones that get added to my “like-to-do-again” list. I have one girl-friend that I go walking with quite regularly and I also go for walks with my husband and my son. I like walking by myself, and I enjoy walking with others.

All the walks have a designated parking area and the trails are marked so that it is easy to find where one is going. I went to 32 of the walks in 2021, some of them more than once. The one that is closest to home I went to 27 times. We took these walks between the 9th of May and the middle of October.
View from Storlia, in Mosvik. This picture was taken 2021.06.27. This is a walk that I like to do at least once a year and in 2021 I actually did it twice as I took my daughter on this walk in November when she was visiting. It is a steep climb and must be done on a clear day as the views are spectacular from this height.

Food preparation

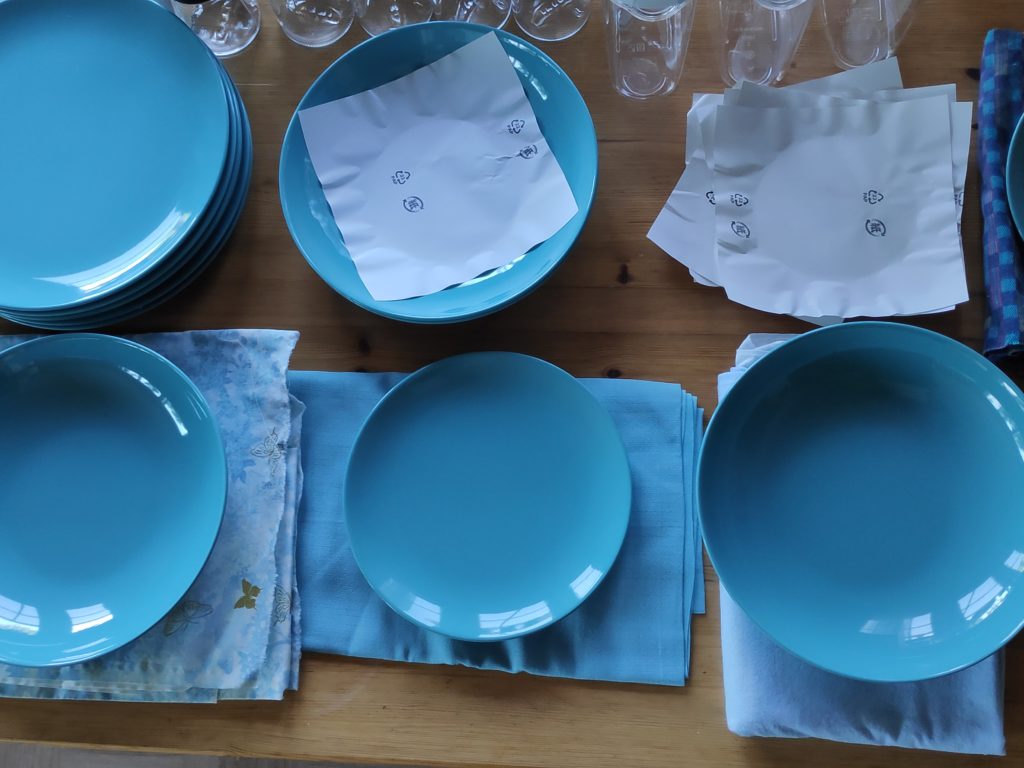
I make dinner almost every day. There are occasions when someone else does the cooking, but we eat out very little. I enjoy making meals and I enjoy baking. Food preparation is a meaningful activity every day of the year. I try to plan a variety of meals and also try to restrict the use of salt and sugar in my food preparation. This results in my baking almost all of our bread products (reduced salt content important here). I bake a lot less cakes and cookies than I used to and try to make healthier desserts than I might have a few decades ago. I also prioritize non-meat meals about twice a week. We use dairy and egg products so are not vegetarians at all, though I love my vegetables.

Gardening

I enjoy being outdoors, particularly from April to October, and I have a large garden that is never as well looked after as I would really like. I’ve always had the attitude, “what gets done, gets done” and try not to worry about what doesn’t get done. As I age, I find I have limits to the energy that can be used on gardening which is a very labour-intensive activity.

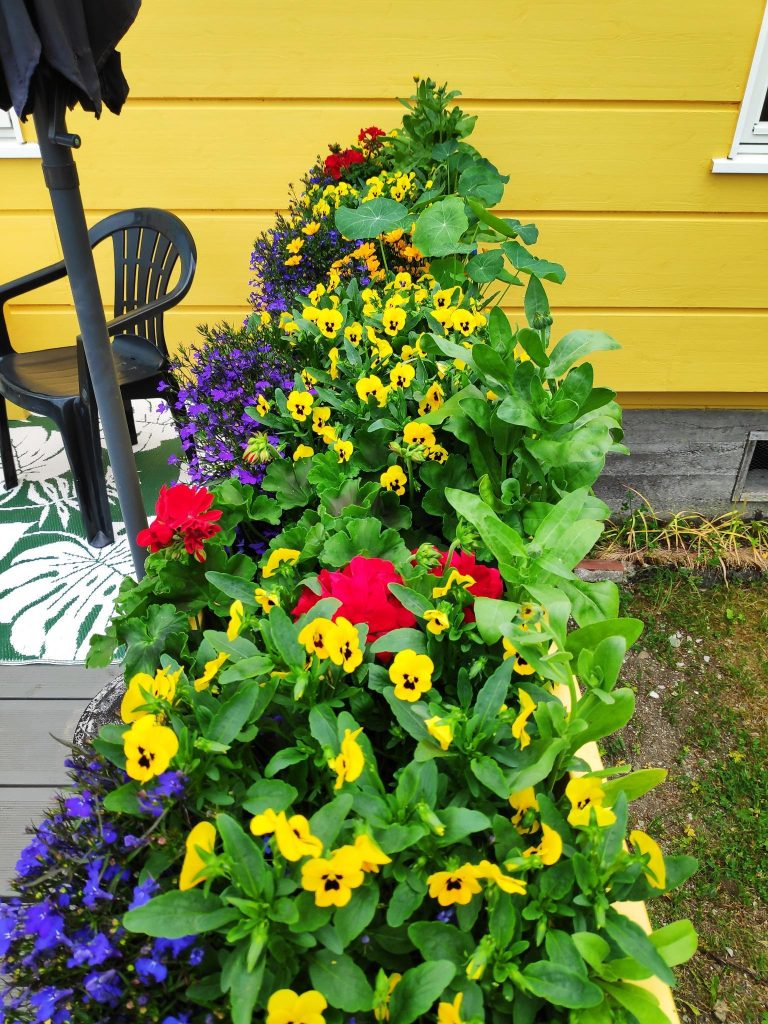
This year I had new planters on the terraces. I lined them with appropriate cloth, then filled them with dirt and plants. I was very pleased with the results.

I used a lot of yellow pansies in my planters this summer. They continued to flower until the snow came in November, then they got eaten by the deer. Lobelia and geraniums gave a variety of colours, but they do not last as long. The key to pansies is to not let them go to seed by cutting off the flowers that are finished and making sure they don’t dry out.

During the summer of 2021, my son took on the responsibility for improving the lawn, digging up a large section of mostly weeds, putting down new dirt and seeding with lawn seed. He has put in a lot of work and the lawn has seen great improvements the two summers that he has been living here.

Painting

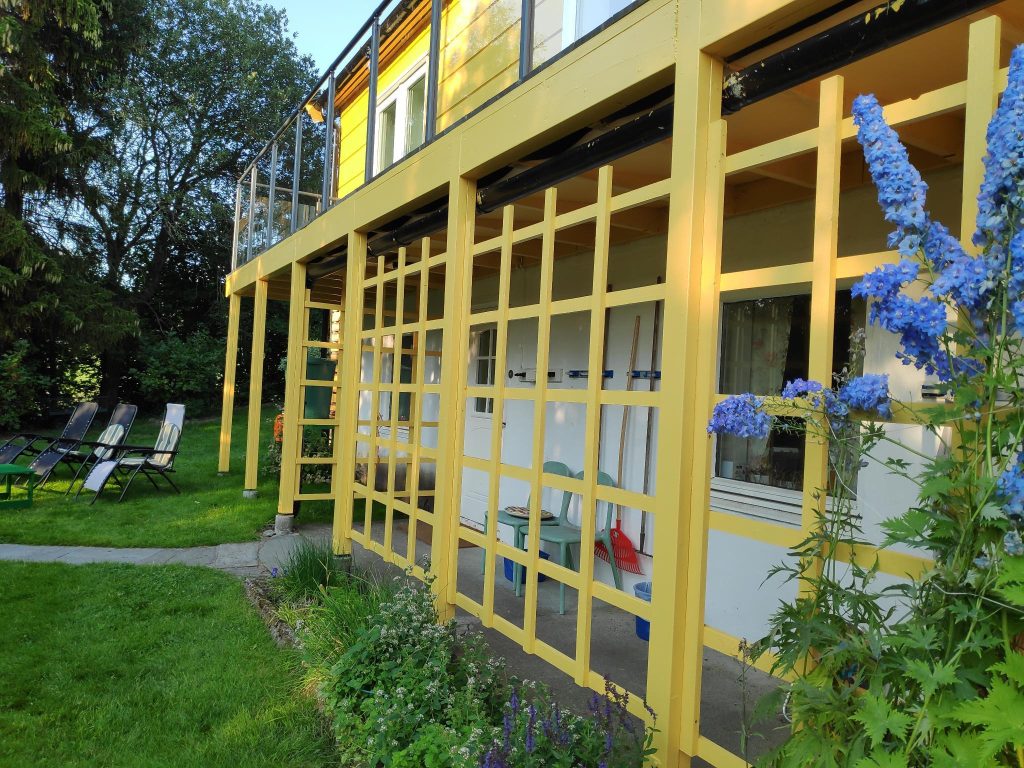
I enjoy painting things, though I am not artistic in that way. It tends to be walls or furniture that gets painted. Outdoor painting is restricted to when the temperature is above +10 degrees Celsius, but there were several things that were done in 2021. One outside wall of the house was painted and the new trellis at ground level was painted. There were also some small outdoor painting projects completed. There was little indoor painting done during 2021.

Both the wall on the upper floor was painted and the trellis at this level was new and painted. You can also see some of the garden in this picture.

Reading

I read a lot, mostly when knitting. This year it has been mostly fictional romances, often set in the early 1800s but by modern authors. I record new books read on www.goodreads.com, where I have recorded 78 new books read in 2021, but I also reread favourite books by authors I have read over decades and these would be in addition to what has been recorded online.

Travelling

Travel in 2021 has been restricted by the pandemic. I am actually not nearly as interested in travelling long distances as I was when I was younger. The major trip taken this year, was a one-day car trip to Trondheim and then coming home through Selbu. I have written a separate blog about that trip. In addition we took a day’s drive to the western end of route 755 (the main road that passes near us and crosses Skarnsund Bridge) making a lot of stops along the way. You can read about both of these trips on previous blogs (Selbu, Route 755).

However, we were fortunate to receive a two-week visit from my daughter in November. She was on her way to a business meeting in London, and was able to visit us on the way. She normally lives in San Francisco, California, USA. It was nice to have both children home at the same time and the siblings were able to have time together on their own. Though my daughter had to work while she was here (“home office” with online meetings with people in many places in the world), we were able to go for walks and spend precious social time together.

Otherwise, travel has been by watching television shows and documentaries at home. No fuss, no insects, no unwelcome heat or humidity, just the comfort of our own living room. One can see a lot of different places this way, one hour at a time, and avoid all the inconveniences of international travel.

Writing blogs

I am not much of a writer, but I have undertaken to write a few blogs in 2021, mostly about the walks I have taken in Inderøy. I like to include a lot of pictures as I feel that they illustrate what I have been doing better than using a lot of words. All pictures that I use in the blogs are taken on my cellphone. Any exceptions to this will include an acknowledgment of photographer. So far I have published 36 blogs in 2021 and this one will make number 37.

Place mats – quilting and finishing

Quilting is the process of sewing several layers of fabric together. Finishing includes making the edges and corners neat.

Layers

Having now sewn the top layer of my place mat, the layer that shows, I need to make my place mats thick enough for their purpose. My place mats will be used a lot and need to soak up spills, deaden sounds on a wooden table, and tolerate a lot of washing. Making them with several layers, help them deaden sounds.

Before the backing material is attached, it is important to trim the edges of the place mat and make sure it is the size you want it.

I cut an old flannel sheet into the right size rectangles and used two layers of the sheeting to make a thicker place mat. This filling layer will not be visible in the finished place mat. The backing is made of a solid blue that goes well with the top. The edges will be folded over to the front to make good edges.

Here you can see the three layers for the place mats. The top layer is the patchwork that I have designed and sewn. On the bottom is the backing in a solid colour. In between is white flannel sheeting which adds thickness to the place mat. The white sheeting will not show in the finished place mat.

(Note: I am doing my sewing in November when there is very little daylight. I am mostly doing my sewing while it is dark outside. This means that most of the pictures were taken inside under various inadequate lighting conditions. Please excuse the poor quality of the colour in the photos. A few were taken outdoors and they will reflect the real colours much better.)

Quilting

Quilting is the process of sewing all the layers together so that they tolerate washing. There are many ways of doing the quilting, but with a geometric pattern like I have, I like best to follow the lines of the pattern. In this case I decided to sew only in one direction, and in the trough between two strips. I have chosen a contrasting colour so that it shows. When sewing in the trough, the stitching may not show up, if you use a colour of thread that easily disappears into the fabric’s own colour.

The quilting is done by sewing with a contrasting colour in the troughs created by the strips.

When doing the sewing, start in the middle of the place mat and work your way to the outside edges. As you sew the different layers may stretch a bit and by starting in the middle you can reduce unwanted tucks as you sew.

Looking at the back side of the place mat, you can see that I have quilted with parallel lines in one direction only.

Many of the old-fashioned quilts were quilted with various flowery patterns in the sewing. This, of course, is a personal preference. With other place mats where I have appliquéd patterns, there is often more pattern on the back. This place mat has a very plain pattern. It is adequate to hold all the four layers together solidly enough to tolerate a lot of washing.

Finishing

Once I had finished the quilting, I worked on making neat edges. The backing was folded twice and pinned in place. I always have difficulties with the corners and I spent quite a bit of time trying to get them all the same and easy to sew so that they didn’t come apart.

Here the backing has been turned twice to make a neat edge

Here is a close up of how I had pinned the edges and corners.
I also did some extra zigzag stitching in the corners so that the place mat tolerates a lot of washing.

Three of the place mats in use, with the new blue plates that they were designed to match.

Place mats – Cutting and sewing

Once the design has been decided on and the calculations made, it is time to get down to the practical work of cutting and sewing pieces together. My design at the moment is geometrical, using squares and rectangles in three colours of fabric.

Tools

Self-healing cutting mat, roller knife and cutting ruler.

If you are going to do much of this type of creative work, it is important to invest in the tools that are needed. Cutting a lot of small pieces with scissors is both time consuming and inaccurate. A roller knife along a flat edge will give a much straighter cut and cut down on the wear and tear on your fingers. Use a self-healing cutting mat. The one I have has metric measurements on one side, and inches on the other side. You can choose the measurement system that suits you best. I have been metric since before I moved to Norway in 1980.

Using a roller knife, you can cut through several thicknesses of fabric at the same time. Make sure you have extra blades for the roller knife as they can get dull quickly if you are cutting a lot.

Cutting

I was using leftover pieces of material that were often odd shaped, but I was able to use up quite a few of these pieces. The challenge can be to get the squares and rectangles matched up with the grain of the fabric.

First I cut long strips 4 cm wide, then I cut the strips into the correct lengths.

The dark blue pieces were to be of three different lengths, 4 cm, 6 cm and 8 cm. All pieces are 4 cm wide.

I ended up with over a thousand pieces. I made a few extra of each colour and size in case any turned out uneven or unusable. It was a bit of a challenge to count how many were cut, but I did them in groups of 10 and that helped. With persistence the job gets done.

Remember that accuracy when cutting is very critical to the look of the final piece of work. I use a 1 cm sewing allowance on all sides. So if a finished block is to be 2 cm by 2 cm, I cut it 4 cm by 4 cm. This is all done when doing your calculations during the design of the project. Using a roller knife and a long ruler helps make the edges very straight. By using the lines on the cutting mat, you can make sure that corners are at 90 degrees and that lengths are as accurate as humanly possible.

Sewing

The best procedure when making geometrical patterns is first to sew the small pieces into strips, then to sew the strips together to make a larger piece. You want to think carefully how you do your sewing so that you don’t get a lot of material bunched up to the right of the sewing needle.

Feeding the small pieces into the sewing machine. Here I am sewing two small pieces, 4 x 4 cm, together.

To reduce the amount of cutting of thread that you do, I suggest that you feed the small pieces into the sewing machine with a couple of millimeters between them. This saves both thread and time. I cut the pieces apart when I ironed each piece. I worked on making 30 strips at a time. I find it easiest to work with the strips if I press the seam allowance to one side before I add the next piece. It means a lot of moving from the sewing machine to the ironing board, but I find the moving around is good for me.

Five pairs of small pieces sewn together. They are easy to cut apart once they are out of the sewing machine. At this point I ironed the seam allowance to one side.
Here I have four pieces sewn together and the fifth one is laid on top. They were lined up more exactly as I fed them into the sewing machine.

Accuracy is very important when both cutting and sewing pieces together. When making a strip with 8 pieces, if each piece is out just 1 mm, you can be out 8 mm by the end of the strip. I had one strip that ended up being much too short and I had to pull it out and replace it.

Here are some of the finished strips waiting for assembly.

Once I made all the strips that I needed, I arranged them in the correct order for the place mats. This can be a good time to check that the lengths have all come out close enough to use.

Here I have lined up the strips in the correct order to make the pattern I wanted. I then make them into a pile so that I just take the next one from the pile while sewing them together.
Strips sewn together.

In the next blog I will explain how I have made the backing and done the quilting.

Place mats – Designing

I am in the process of sewing 1068 small pieces of material together with the goal of making 6 place mats for our kitchen table. I don’t mind the sewing, but my mind needs something to do while my fingers to do the work. So this series of blogs has been written in my mind several times before actually sitting at the computer to do the writing.

Several years ago I started making a series of place mats using patchwork and quilting techniques. The first series was autumn leaves, the second series was winter and the third series was spring tulips. We use the autumn series and the tulip series regularly, but the winter series I wasn’t that happy with and they have been taken out of active service.

The first set of 4 place mats with a theme of autumn and leaves found in our yard – maple, beech and birch. The placement of the leaves on each place mat are slightly different.
The second set of 4 place mats with a winter theme. Though each place mat has a snowman and two trees, they are all a little bit different.
This time I made a series of six place mats with tulips as a symbol of spring. These usually blossom in May here.

In July 2020, we bought new dishes for the kitchen, a beautiful blue (my favourite colour) from IKEA. However they didn’t look very good on either the orange or the green place mats, so I started thinking about a new set of place mats that went better with the new dishes.

Already the day after I had bought the new dishes, I went hunting through my boxes of leftover material and looked for a variety of materials that went well with the new dishes. I set aside the ones that went well and then the ideas of what to use and how to use the material had to mature for a while.

Eventually I decided on three materials that I would use on the top of the place mat and a plain dark colour for the backside.

The bottom material in the pile in the picture is big enough to make the back side of six place mats. The other three will be used to make a pattern for the top side.

Time goes by and the idea sits there and I have to decide on what sort of pattern to make. I decided something more geometrical this time and decided on a zigzag pattern, using the three chosen materials. The lightest colour is quite bright, so small amounts of it.

I made three suggestions for a zigzag pattern with slightly different proportions. Finished size played a role and I chose the top left-hand pattern to continue with.

In the bottom right-hand corner I calculated the sequence of the pieces of material. One square on the paper is 2 cm, so three squares means that the finished piece is to be 6 cm long. X and A refer to the light blue material. The shaded squares and C are the dark blue material and the blank squares and B are the patterned material.

This is the sampler I made to make sure that I liked my pattern.
The calculations for how many small pieces to cut.

Next came the detailed calculations of what size pieces I would need and exactly how many I would need for 6 place mats. Some are 4 x 4 cm, some are 4 x 6 cm and some are 4 x 8 cm. All pieces have 1 cm on each side for seam allowance, so a 4 x 4 cm square will come out as 2 x 2 cm in the finished place mat. The total came to 1 068 pieces plus a few extra for good luck.

The next blog will be about sewing the pieces together.

Knitting tip #5 – The end of the ball of yarn

I like to use the yarn from the center of the ball/skein, as it then doesn’t roll around. But as there gets less and less left in the ball/skein, there can be problems pulling the yarn from the center. What’s left has a tendency to end up in a big knot.

Solution: Use a plastic bag to hold the ball/skein of yarn, or several balls/skeins if I am using more than one color. The yarn continues to pull out from the center of the ball/skein and I avoid having a knot at the end.

I often use resealable bags, so that when I put away a project, what I am knitting can also be put in the bag (if it’s small enough).

I often have several knitting projects going at the same time, often as there is a need for something simple to knit while watching television or when chatting to people, as well as a project that is more challenging. With each project in it’s own bag, it is easy to keep the yarn separate for each project.

Comment on terminology – I use a “ball” of yarn, though others might use a “skein” of yarn. Looking up various sources online, these terms might be interchangeable though some people would think that there is a difference. One manufacturer described a “ball” as something that you would use the yarn from the outside and a “skein” as something that you could use the yarn from the inside.

Most of the “balls” of yarn that I buy in Norway are easy to find the center of the ball and to use the yarn from the inside.

Using Google translate to go from Norwegian to English, a “nøste” is translated as “skein” and “garnnøste” is translated as “ball of yarn”. So even Google seems to feel that the terms are basically interchangeable. Perhaps, too, growing up in BC in Canada influenced the term that I would use.

Knitting tip #4 – Knitting Diary

As I mentioned in my last post, I keep a knitting diary, where I write down every evening what I’ve accomplished with my knitting projects during the day. For example, “10 cm on sock done”, or “finished first sleeve on baby sweater”. I started writing my knitting diary on the 1st of October, 2018.

This book is about 10 cm by 15 cm and is small enough to put in a pocket, handbag or knitting bag.

Now that I am retired, knitting is one of my daily activities, one that I find very relaxing as well as useful. Though I knit primarily in the evenings, if I am awake in the middle of the night, I often spend an hour knitting then too. This book becomes a log of what has happened in that particular aspect of my life.

The purpose of the diary is primarily to acknowledge, to myself, that I have done some knitting, or worked on a knitting project, during the day. Purchases of yarn or knitting equipment are recorded. When a project is finished, I record the dimensions of the finished product as well as the amount of yarn used.

But the diary has practical uses as well. For example, when I have completed a project, I can go back and see when I started it and calculate how long it took to do the project. This helps me plan future projects, especially anything that will have a specific deadline.

In addition to a written diary, I will always take a picture of the finished project so that I have a visual record as well of what I have done.


Knitting tip #3 – Keeping track of progress

There are times when I lose motivation to keep going on a knitting project. This is often when the project becomes a bit monotonous, such as the body of a sweater for a tall person, or a repetitive pattern that I need to concentrate on.

I have found that it helps if I can see how much I have done every day. It also helps me set a reasonable goal for how much I can get done in a day. I place a marker on the last row done on the previous day then in the evening I can see how much I have accomplished that day. It gets written down in a knitting diary.

Note the pink marker that shows how much I have knit on this sleeve so far today. The marker gets moved either in the evening when I have decided not to knit any more, or in the morning when I start the day’s knitting.

Knitting tip #2 – Using circular needles

When knitting garments with a circular needle, it can be useful to use two or more. I’ve already mentioned using three short double-pointed needles for socks and sleeves.

Here’s another example:

I’ve been knitting a pair of baby overalls. The legs are knit separately first (using the set of three short needles) and are then joined together with some added stitches in between. Because of the nature of the garment, it becomes very difficult to knit in a circle immediately. Therefore I use two circular needles the same size and length and have half of the garment on each needle. You can either use a third needle to knit onto, or just use the other end of the same needle.

This same technique can be used when joining the sleeves and the body of a pullover or cardigan, when making raglan decreases or yoke decreases. It is, of course, sensible to get everything onto one needle after about 5 cm of knitting, but you’ll find out yourself when enough length has been knit to allow you to easily put all on one needle. On a pullover I would have each needle go from the middle of one arm to the middle of the other arm. On a cardigan it works best with three needles, with one front and half of one sleeve on each of two needles and a long needle with the back plus two halves of the sleeves.

This baby jacket is actually on three circular needles – one for each front and half a sleeve as well as a longer one for the back and two half sleeves.

Happy knitting!

Knitting tip #1 – Double-pointed knitting needles

Do you ever get frustrated with so many needle ends poking you when you are knitting in a circle on a small garment and using several double-pointed needles? In North America it is common to use a set of four double-pointed needles. In Norway it is common to use a set of five double-pointed needles. This last year I found a different solution which I now use almost exclusively.

The new set of needles are still double-pointed, but there is a flexible wire in the middle of the needle so that one knits on two needles and can join the work in a circle using the third needle to make the next row.

Double-pointed knitting needle set. Note that the two ends of the needle are slightly different, one end being more pointed than the other.
Here I am knitting the leg of a baby outfit. The work is held on two needles and the third one is used to make the next row.
Here is part of the packaging of the needle set that I have purchased. It is manufactured in Germany.

I purchased my first sets in March 2019 after seeing another person using them. I purchased the four sizes that I use the most (2.5 mm, 3 mm, 3.5 mm and 4 mm) and have since used them on socks and sleeves and am now using them for the legs for a baby outfit.

I am happy with my purchase and find that I use my new needles a lot. If there are too many stitches they can fall off the “other” end, but that is primarily getting used to how the needles work. Particularly with sleeves, I would transfer my work onto a circular needle as soon as I have enough stitches to make working on the circular needle function well.

It is always fun to try something new and find that it works better than the old ways.

Variegated sock yarn

When I buy sock yarn in the store, there are many varieties.  My last purchase was of some variegated sock yarn, bought in red, green and blue hues.  So I was interested in seeing how the socks turned out.

dig

In the past when I have bought variegated yarn, it would usually just  change in color scattered through the socks, with no particular pattern.  Here are some examples of typical sock yarn in Norway.

dav

A few years ago I bought a pattern and the correct yarn in Canada.  It was fun to see how the pattern in the girl’s dress came out, as I knit. I did not have to change colors at all, and the pattern came out as I knit the variegated yarn.  I don’t have a picture of the dress itself which was given away, but here’s the picture in the pattern book.

dig

As I knit these last two pairs of socks, lo and behold, stripes came out as I knit, making very interesting socks.  I enjoyed the knitting so much, easy to knit, but varying pattern as I went, that I bought more yarn.  I will continue knitting socks like these for a while.

dig