Place mats – quilting and finishing

Quilting is the process of sewing several layers of fabric together. Finishing includes making the edges and corners neat.

Layers

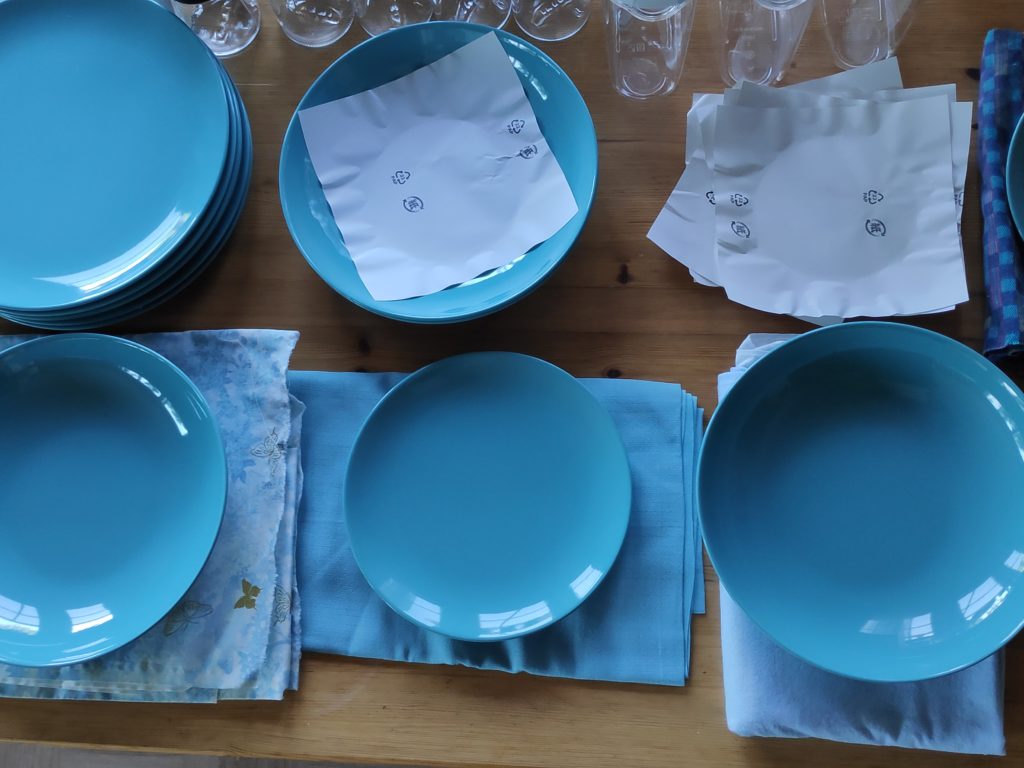
Having now sewn the top layer of my place mat, the layer that shows, I need to make my place mats thick enough for their purpose. My place mats will be used a lot and need to soak up spills, deaden sounds on a wooden table, and tolerate a lot of washing. Making them with several layers, help them deaden sounds.

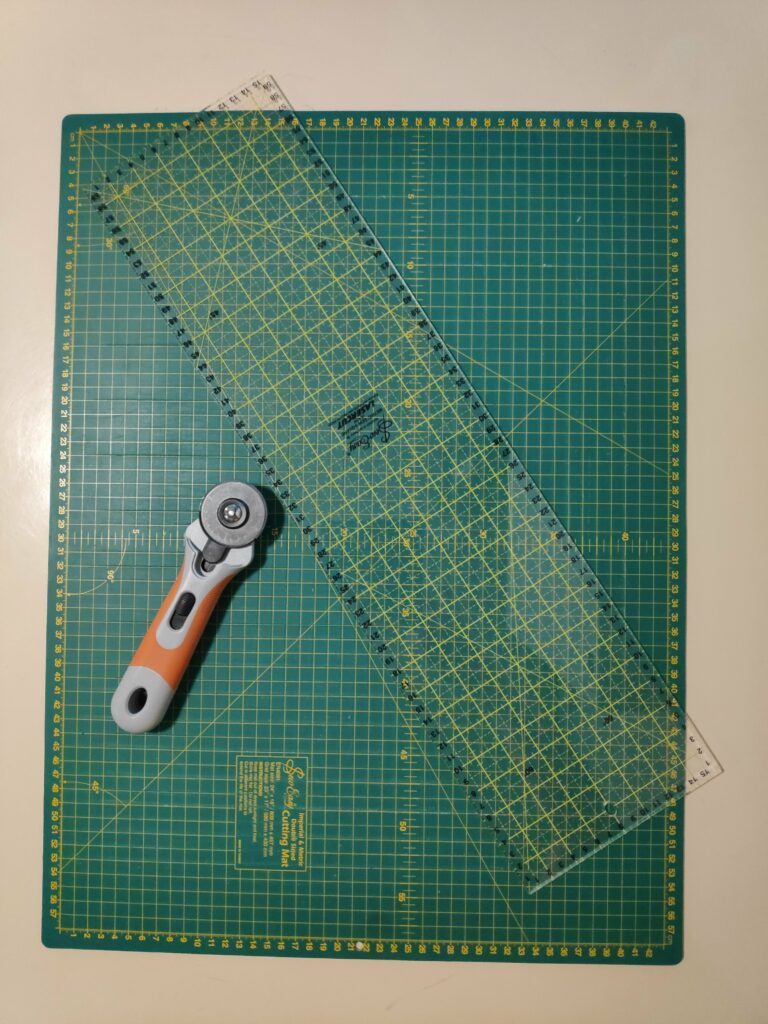
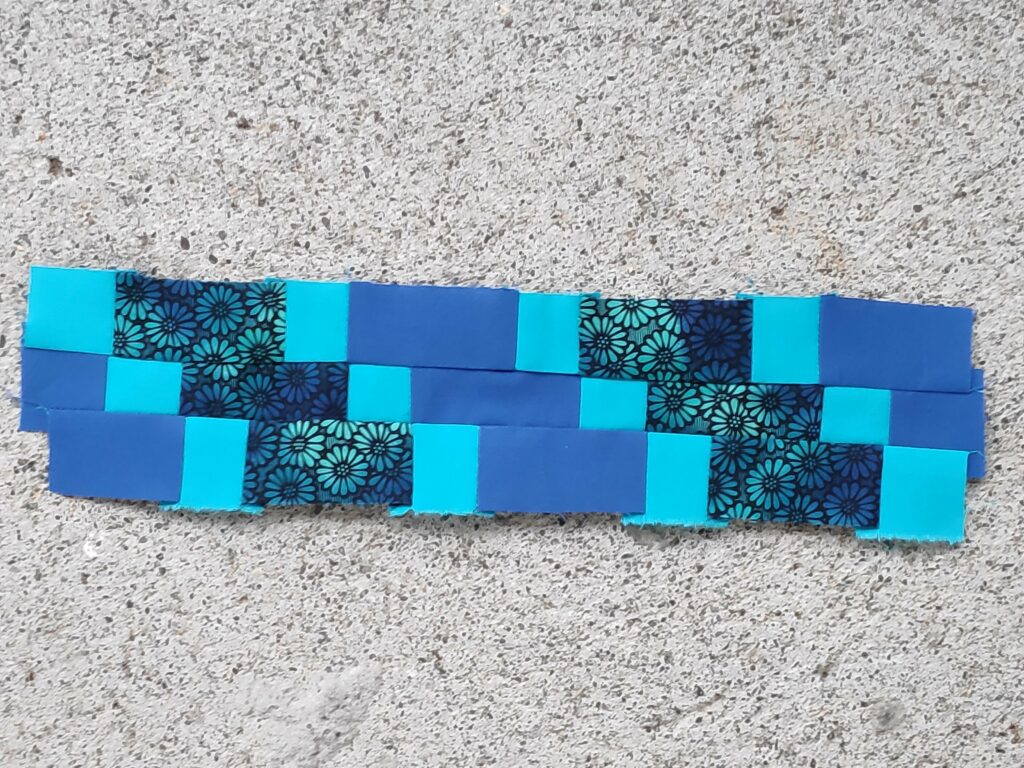
Before the backing material is attached, it is important to trim the edges of the place mat and make sure it is the size you want it.

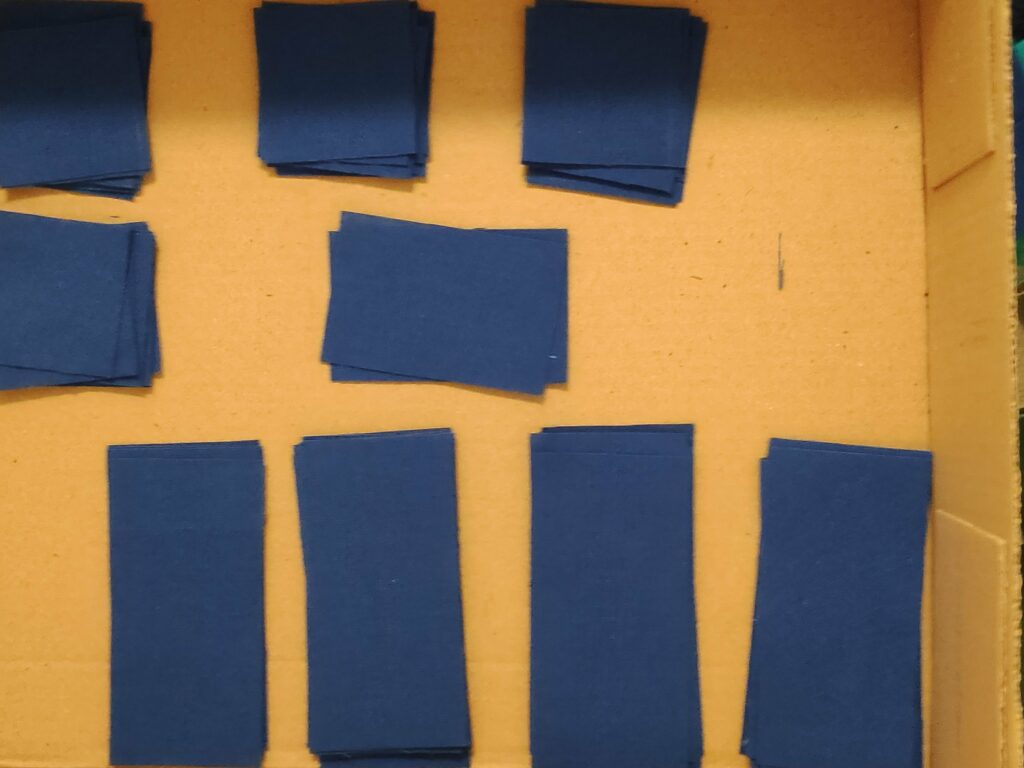
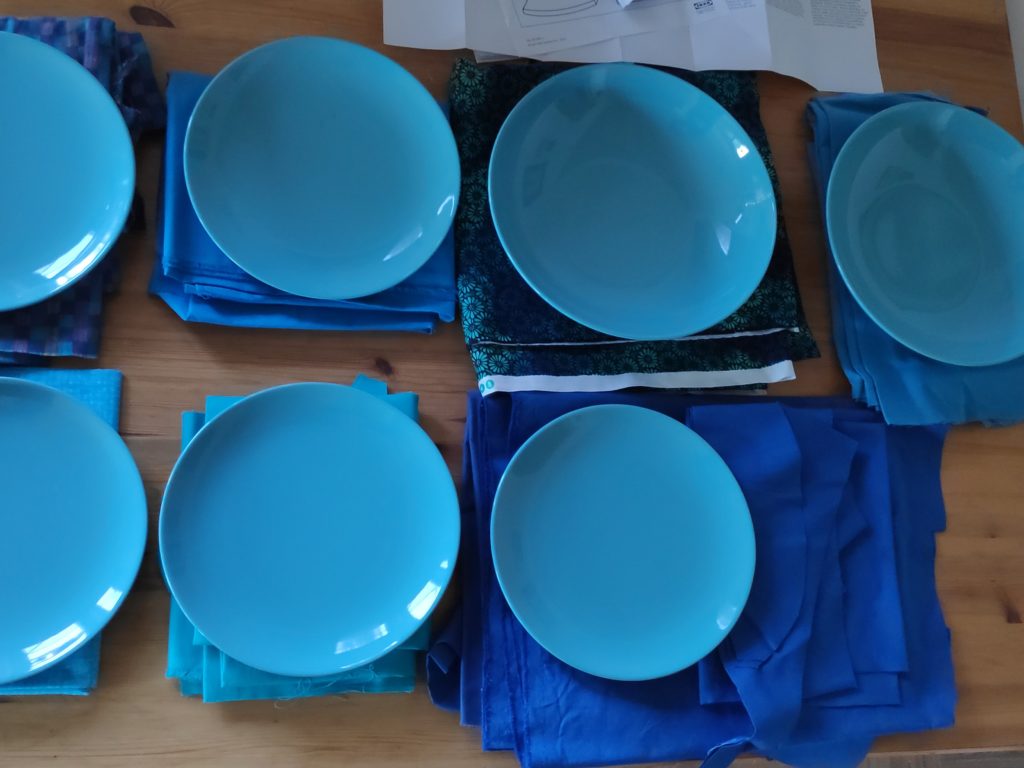
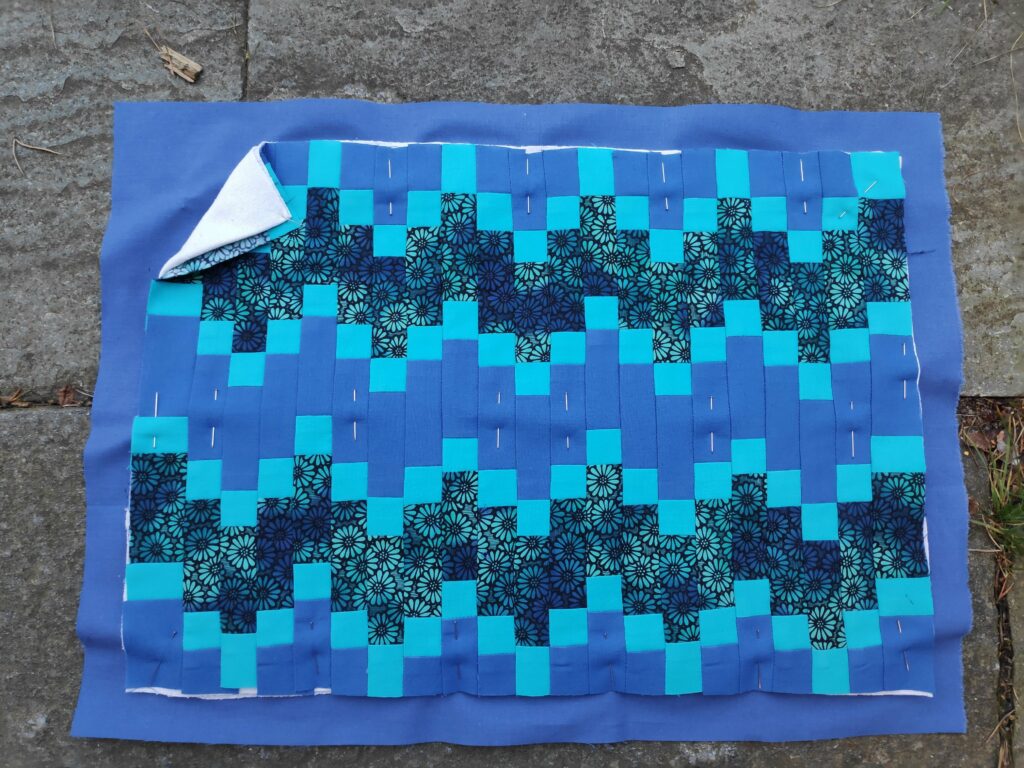
I cut an old flannel sheet into the right size rectangles and used two layers of the sheeting to make a thicker place mat. This filling layer will not be visible in the finished place mat. The backing is made of a solid blue that goes well with the top. The edges will be folded over to the front to make good edges.

Here you can see the three layers for the place mats. The top layer is the patchwork that I have designed and sewn. On the bottom is the backing in a solid colour. In between is white flannel sheeting which adds thickness to the place mat. The white sheeting will not show in the finished place mat.

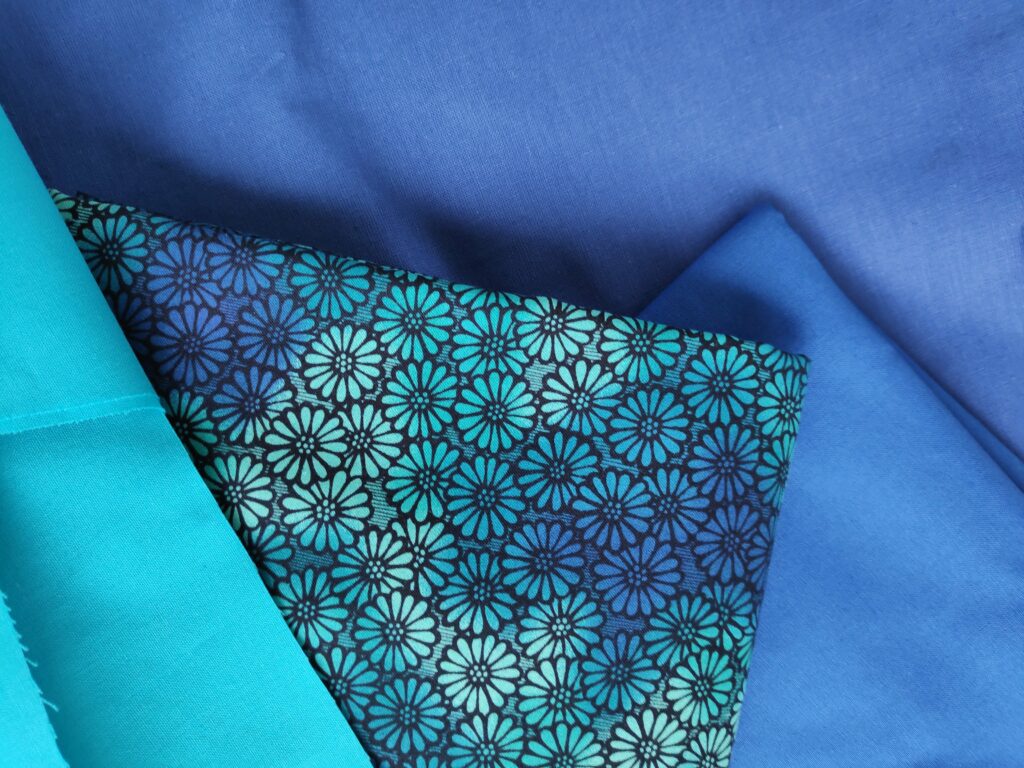
(Note: I am doing my sewing in November when there is very little daylight. I am mostly doing my sewing while it is dark outside. This means that most of the pictures were taken inside under various inadequate lighting conditions. Please excuse the poor quality of the colour in the photos. A few were taken outdoors and they will reflect the real colours much better.)

Quilting

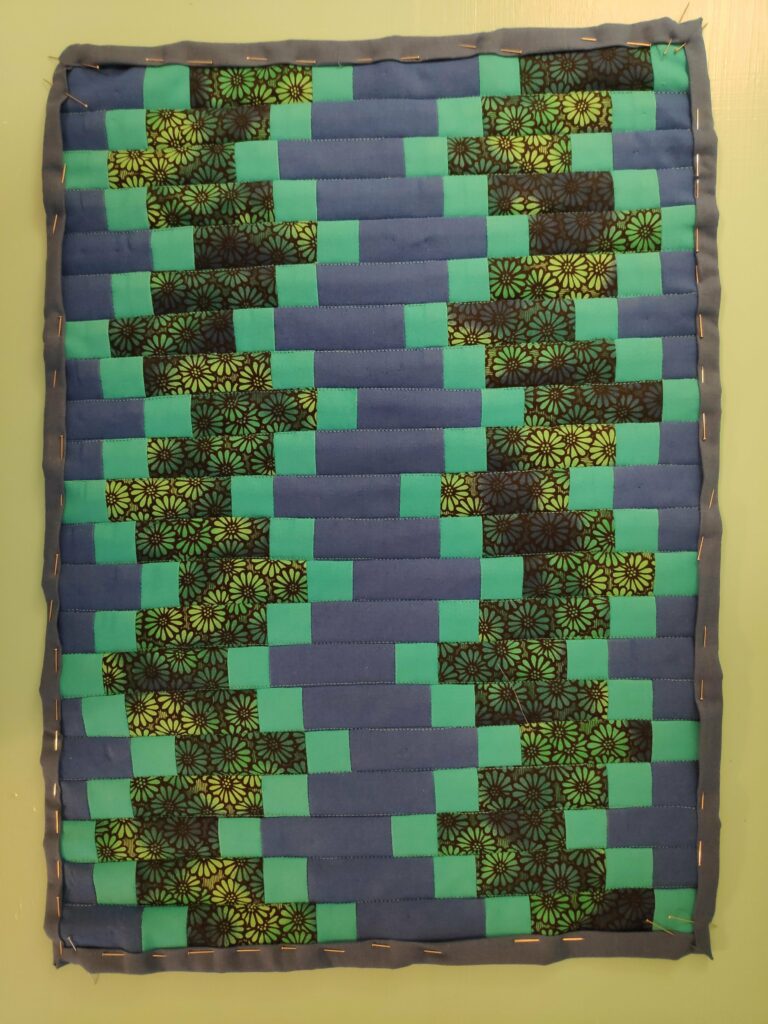
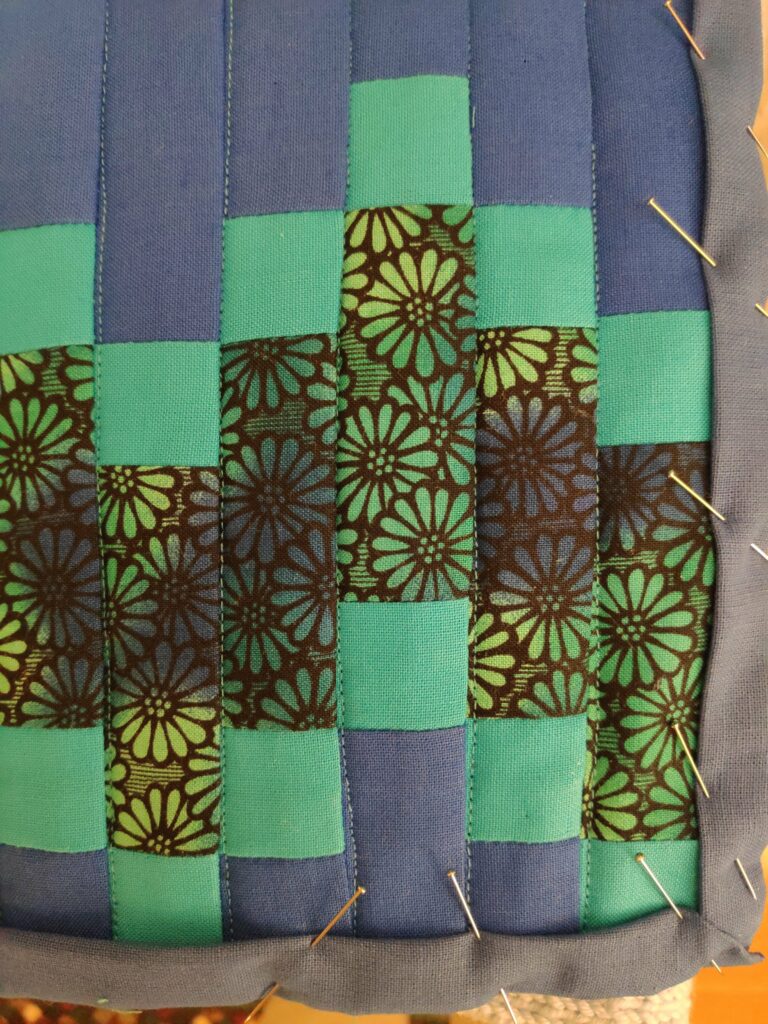
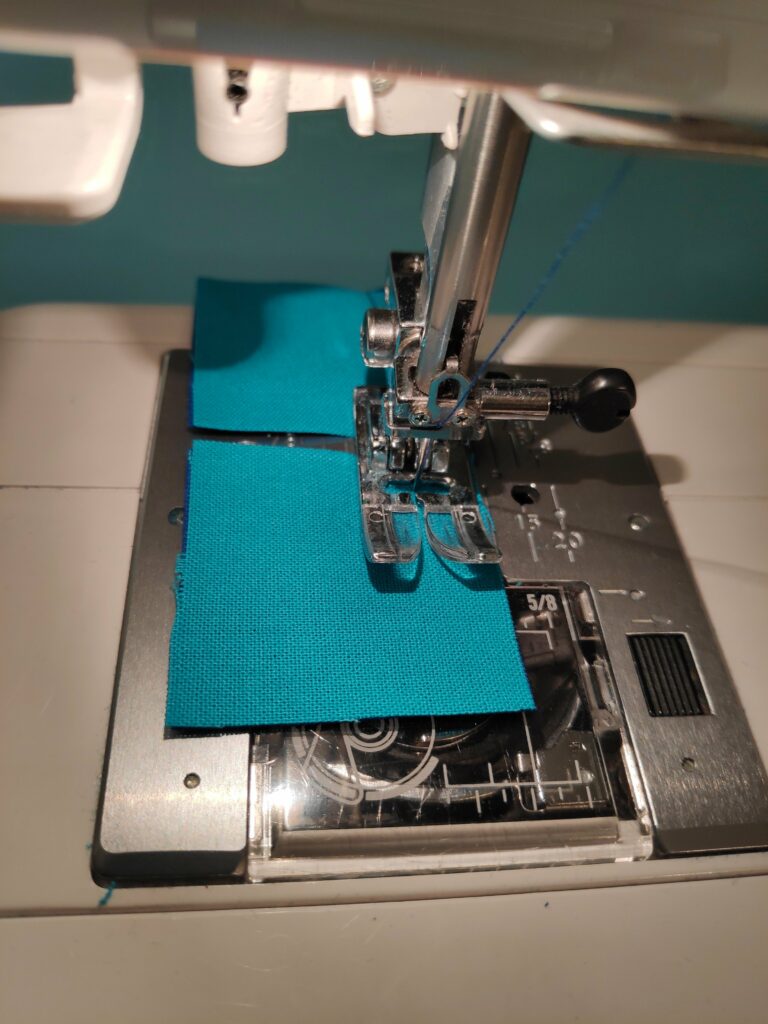
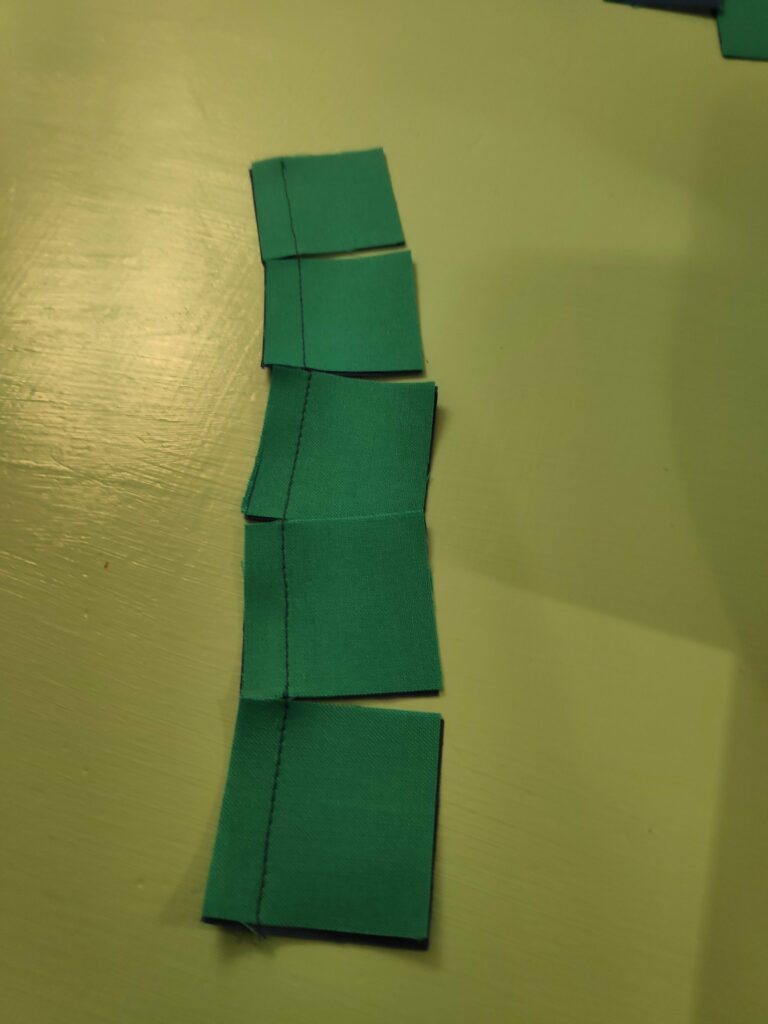
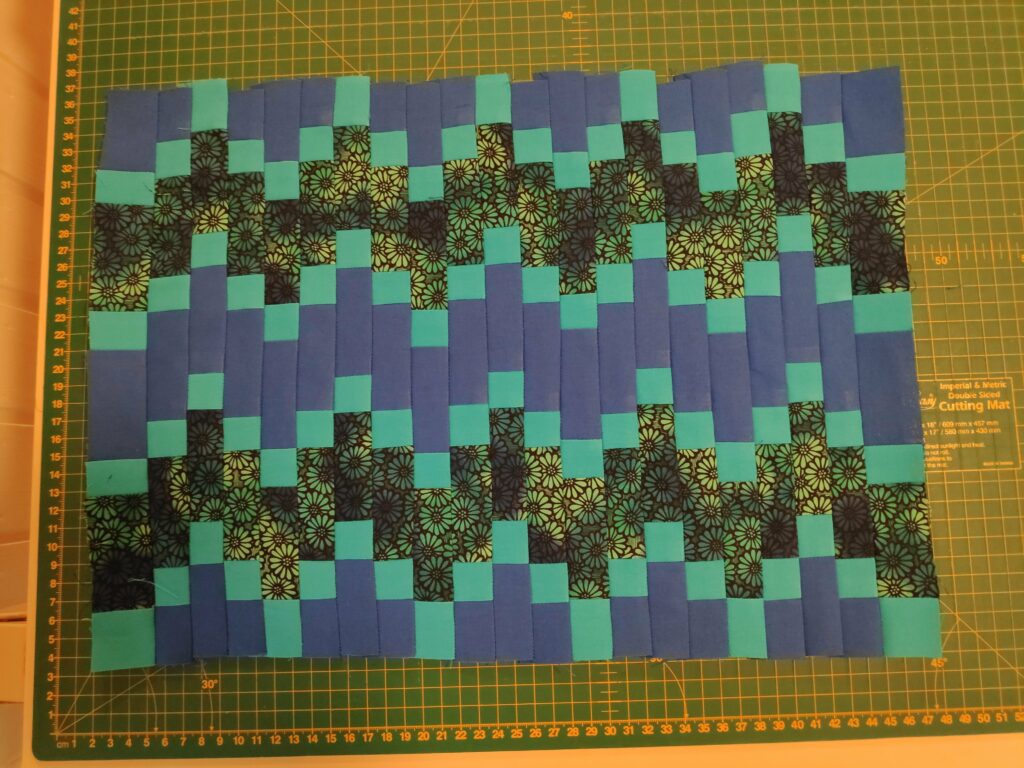
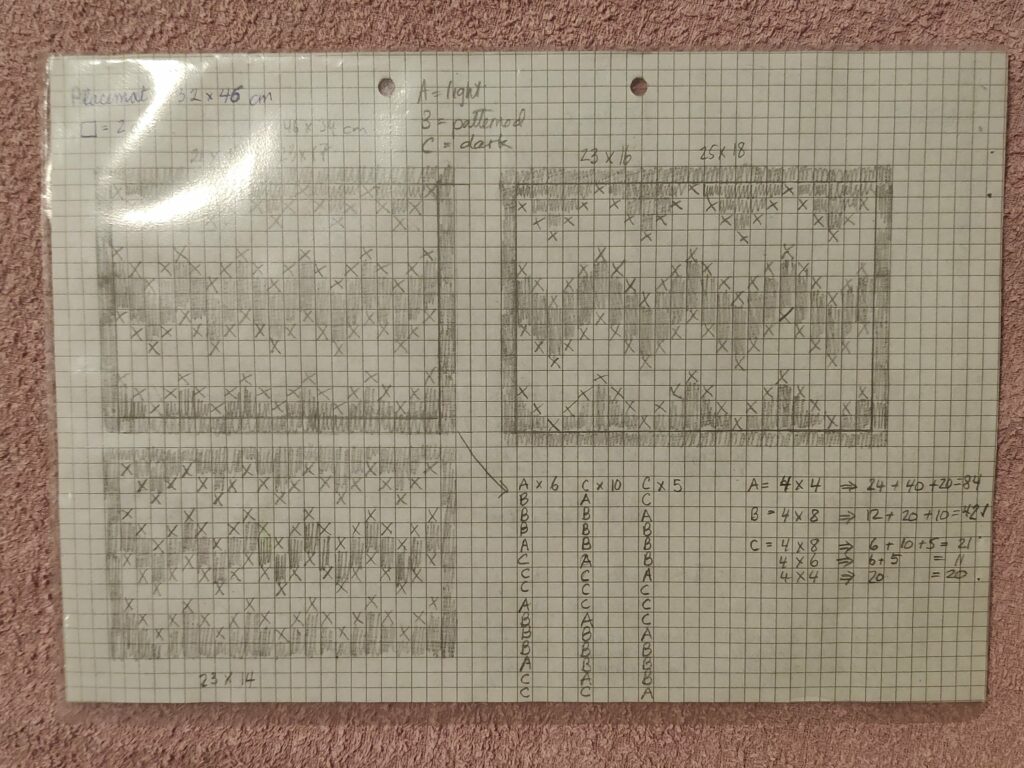
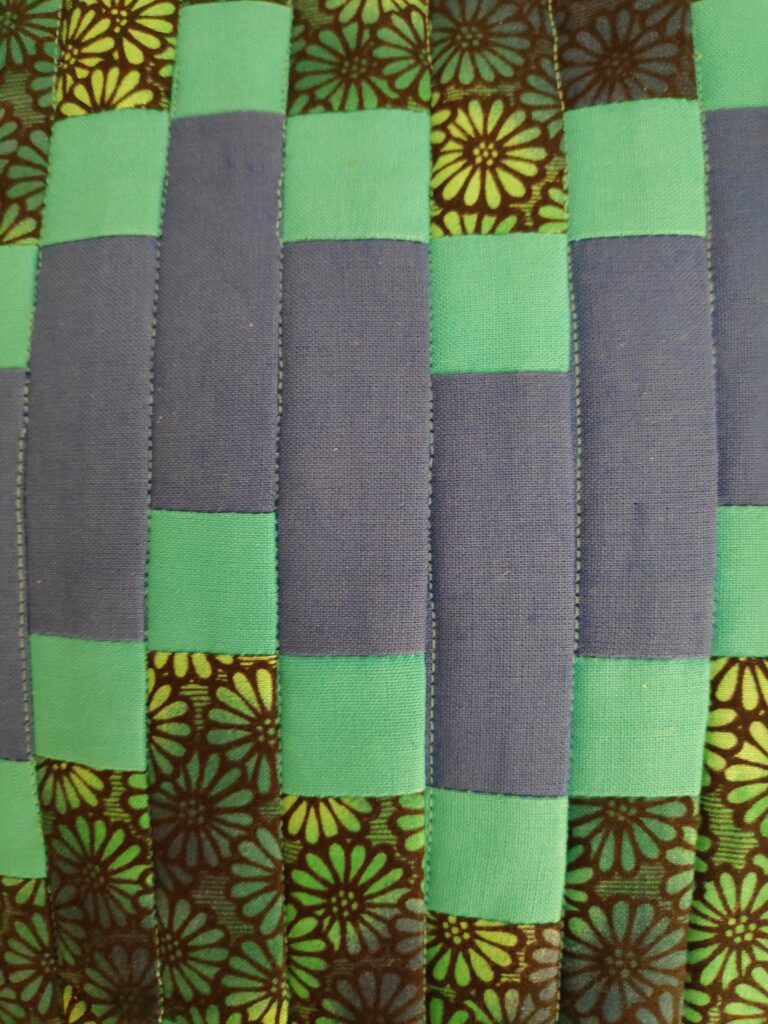
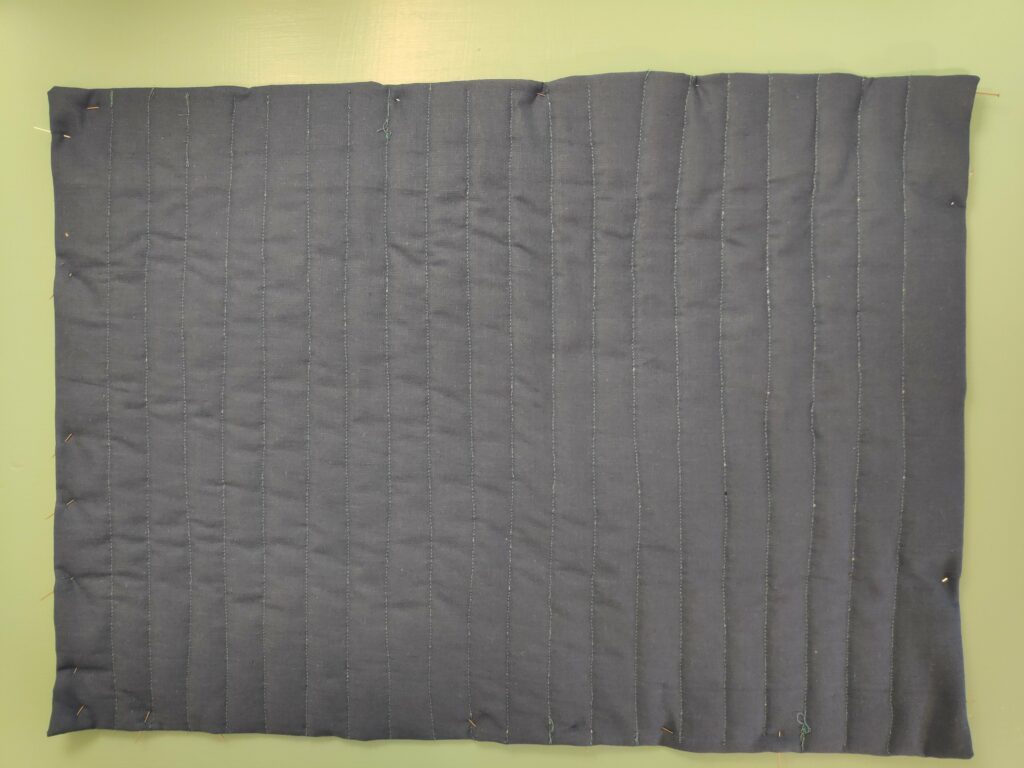
Quilting is the process of sewing all the layers together so that they tolerate washing. There are many ways of doing the quilting, but with a geometric pattern like I have, I like best to follow the lines of the pattern. In this case I decided to sew only in one direction, and in the trough between two strips. I have chosen a contrasting colour so that it shows. When sewing in the trough, the stitching may not show up, if you use a colour of thread that easily disappears into the fabric’s own colour.

The quilting is done by sewing with a contrasting colour in the troughs created by the strips.

When doing the sewing, start in the middle of the place mat and work your way to the outside edges. As you sew the different layers may stretch a bit and by starting in the middle you can reduce unwanted tucks as you sew.

Looking at the back side of the place mat, you can see that I have quilted with parallel lines in one direction only.

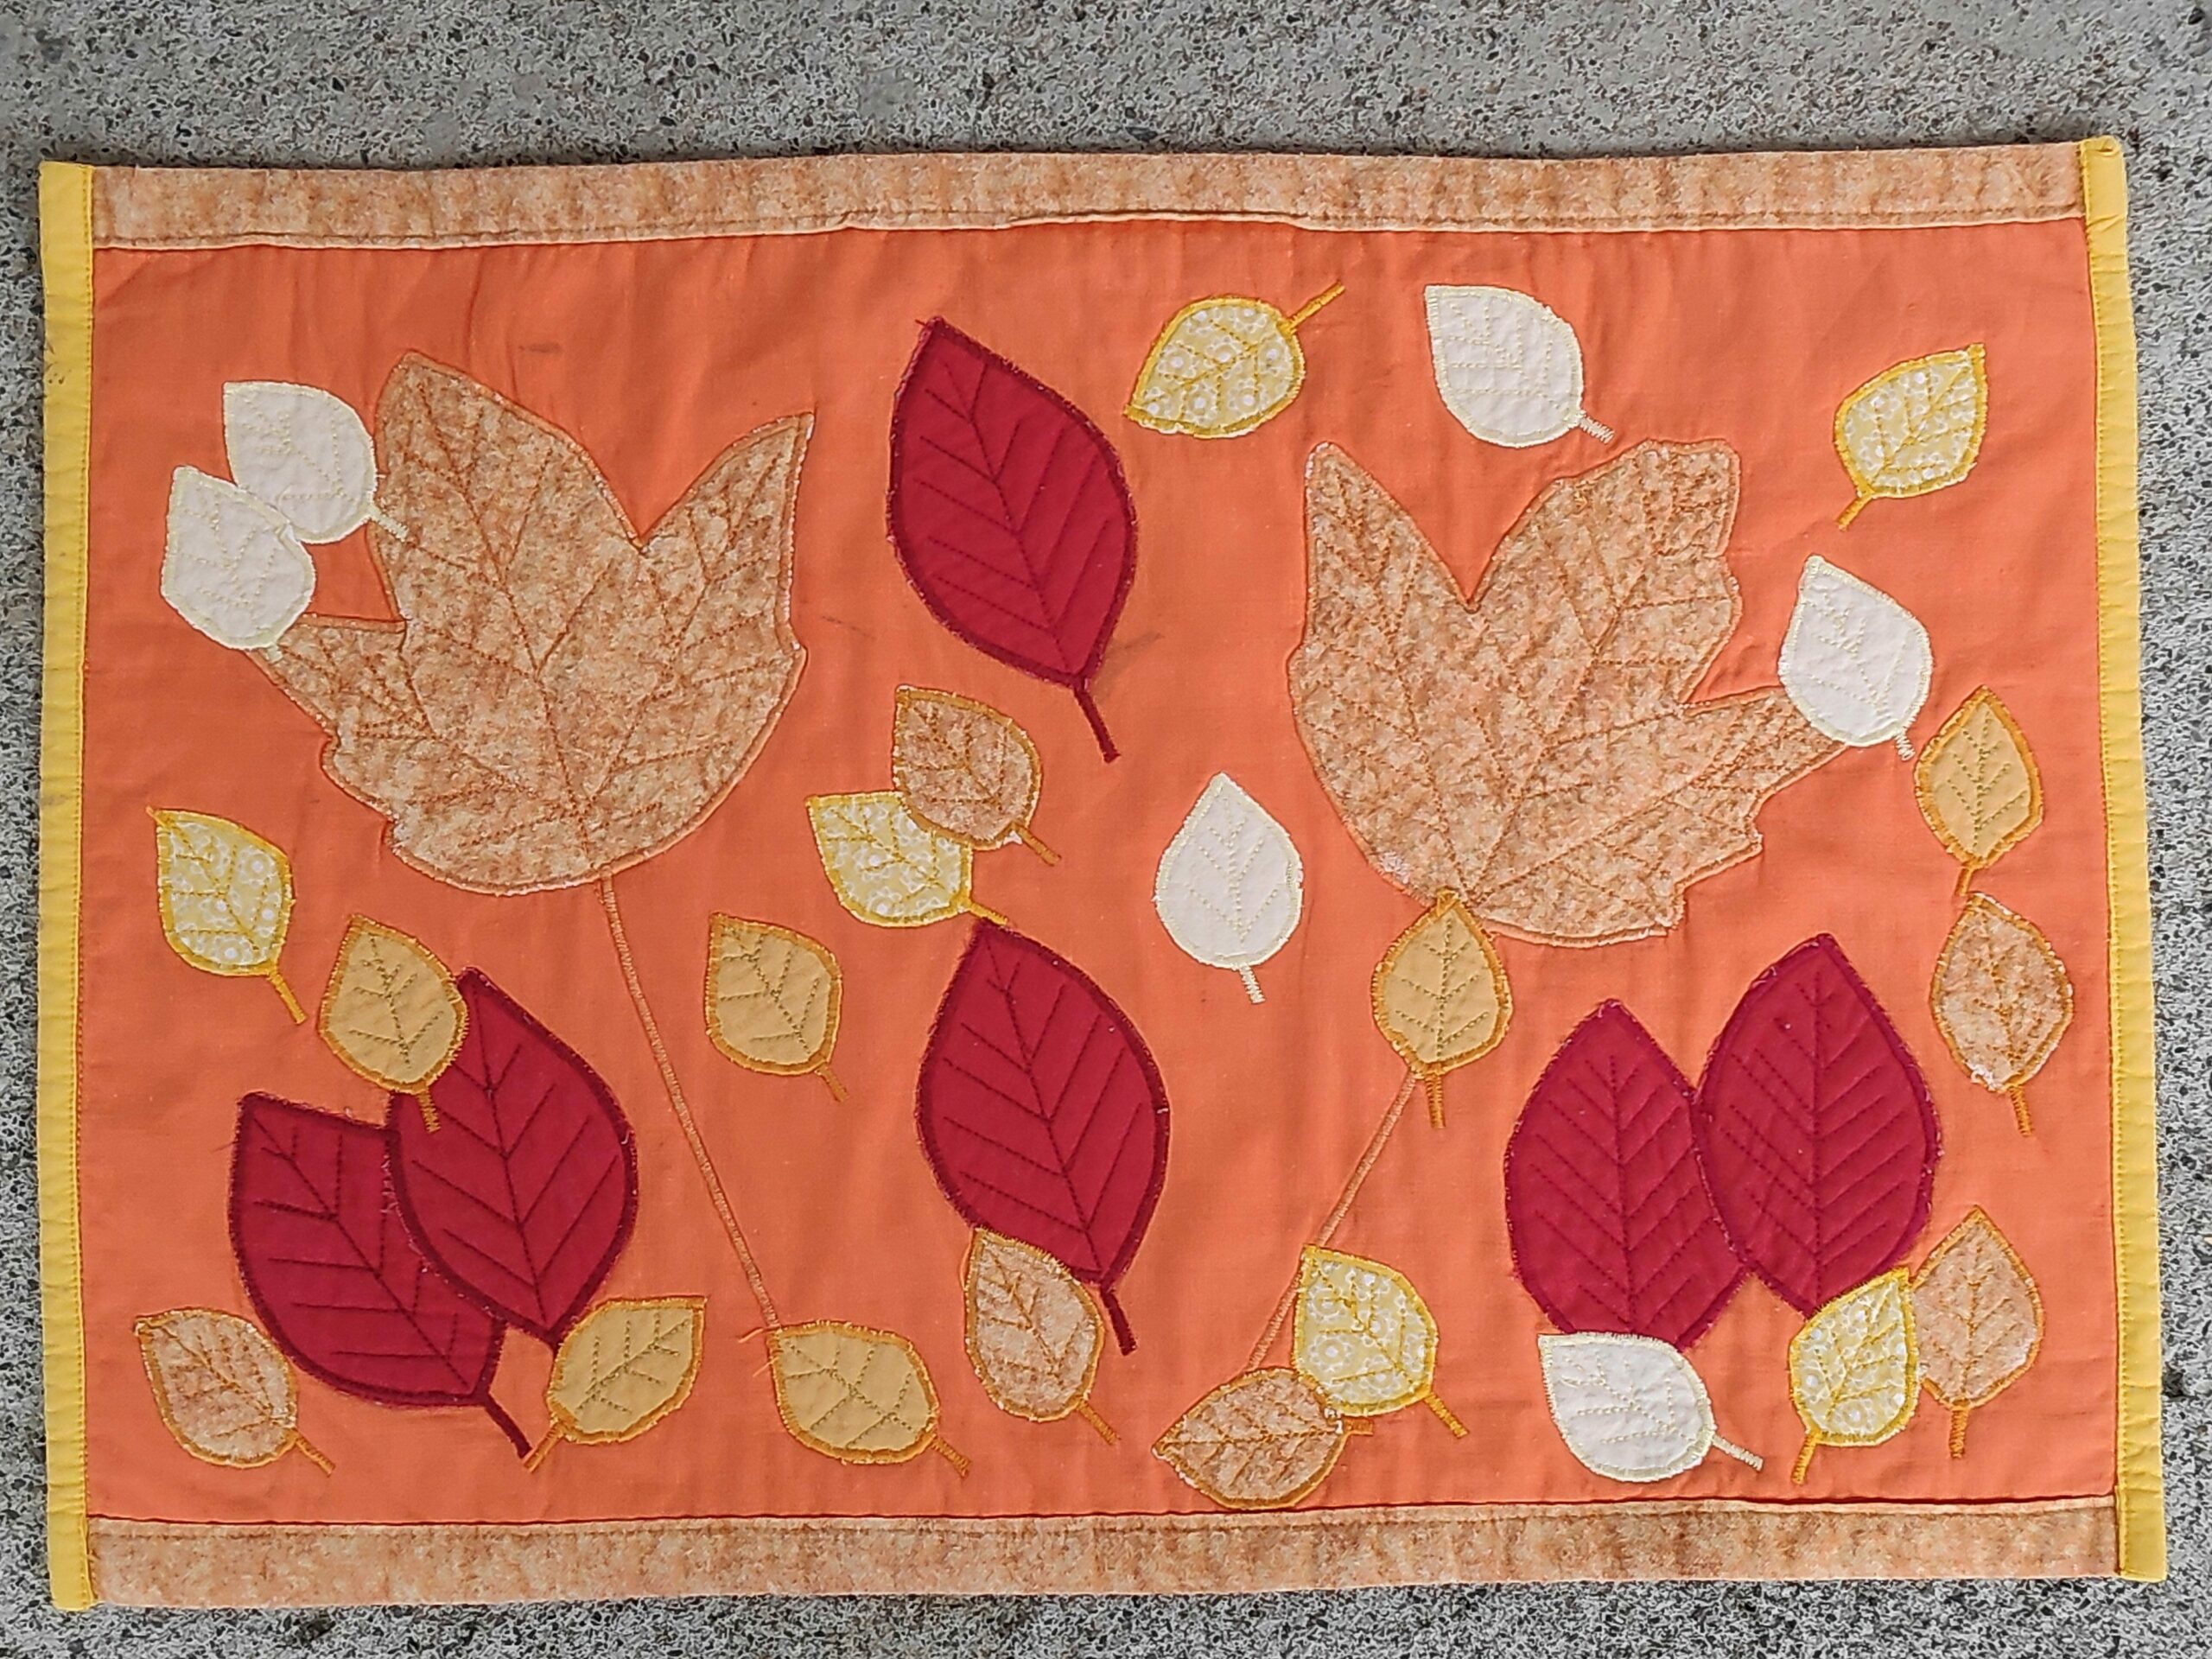
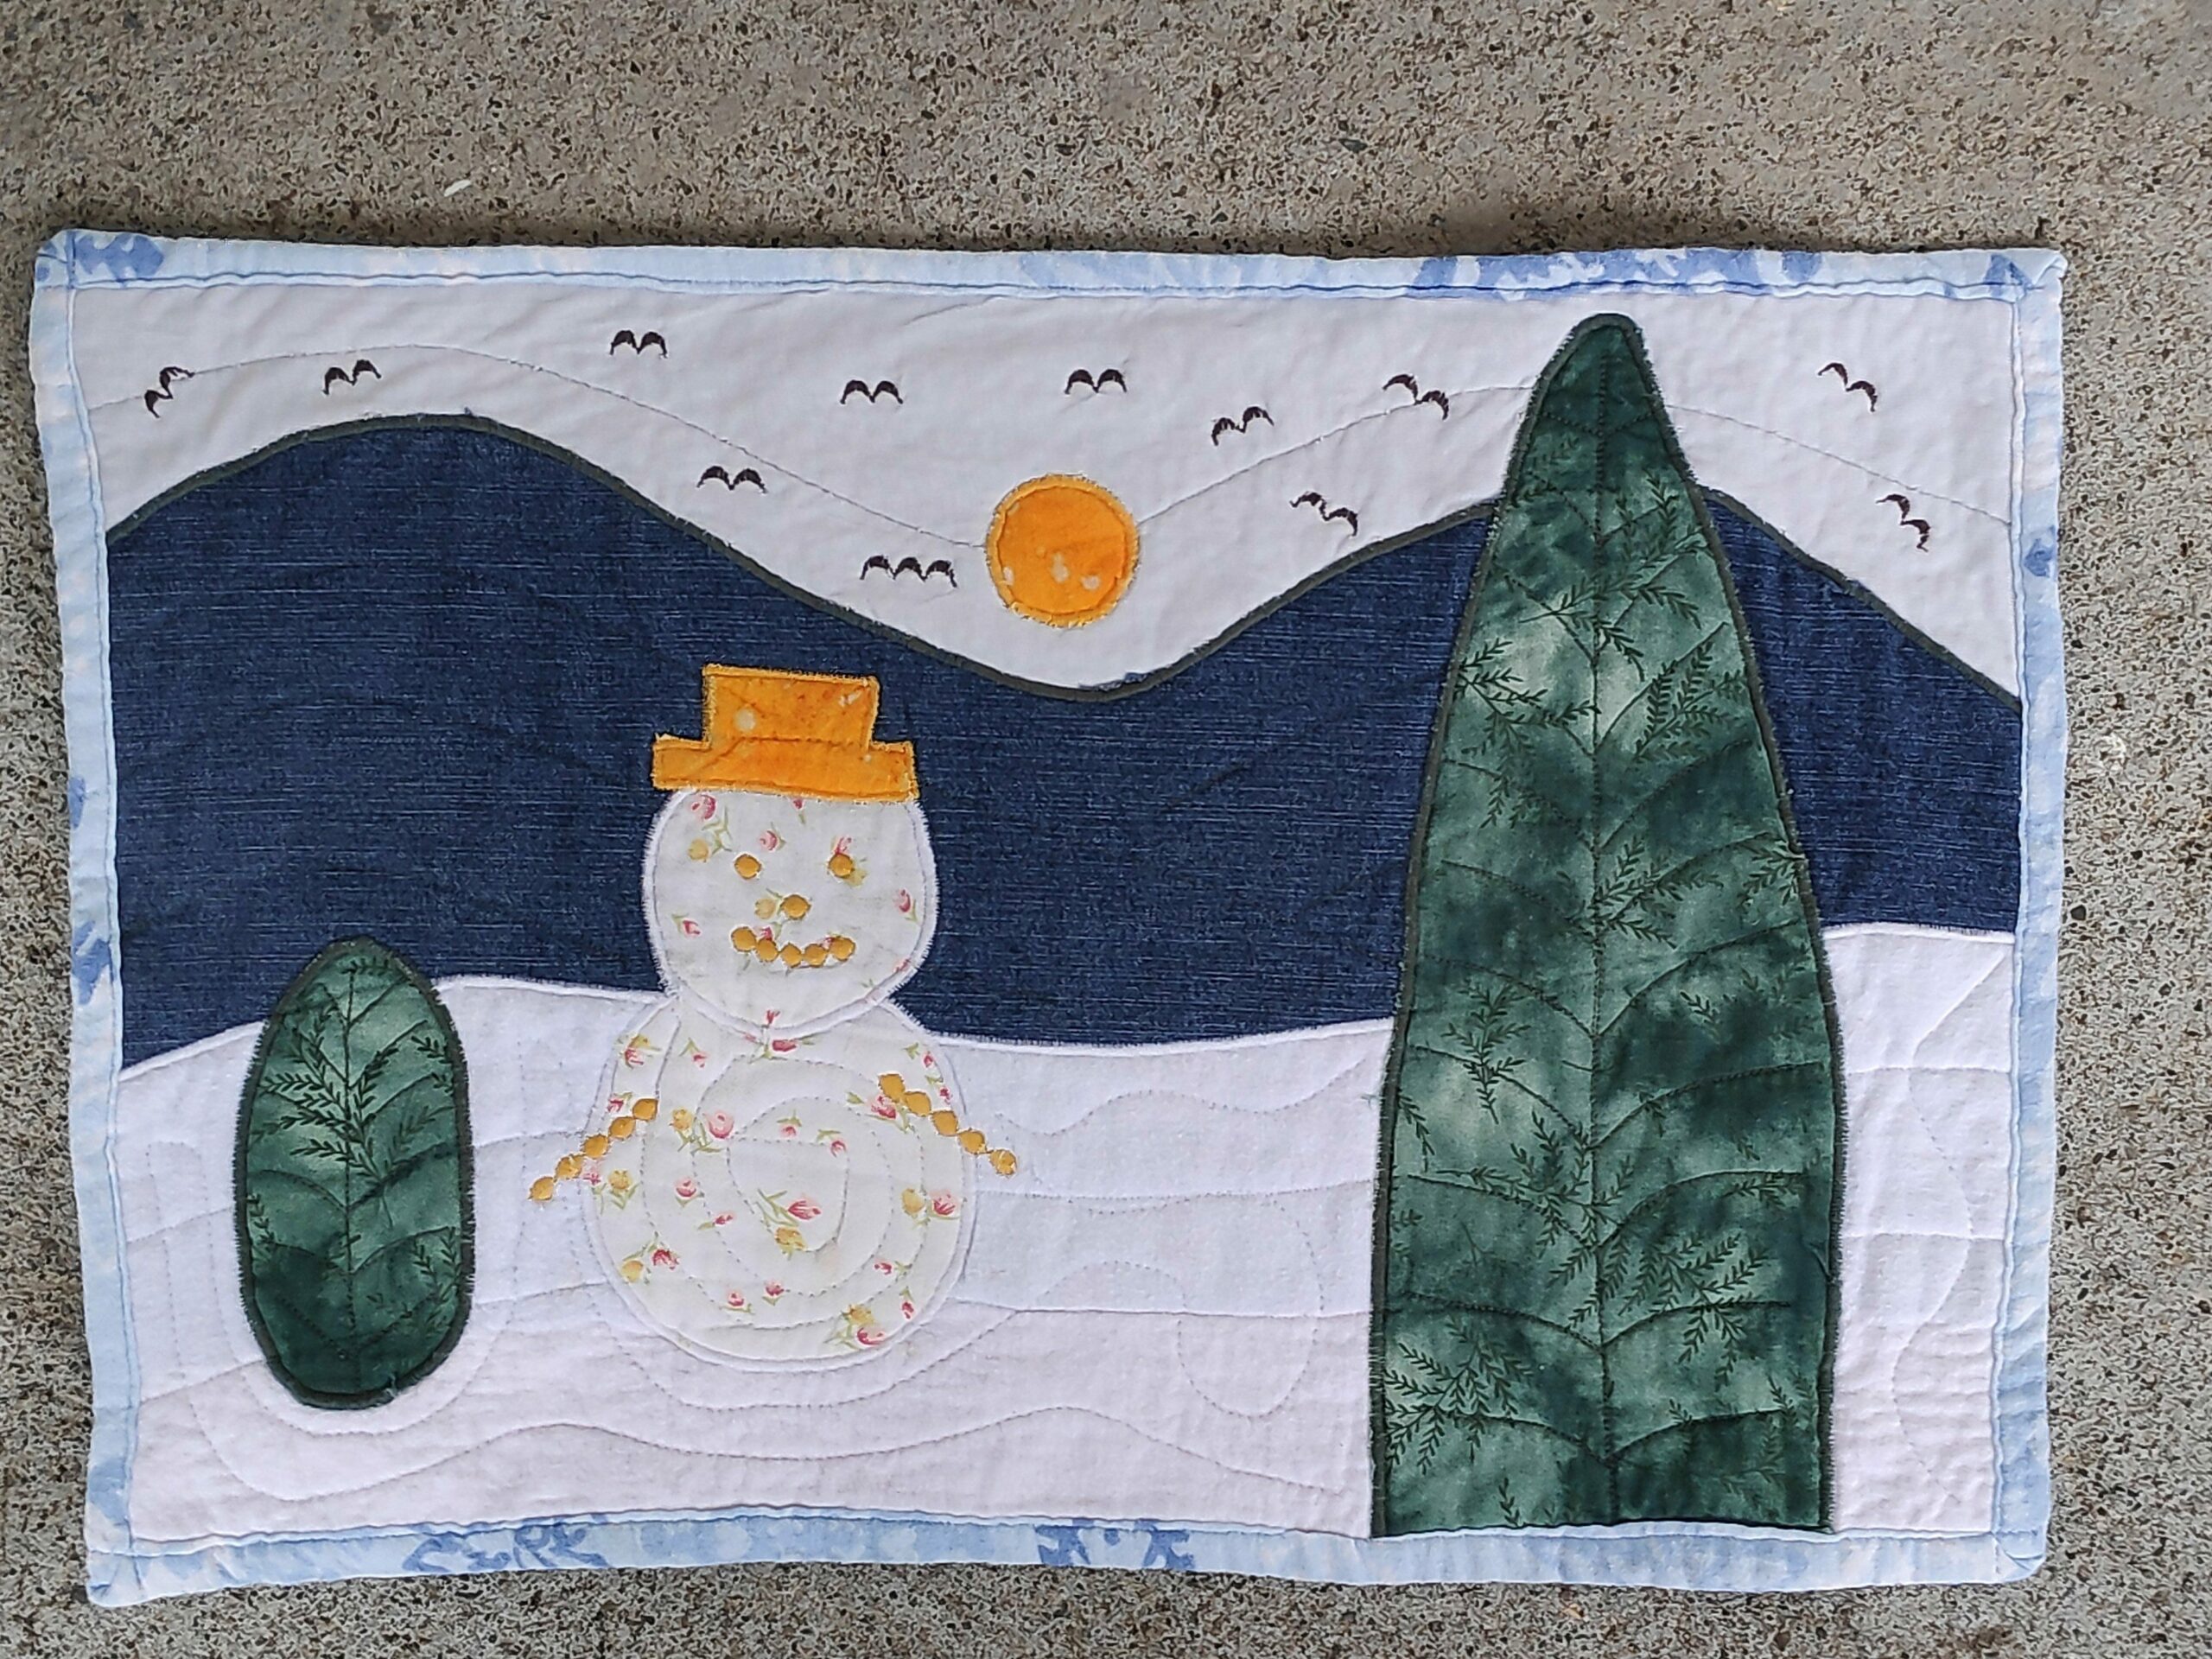
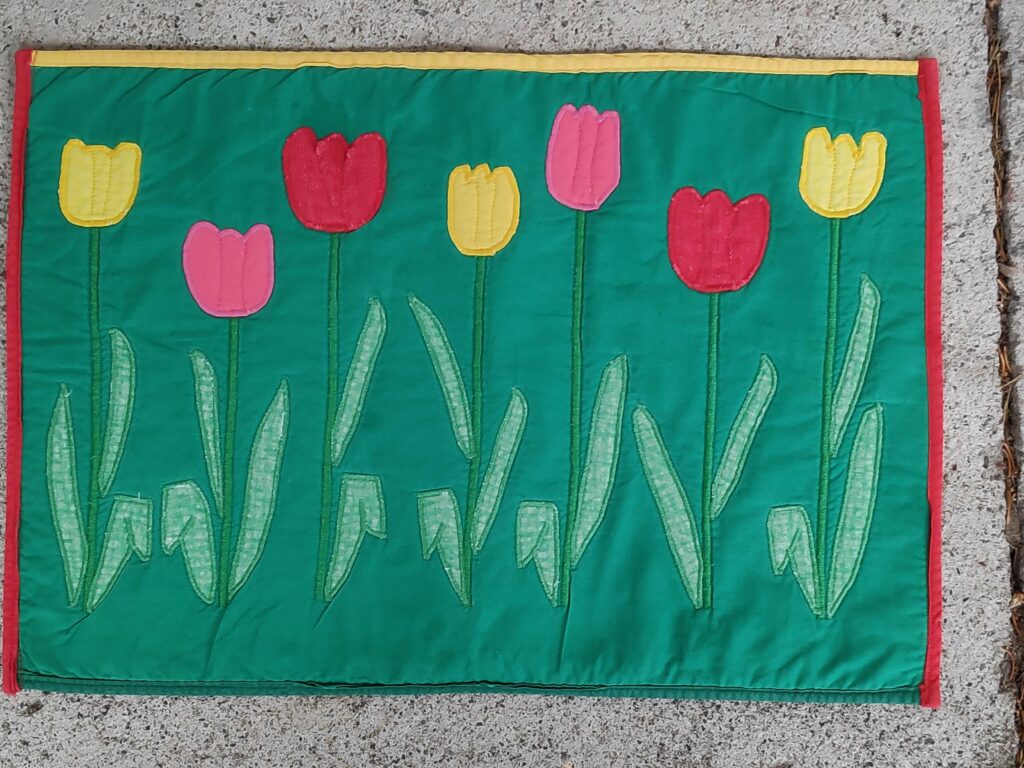
Many of the old-fashioned quilts were quilted with various flowery patterns in the sewing. This, of course, is a personal preference. With other place mats where I have appliquéd patterns, there is often more pattern on the back. This place mat has a very plain pattern. It is adequate to hold all the four layers together solidly enough to tolerate a lot of washing.

Finishing

Once I had finished the quilting, I worked on making neat edges. The backing was folded twice and pinned in place. I always have difficulties with the corners and I spent quite a bit of time trying to get them all the same and easy to sew so that they didn’t come apart.

Here the backing has been turned twice to make a neat edge

Here is a close up of how I had pinned the edges and corners.
I also did some extra zigzag stitching in the corners so that the place mat tolerates a lot of washing.

Three of the place mats in use, with the new blue plates that they were designed to match.

Place mats – Cutting and sewing

Once the design has been decided on and the calculations made, it is time to get down to the practical work of cutting and sewing pieces together. My design at the moment is geometrical, using squares and rectangles in three colours of fabric.

Tools

Self-healing cutting mat, roller knife and cutting ruler.

If you are going to do much of this type of creative work, it is important to invest in the tools that are needed. Cutting a lot of small pieces with scissors is both time consuming and inaccurate. A roller knife along a flat edge will give a much straighter cut and cut down on the wear and tear on your fingers. Use a self-healing cutting mat. The one I have has metric measurements on one side, and inches on the other side. You can choose the measurement system that suits you best. I have been metric since before I moved to Norway in 1980.

Using a roller knife, you can cut through several thicknesses of fabric at the same time. Make sure you have extra blades for the roller knife as they can get dull quickly if you are cutting a lot.

Cutting

I was using leftover pieces of material that were often odd shaped, but I was able to use up quite a few of these pieces. The challenge can be to get the squares and rectangles matched up with the grain of the fabric.

First I cut long strips 4 cm wide, then I cut the strips into the correct lengths.

The dark blue pieces were to be of three different lengths, 4 cm, 6 cm and 8 cm. All pieces are 4 cm wide.

I ended up with over a thousand pieces. I made a few extra of each colour and size in case any turned out uneven or unusable. It was a bit of a challenge to count how many were cut, but I did them in groups of 10 and that helped. With persistence the job gets done.

Remember that accuracy when cutting is very critical to the look of the final piece of work. I use a 1 cm sewing allowance on all sides. So if a finished block is to be 2 cm by 2 cm, I cut it 4 cm by 4 cm. This is all done when doing your calculations during the design of the project. Using a roller knife and a long ruler helps make the edges very straight. By using the lines on the cutting mat, you can make sure that corners are at 90 degrees and that lengths are as accurate as humanly possible.

Sewing

The best procedure when making geometrical patterns is first to sew the small pieces into strips, then to sew the strips together to make a larger piece. You want to think carefully how you do your sewing so that you don’t get a lot of material bunched up to the right of the sewing needle.

Feeding the small pieces into the sewing machine. Here I am sewing two small pieces, 4 x 4 cm, together.

To reduce the amount of cutting of thread that you do, I suggest that you feed the small pieces into the sewing machine with a couple of millimeters between them. This saves both thread and time. I cut the pieces apart when I ironed each piece. I worked on making 30 strips at a time. I find it easiest to work with the strips if I press the seam allowance to one side before I add the next piece. It means a lot of moving from the sewing machine to the ironing board, but I find the moving around is good for me.

Five pairs of small pieces sewn together. They are easy to cut apart once they are out of the sewing machine. At this point I ironed the seam allowance to one side.
Here I have four pieces sewn together and the fifth one is laid on top. They were lined up more exactly as I fed them into the sewing machine.

Accuracy is very important when both cutting and sewing pieces together. When making a strip with 8 pieces, if each piece is out just 1 mm, you can be out 8 mm by the end of the strip. I had one strip that ended up being much too short and I had to pull it out and replace it.

Here are some of the finished strips waiting for assembly.

Once I made all the strips that I needed, I arranged them in the correct order for the place mats. This can be a good time to check that the lengths have all come out close enough to use.

Here I have lined up the strips in the correct order to make the pattern I wanted. I then make them into a pile so that I just take the next one from the pile while sewing them together.
Strips sewn together.

In the next blog I will explain how I have made the backing and done the quilting.

Place mats – Designing

I am in the process of sewing 1068 small pieces of material together with the goal of making 6 place mats for our kitchen table. I don’t mind the sewing, but my mind needs something to do while my fingers to do the work. So this series of blogs has been written in my mind several times before actually sitting at the computer to do the writing.

Several years ago I started making a series of place mats using patchwork and quilting techniques. The first series was autumn leaves, the second series was winter and the third series was spring tulips. We use the autumn series and the tulip series regularly, but the winter series I wasn’t that happy with and they have been taken out of active service.

The first set of 4 place mats with a theme of autumn and leaves found in our yard – maple, beech and birch. The placement of the leaves on each place mat are slightly different.
The second set of 4 place mats with a winter theme. Though each place mat has a snowman and two trees, they are all a little bit different.
This time I made a series of six place mats with tulips as a symbol of spring. These usually blossom in May here.

In July 2020, we bought new dishes for the kitchen, a beautiful blue (my favourite colour) from IKEA. However they didn’t look very good on either the orange or the green place mats, so I started thinking about a new set of place mats that went better with the new dishes.

Already the day after I had bought the new dishes, I went hunting through my boxes of leftover material and looked for a variety of materials that went well with the new dishes. I set aside the ones that went well and then the ideas of what to use and how to use the material had to mature for a while.

Eventually I decided on three materials that I would use on the top of the place mat and a plain dark colour for the backside.

The bottom material in the pile in the picture is big enough to make the back side of six place mats. The other three will be used to make a pattern for the top side.

Time goes by and the idea sits there and I have to decide on what sort of pattern to make. I decided something more geometrical this time and decided on a zigzag pattern, using the three chosen materials. The lightest colour is quite bright, so small amounts of it.

I made three suggestions for a zigzag pattern with slightly different proportions. Finished size played a role and I chose the top left-hand pattern to continue with.

In the bottom right-hand corner I calculated the sequence of the pieces of material. One square on the paper is 2 cm, so three squares means that the finished piece is to be 6 cm long. X and A refer to the light blue material. The shaded squares and C are the dark blue material and the blank squares and B are the patterned material.

This is the sampler I made to make sure that I liked my pattern.
The calculations for how many small pieces to cut.

Next came the detailed calculations of what size pieces I would need and exactly how many I would need for 6 place mats. Some are 4 x 4 cm, some are 4 x 6 cm and some are 4 x 8 cm. All pieces have 1 cm on each side for seam allowance, so a 4 x 4 cm square will come out as 2 x 2 cm in the finished place mat. The total came to 1 068 pieces plus a few extra for good luck.

The next blog will be about sewing the pieces together.